
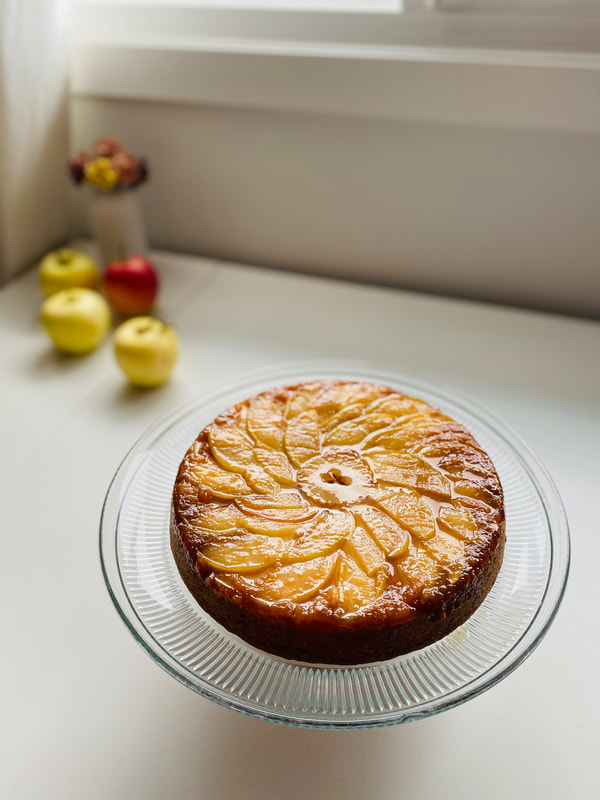
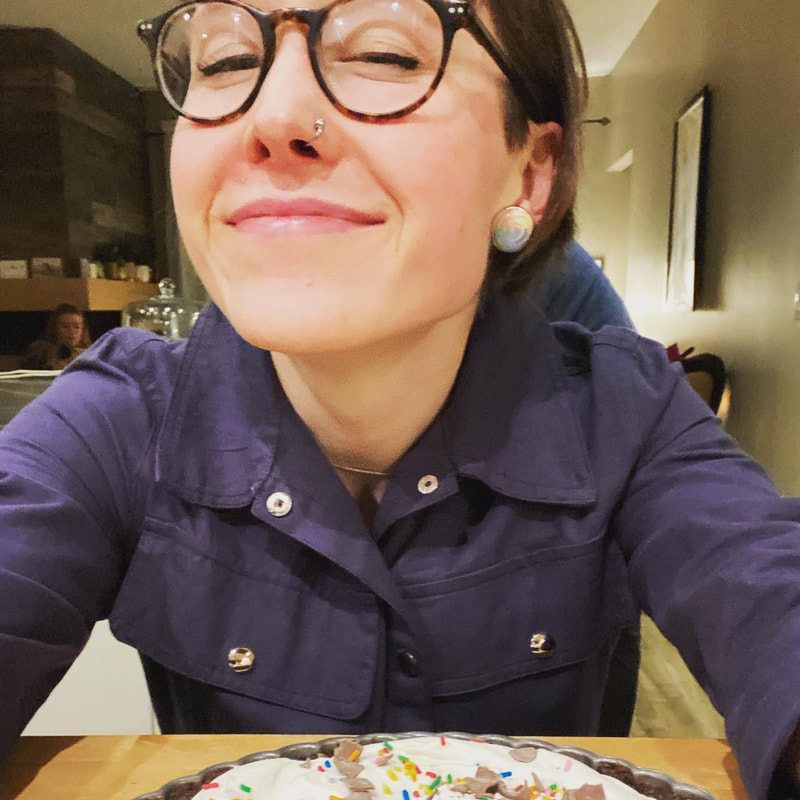
 My offering for the 2023 Friendsgiving Extravaganza! I love my pals, This cake got devoured! I served it with Bourbon Butterscotch Ice Cream which was a real crowd pleaser. Daniel Roberts (aka deep sea dan) hosted us and his house (his mom's house) is the coolest. It was a wonderful evening of awesome friends, awesome food, and a whole lot to be grateful for. As always! Apple Upside-Down CakeRecipe slightly adapted from Rose Levy Beranbaum Caramelized Apple Top:
Meanwhile, prepare you cake pan! Spray a 9" pan with cooking spray and line the bottom with a parchment round. In a small heavy saucepan, melt the butter. Use about 1 tbsp to coat the parchment lined bottom and sides of the cake pan. To the remaining melted butter in the pan, add the reserved liquid and remaining brown sugar. Bring to a boil, stirring constantly with a spatula. Once boiling, stop stirring and leave to bubble and cook for about 3 minutes until thick and deep amber in colour. Pour this mixture (Rose says "do not scrape") into the prepared cake pan, tilting the pan to coat the entire bottom. The mixture will probably harden, don't worry. It will melt back during baking and become all lovely and soft and hug the apples in a nice caramel coat. Place the apple slices in a decorative pattern, slightly overlapping, over the bottom of the pan. I like to start in the middle and work outwards. Whatever you place first will be what you see on top of the cake. Keep this in mind when arranging the apples. Set the pan aside. Cake Batter:
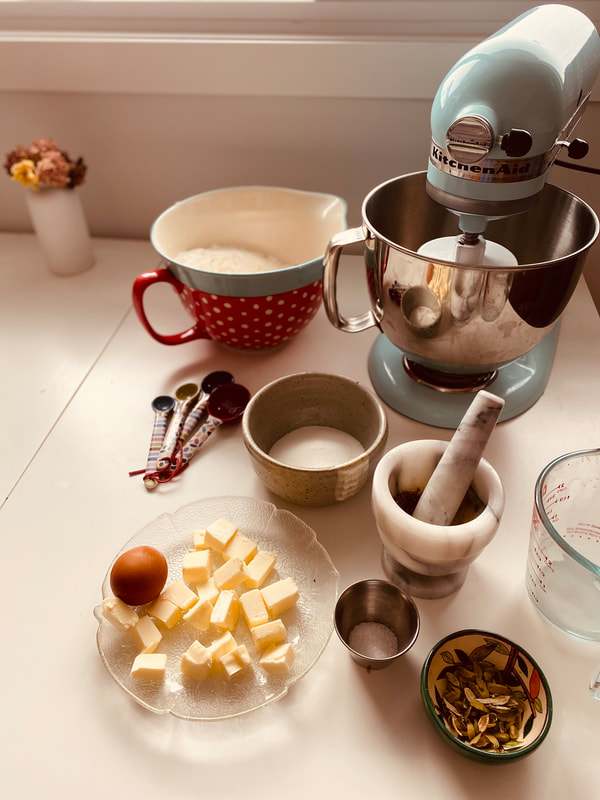
Cream the butter with the granulated sugar. Beat in the yolks and the vanilla. In a separate bowl, whisk together the dry ingredients (flour, powder, soda, salt). Add half of the dry ingredients to the mixer and blend until barely combined, then add the sour cream, blend until barely combined, then add the remaining dry ingredients and gently mix/fold until everything is mixed but do not over-work the batter. Spoon the batter over the apples and gently spread with an offset spatula, ensuring the apples stay in place. Bake for 35-40 minutes or until the top springs back when gently pressed, and a skewer inserted into the cake comes out clean. Run an offset spatula around the outsides of the cake pan and invert the pan onto a cake stand or other serving platter. Allow the pan to sit on top for a minute or two before lifting off. If any apple slices remain in the pan, just gently remove them and place them back on the cake where they are missing. Serve warm or at room temperature, with toasted walnuts (Spread 2/3 cup (66g) walnuts onto a tray and bake for about 7-9 minutes, stirring once to ensure even toasting) and Bourbon Whipped cream:
Happy Thanksgiving :) ~Lari 2023
0 Comments
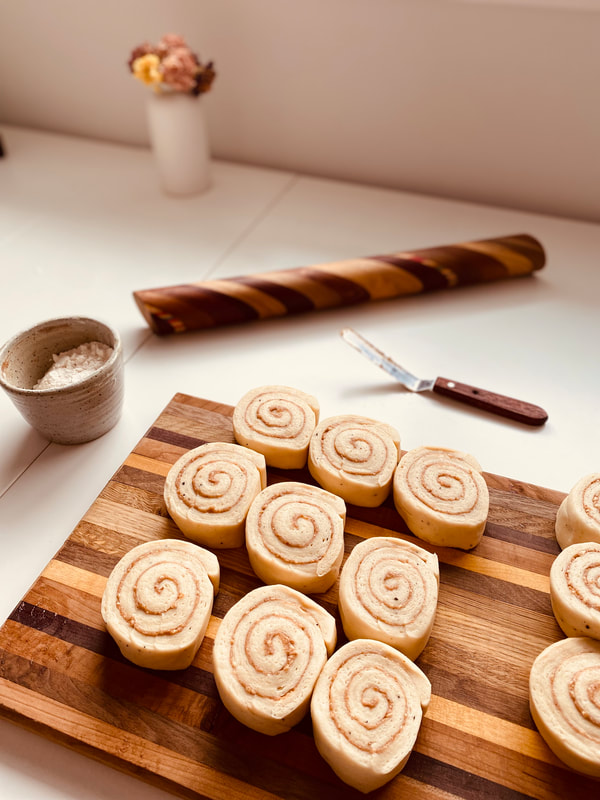
 A delicate cousin to the classic rich and fluffy cinnamon roll, these are sweet without being overly tooth achingly so, and a lovely hint of cardamom to welcome fall baking into our kitchens. I've put off making these for so long because I wanted to get Pearl Sugar to top them with... the classic European/scandinavian garnish for many sweet bread products. But then I realized that I had the resources to fabricate my own... I took some very large chunky white sprinkles that are pretty much inedible in their natural state due to the fact they are just huge lumps of hard white tooth-breakers. I wasn't using them. Suddenly I realized, if I just bash these up into smaller pieces... I have pearl sugar! Boom. 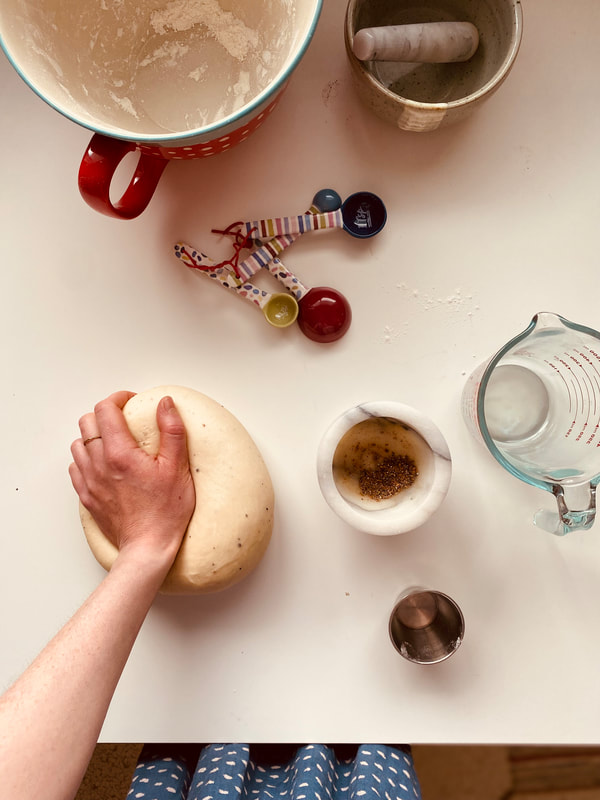 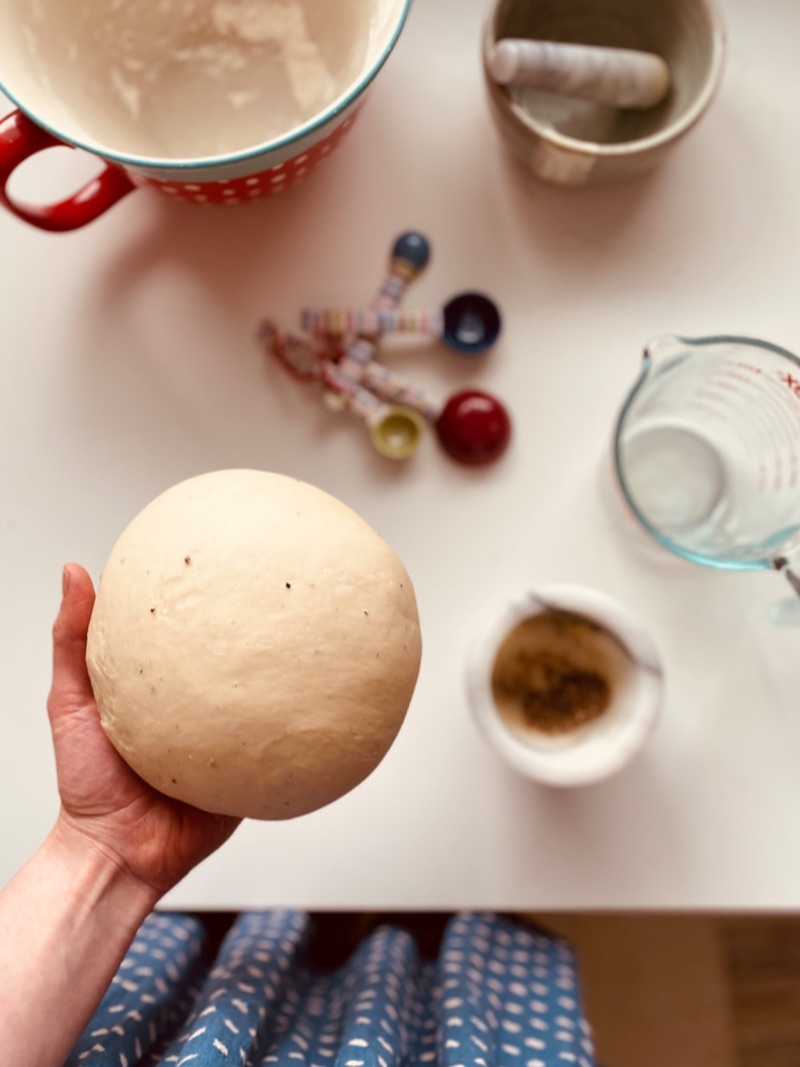 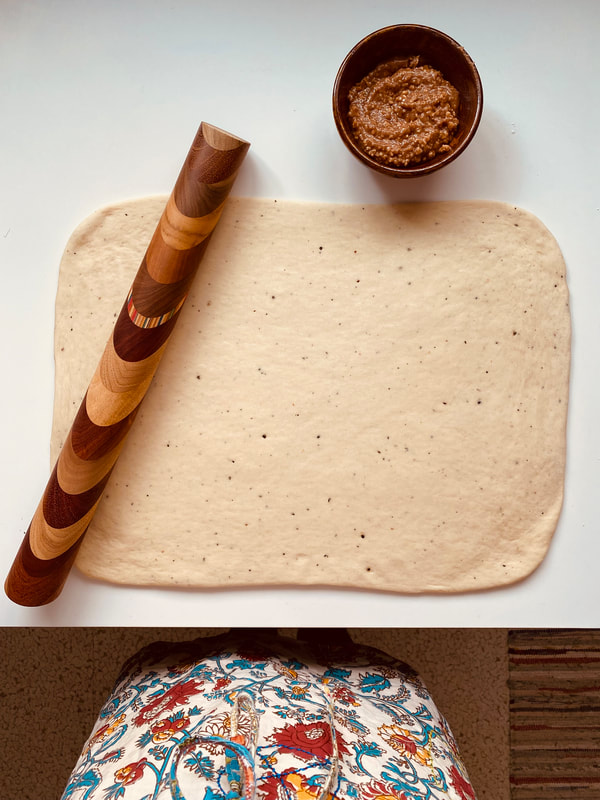 I truly adore marzipan, I am now making a vow to use more marzipan. To make ground cardamom, simply buy whole green cardamom pods and whiz them up in a high powered blender. This will be far fresher and superior than buying pre-ground cardamom at the grocery store.
  Cardamom Marzipan Cinnamon Rollsrecipe from the Ikea FIKA cookbook makes about 20 buns for best results, all ingredients should be at room temperature For the Dough:
How To:
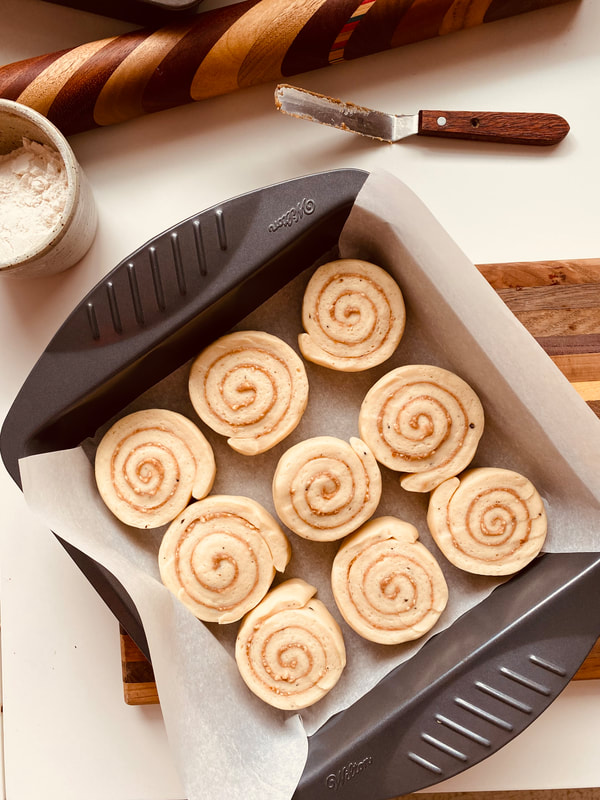
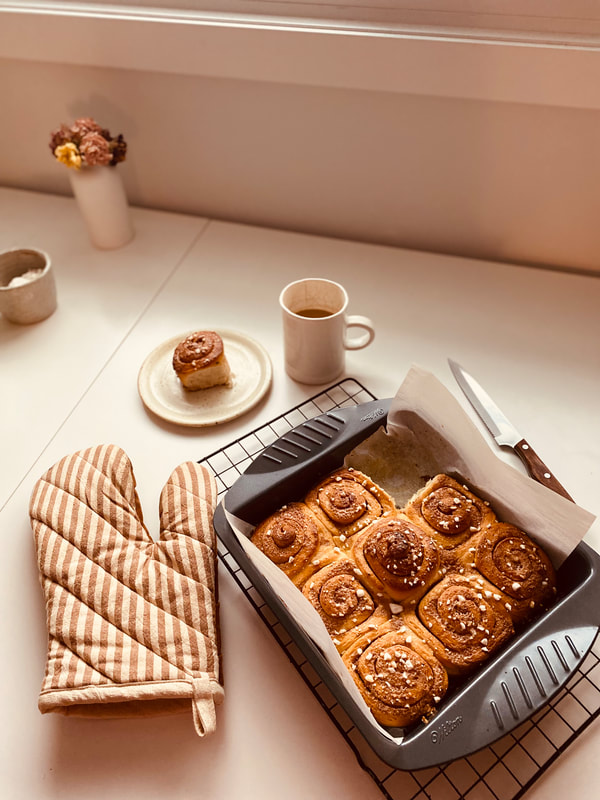
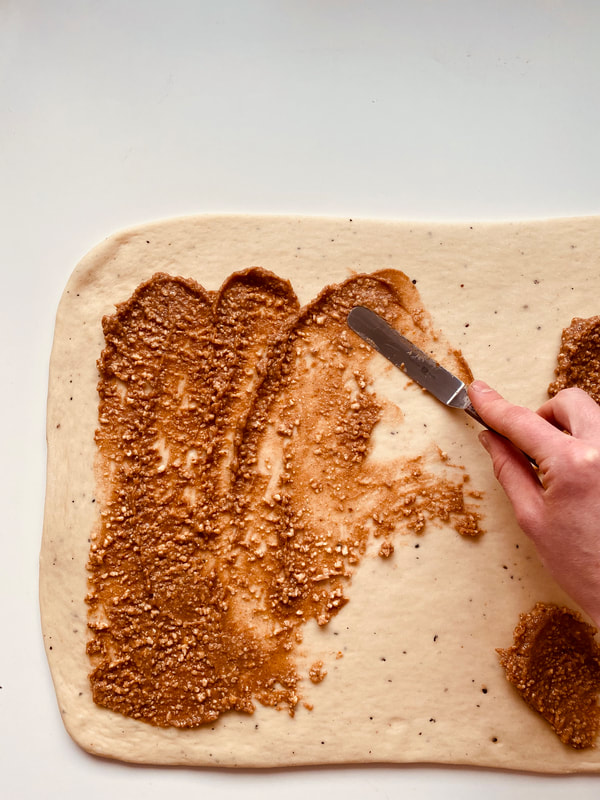
Crumble the yeast into the bowl of a mixer. Pour over the milk (either have the milk at room temp, or gently heated to lukewarm, about 37˚C or 100˚F) Start mixing or stir until the yeast has dissolved. Add the flour, the butter in pieces, sugar, eggs, salt and cardamom. Work the dough until it is very smooth and elastic, takes up to 10 minutes or so! If you live in a humid climate you may need to add more flour. I live in Alberta, where it is dryer than dry, so I do not need any additional flour than this suggested amount. Round the dough into a ball and allow it to rise in an oiled bowl, covered with a damp towel. I like to place the bowl in my oven (that is turned off) because it is a nice quiet and peaceful and draft free zone, and potentially less dry than sitting out on my counter. Let it rest and rise for at least 30 minutes, or until it has doubled in size. Meanwhile, make the filling: break up the marzipan into chunks and combine with the sugar, breadcrumbs, water and cinnamon. Blitz in a food processor. Melt the butter, and process the butter in too. Place the dough onto a clean work surface dusted with a bit of flour. Roll out into a rectangle. Spread with the filling. Roll up the dough from the long side of the rectangle and cut into buns about 1 inch. Place into a baking pan lined with parchment, leaving room to allow them to expand. Cover and let rise until they are doubled in size, about 30 minutes. You can also leave them in your fridge overnight, and then take out the next morning and let them proof for an hour before baking, then breakfast is ready! Meanwhile preheat your oven to 375˚F Whisk together the egg, salt and water and brush the egg wash over the risen buns. Sprinkle with pearl sugar. Bake in preheated oven for about 20 minutes. Happy September, happy fall. One day I will go to New York. Until then, I will make cookies. 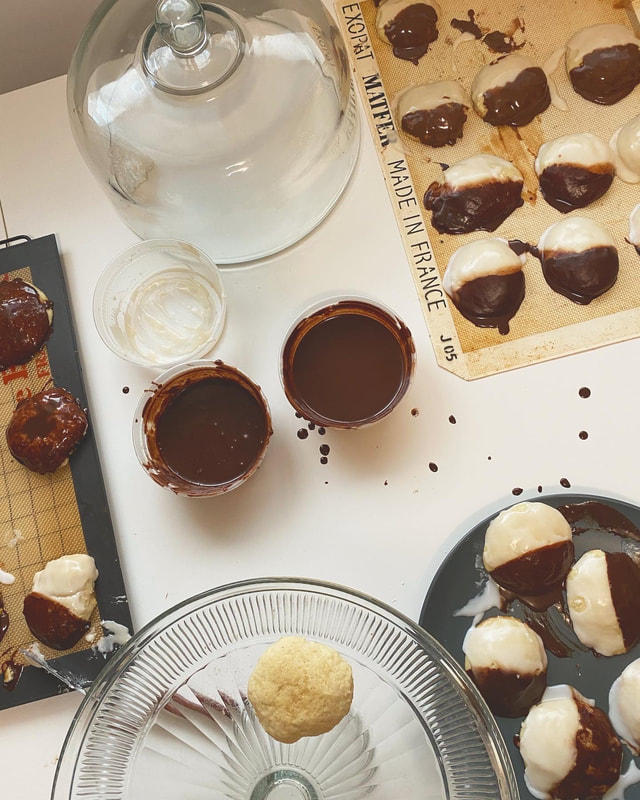 For a while I have been curious about these two-toned cookies named after a very famous city that I have yet to (but am terribly excited to one day) visit. What exactly is a Black and White cookie? Are they really famous in New York? I had never heard about them until I came across the recipe in one of my cherished Martha Stewart books. The recipe has been in my possession for over a decade, yet I had not made any further steps to discovering more. My final prompt or push to create these for myself came after watching an episode of Seinfeld, maybe you know the one! 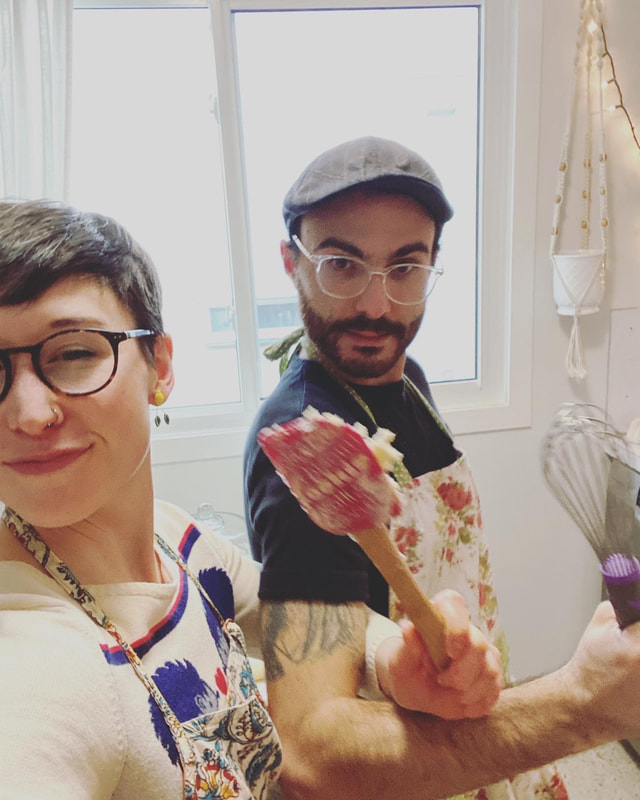 Jerry and Elaine are in a bakery and are having a hilariously frustrating time and during this time Jerry buys himself a Black and White cookie on which to snack. OH MY GOODNESS I am finally seeing this cookie "out in the wild" or at least beyond the confines of my Martha Stewart book and I am reminded of it's existence! It is with the assistance and encouragement from my cookie partner (and fellow Seinfeld fan) pictured above that today we bring to you my first attempt at Black and White cookies. I say attempt because I have never actually eaten one before and don't really know what is to be expected. 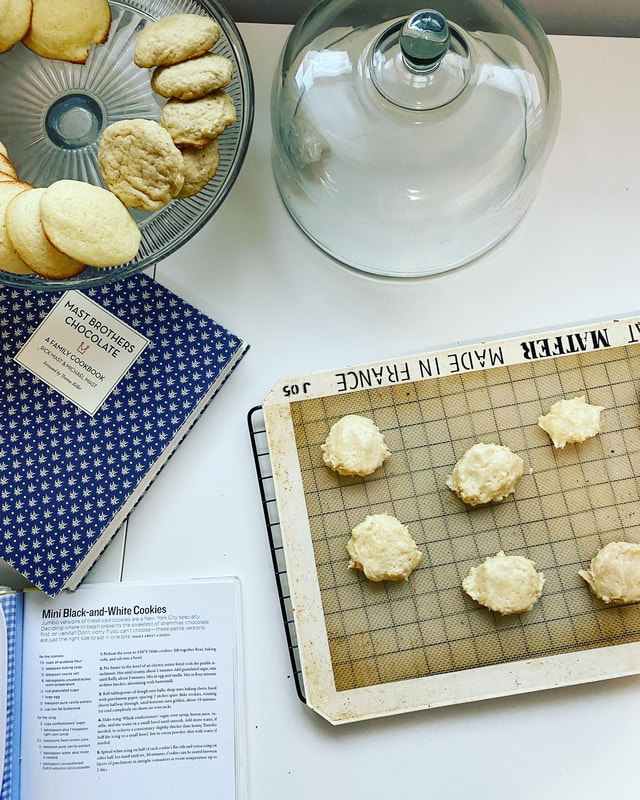 Further research into my bookshelf revealed that I have not one, but TWO recipes for these cookies. Further proof that they are indeed a "thing" out there. I have my tried and true Martha Stewart, and also a rather fancy and trendy book from the homies of Mast Brothers Chocolate. So OBVIOUSLY we had to try both recipes to see which one comes out on top! Martha knows a thing or 2000 about cookies, but also the Mast Brothers are indeed from New York and know a thing about chocolate, so there's got to be some legit business happening here. 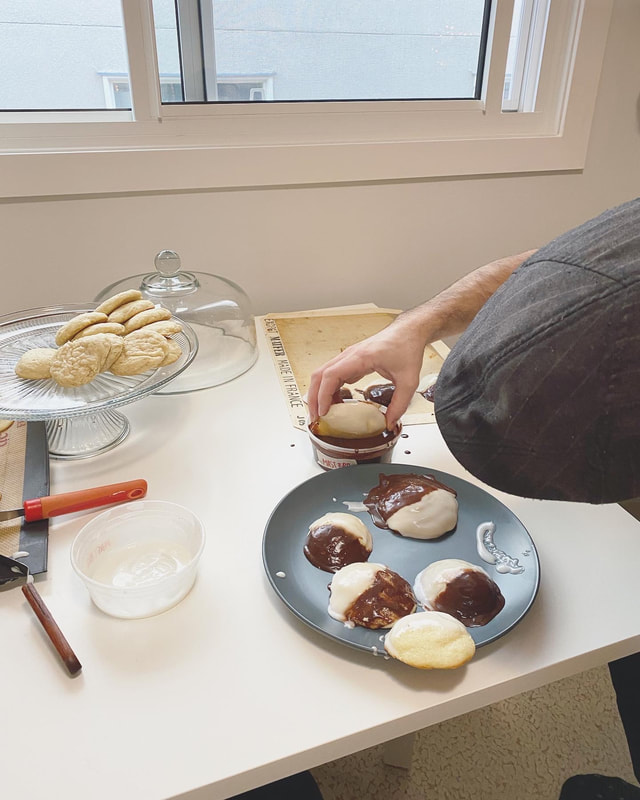 It is a very fun project to try two very similar but not quite identical recipes for the same thing... My kind of science experiment! Highly recommended way to spend a January afternoon. Then you eat the cookies of your labour while watching Seinfeld, of course. The cookies themselves are more like little cakes, half frosted with vanilla or just plain glaze, and the other half with a chocolate glaze. Glazing the cookies was a messy task, and we realized after doing them all how we could have done it better. But as I always say, it's always good to leave room for improvement... and, learn by doing, am I right?! Because I KNOW you are curious...I will reveal to you... our favourite was from... drumroll please... MAST BROS! Their cake-like cookie was lighter (and Anthony appreciated the bit of lemon zest in there) while I found Martha's to be a bit denser, though still delicious. Also taking the win for the Bros was their chocolate glaze... which makes sense seeing as they are in the chocolate biz. It was made with lots of real actual dark chocolate, whereas Martha's was a bit too-sweet-with-only-a-bit-of-cocoa-powder version (don't worry Martha, you will still forever be my go-to-gal). Next step is to go to New York to find the real thing I suppose. Meanwhile, if anyone can tell me where to find these in Calgary... holla at yo girl! New York Black & White CookiesRecipe from Martha Stewart COOKIES:
Whisk together the flour, baking soda and salt in a large bowl. Set aside. Cream the butter in a standing mixer fitted with the paddle attachment for about 2 minutes. Add the granulated sugar and mix for about 3 minutes until light and fluffy. Mix in the egg and vanilla. Mix in the flour mixture in three additions, alternating with two additions of buttermilk. (dry, wet, dry, wet, dry) Mix until just combined but do not overman or the dough will get tough. Use a small cookie scoop (or use two spoons) to scoop portions of dough into balls. Place on a lined baking sheet placing 2 inches apart. Bake, rotating halfway through until bottoms of cookies are golden, about 10 minutes. Let cool completely on a wire rack. GLAZE:
Spread white icing on half of each cookie's flat side and cocoa icing on the other half. Let stand until set (30 minutes). Cookies can be stored in airtight containers for up to 3 days. New York Black & White CookiesRecipe from Mast Brothers Chocolate COOKIES:
WHITE ICING:
CHOCOLATE ICING:
Add the butter and vanilla, mix until the mixture is smooth. Spread the chocolate icing on the other half of each cookie. ***What we realized after making a giant mess and glazing all the cookies... is that it would be much cleaner looking to glaze half of all of them... then let the glaze set! THEN glaze the second half... Next time. You can learn from my mistakes. You are welcome. Monday Morning Muffins make me a happy Lar 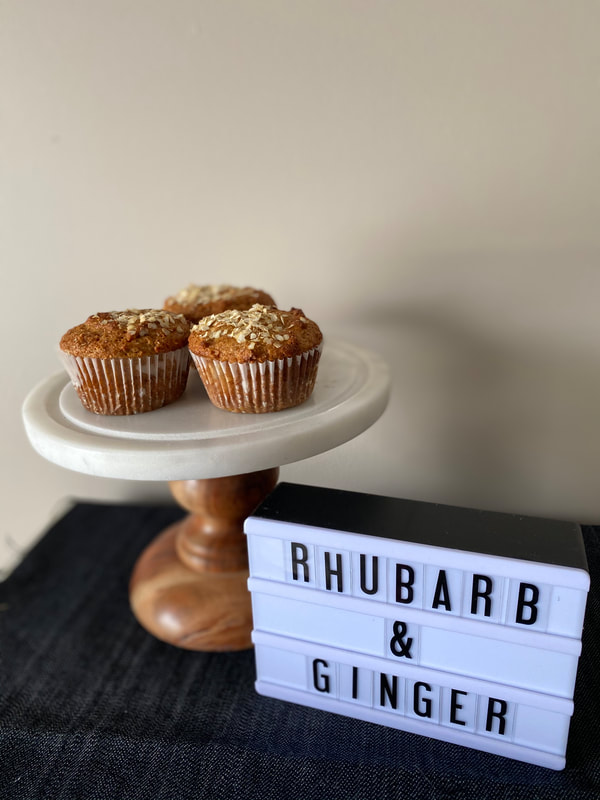 Ain't nothin like baking something just for fun on your day off, and how lucky I am that I have two wonderful housemates to share with. I can actually make 12 muffins and they won't go to waste! Just don't make the rookie/I-know-better mistakes that I did which were making these post-run when I was starving and tried to rush the process by not thawing my giant chunks of rhubarb and being all like "it's fine" and then taking them out of the oven when they were done baking only to discover that the bit of batter around the frozen rhubarb was of course still raw. I promptly ate two muffin tops and felt sorry for myself for a bit before I did the old turn the oven back on and put the almost cooled muffins back into the oven in the hopes that they will continue baking which by the way almost NEVER WORKS but by some miracle this time it did. In any case, my two roomies did enjoy the finished product! The next day mama and I treated ourselves to a morning coffee in the park and I brought us each one of these guys to munch on, and one for her to take home to papa. The muffins turned out just fine and we all agreed we can feel good about the healthy whole wheat quality that they bring to the table. A wholesome little snack to satisfy. These babies are made using quinoa flakes... which are incredibly similar to rolled oats, but made from quinoa instead of oats, of course. They are fun and if you can find them then please give it a whirl but if you wish you can tOATally just substitute them for rolled oats. Either way, sprinkle a little on the muffin tops before they go in the oven, everything looks better with a little garnish don't you agree? 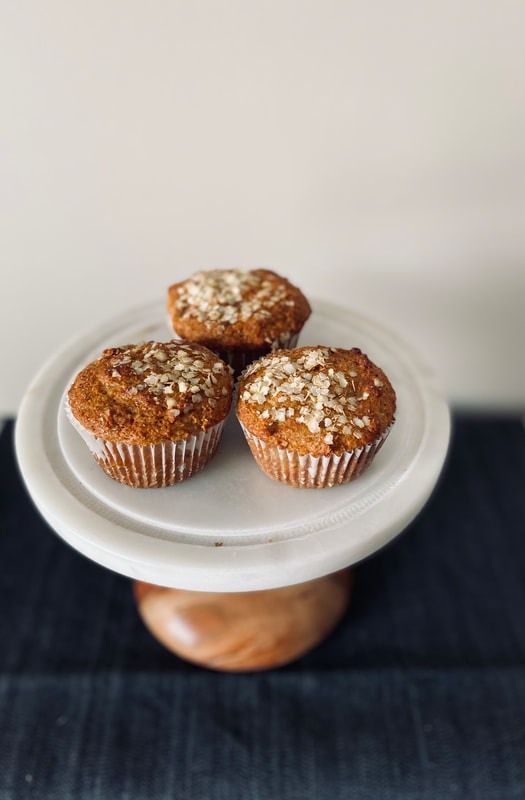 Whole Wheat Muffins with Rhubarb and Gingerrecipe slightly adapted from Jennifer MacKenzie, found in this book makes 12 muffins
Happy Birthday to meeeee! 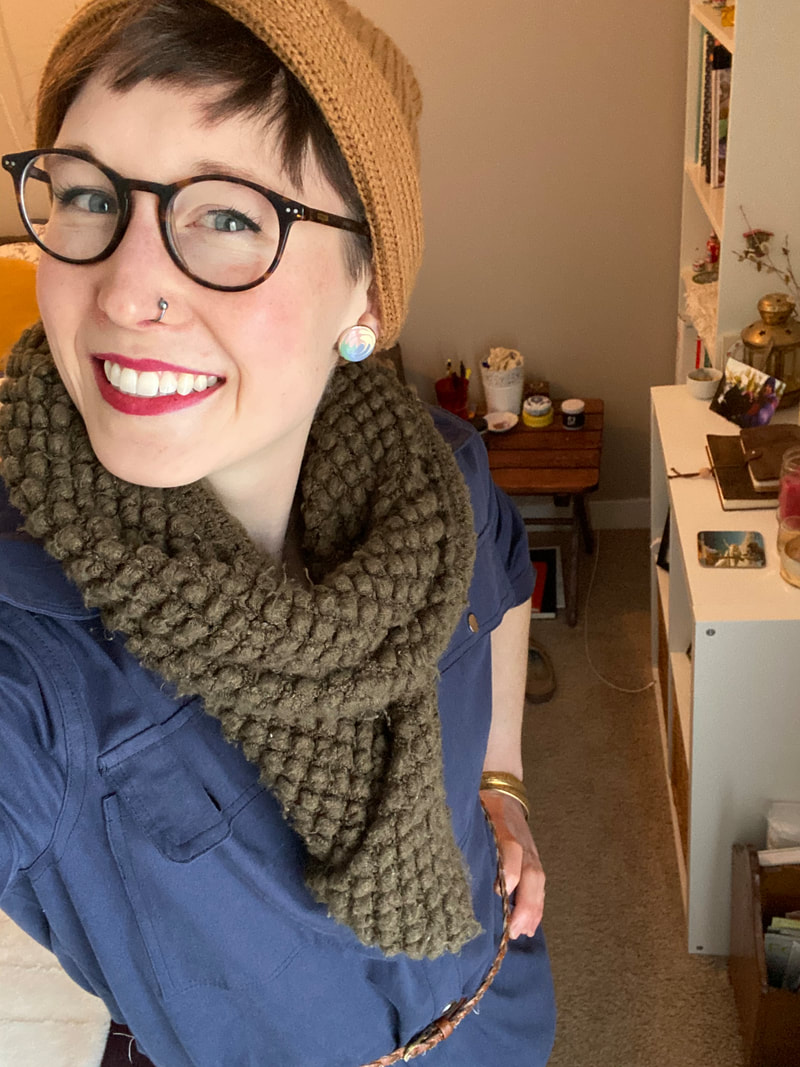 This year, 2020, I turned 28 years old. Golly that sounds like I should have my life together. Sorry past Lar, you will probably never totally feel like you have your life together. But We can continue to be grateful for all that is wonderful in your life and all there is to celebrate... and let me tell you there sure is lots to celebrate!! No crazy celebrations though this year, because we are in the thick of a global pandemic and I'm not even allowed to go to my parent's house. Thank goodness I live with two wonderful friends who surprised me with this cute kitchen banner to make me feel special. Later on I picked up my guy and brought him over and we had a tiny party with PIZZAAAA and silly games. And of course I made dessert. 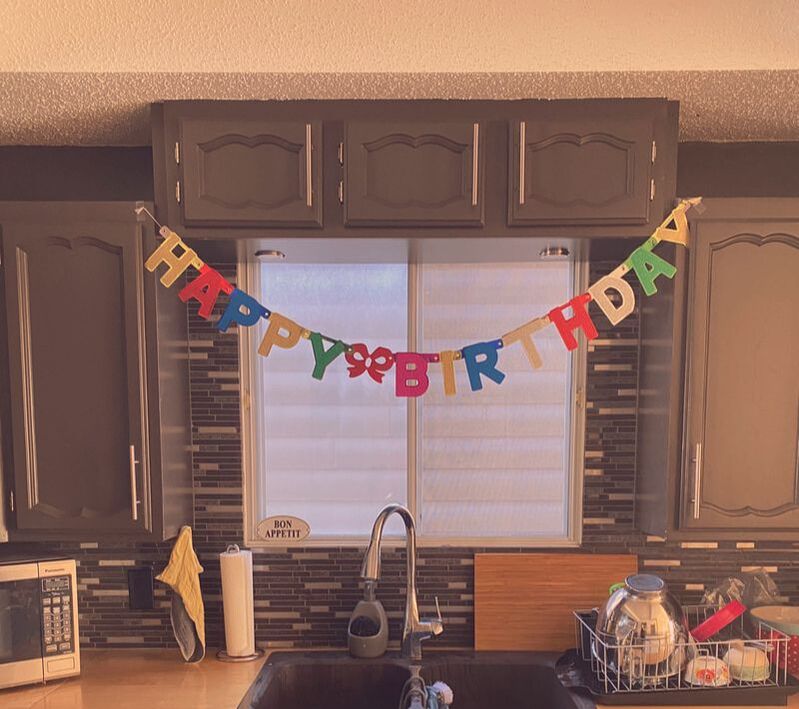
It's essentially like the comforting chocolate puddings that Ma would make on a weeknight, you know, the Jell-o packet kind. Put that on an oreo cookie crust, throw on some whipped cream and SPRINKLES and we have ourselves a birthday party pie. It's something you definitely want to eat. Even despite eating waaaayyy too much pizza. There's always room for chocolate. 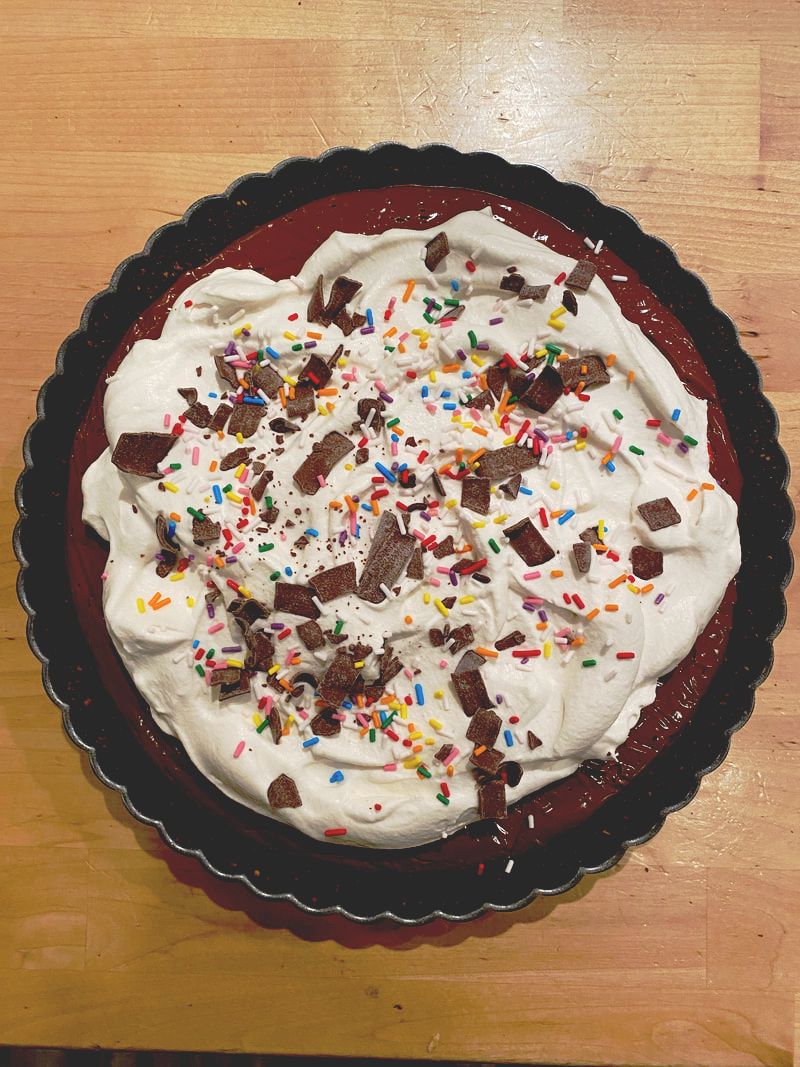 I continued to eat small slivers of this every night for a week after my birthday was over, as one should. Chocolate Cream PieRecipe slightly adapted from Martha Stewart Crust:
Filling:
Place the powdered gelatin in a small bowl and pour the water over top. Let this mixture sit for 5 minutes or so to soften (also called "blooming"... what a lovely phrase) the gelatin. In a medium bowl, whisk the egg yolks, then slowly whisk the hot milk mixture into the egg yolks to temper them. Return the whole mix to the pot (what a lot of back and forth!) and continue cooking the custard over medium heat, stirring all the while, until the pudding is once again thick and bubbles are appearing in the middle... about 1-2 minutes. Remove the pot from the heat, add the softened gelatin, stirring until it is dissolved into the pudding. Also stir in the vanilla. Yum! Let the pudding cool for a few minutes ever so slightly, stirring frequently so it doesn't form a skin on top, before you pour the whole shebang over your baked cookie crust! Use a spatula to spread the pudding evenly and flat over the crust, give it a few taps on the counter for good measure, cover the top with plastic wrap (prevent that puddin' skin) and place the whole pie in the fridge to firm up that filling... about 4 hours minimum. Waiting is the hardest part. Topping:
Actually called Dutch Baby but also called Oven-Puff-Pancakes and also known as Crepe-Shake!! Fantastic variety of strange names but whatever you call it, I'm a fan! It's like a sweet yorkshire pudding that you can eat for breakfast. It's pleasantly chewy and subtly spiced with cinnamon and fresh nutmeg so all ya gots to do is top it with some berries, a dust of powdered sugar, a dollop of plain greek yogurt and a kiss of maple syrup and eat it right out of the pan... cuz this bebe serves one! (Double the recipe if you want to serve you and your bebe) 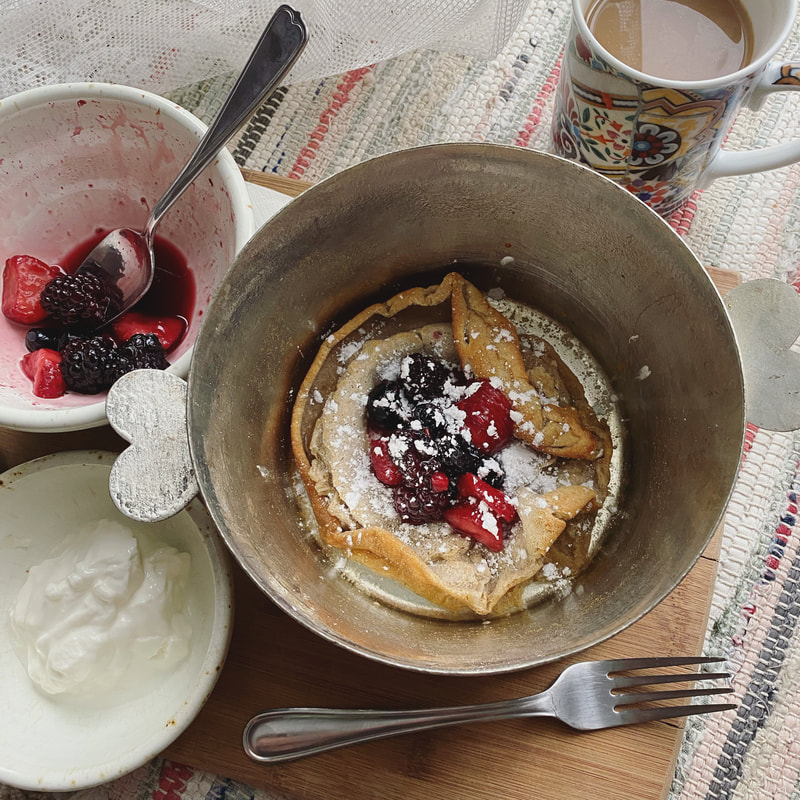 Dutch Baby Pancakerecipe adapted from Renee Kohlman
It's like a portable rhubarb crisp!  I imagine that most folks can get down with a rhubarb crisp/ rhubarb crumble bar... but perhaps I lost some of you at BASIL. But wait! Don't go! Ya gotta try it before you judge. I too was skeptical at first because upon first think, basil = pesto = pizza = savoury... BUT Basil has a place in the land of sweet things too! Quite a lovely place I might add. 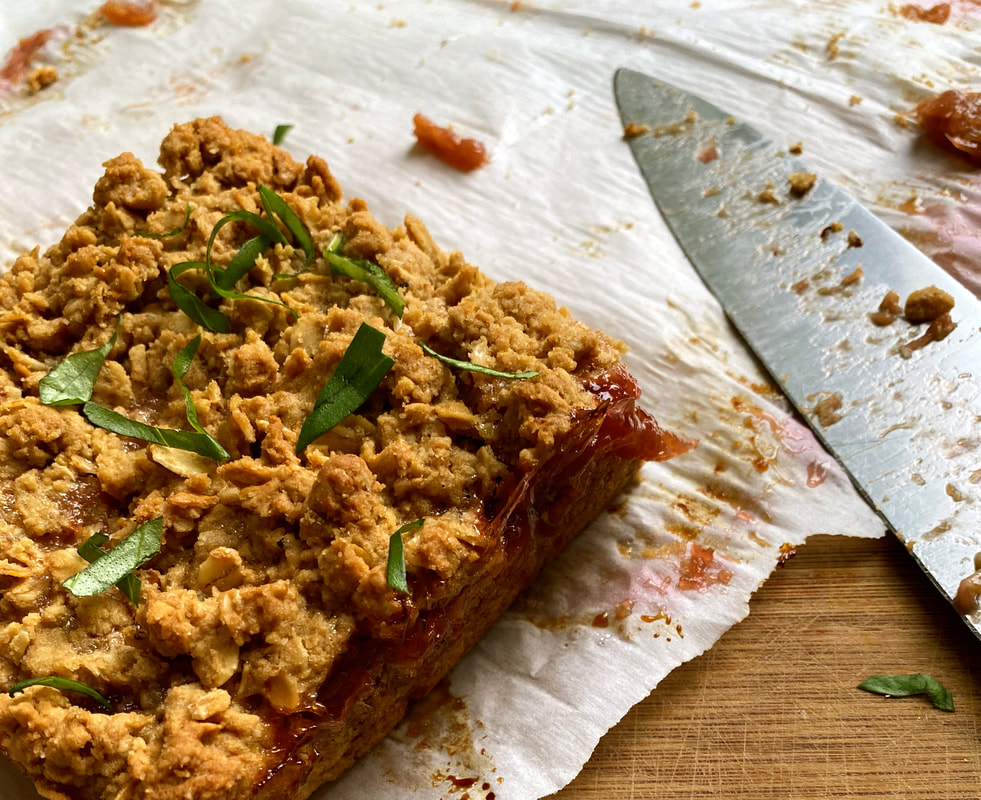 Basil has a lovely brightness and floral note... and it has kind of a sweetness of it's own... When paired with the right things, basil is a lovely addition to sweet treats! The basil in these bars does not remind me of pesto or pizza whatsoever. It is more like a lovely fruity complement to the rhubarb, not overpowering, just subtly adding it's flair. The cookie base of this is extra delish because I like to toast the oats, making them taste rich and nutty. The rhubarb filling is not too sweet, in fact it's pretty tart. But I think it balances everything out nicely. If it's too sour for you, stir in a couple extra spoonfuls of strawberry jam or sugar to taste. 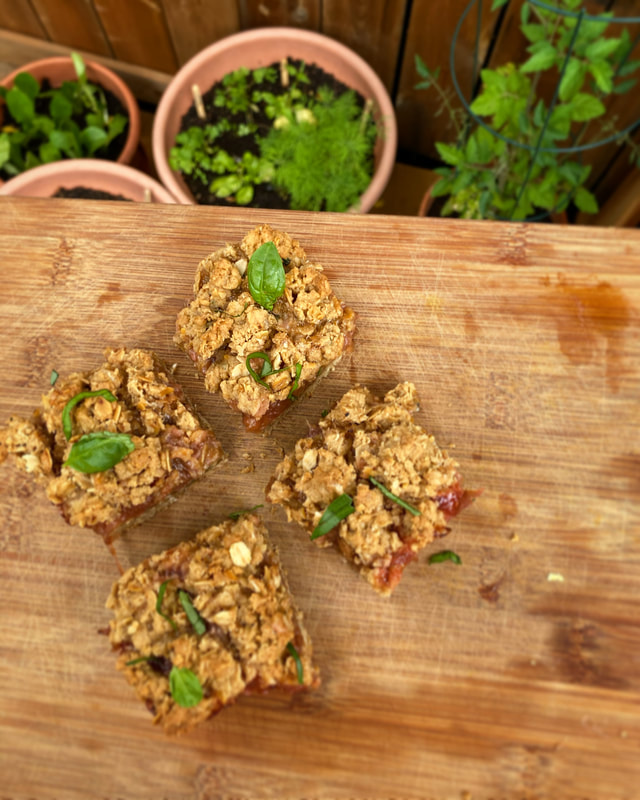 Rhubarb-Basil Oatmeal Crumble BarsRecipe adapted from Sticky Fingers Green Thumb for the rhubarb compote:
It's Wednesday! I'm the temporary owner of my Aunt's waffle iron! Let's make weird waffles! 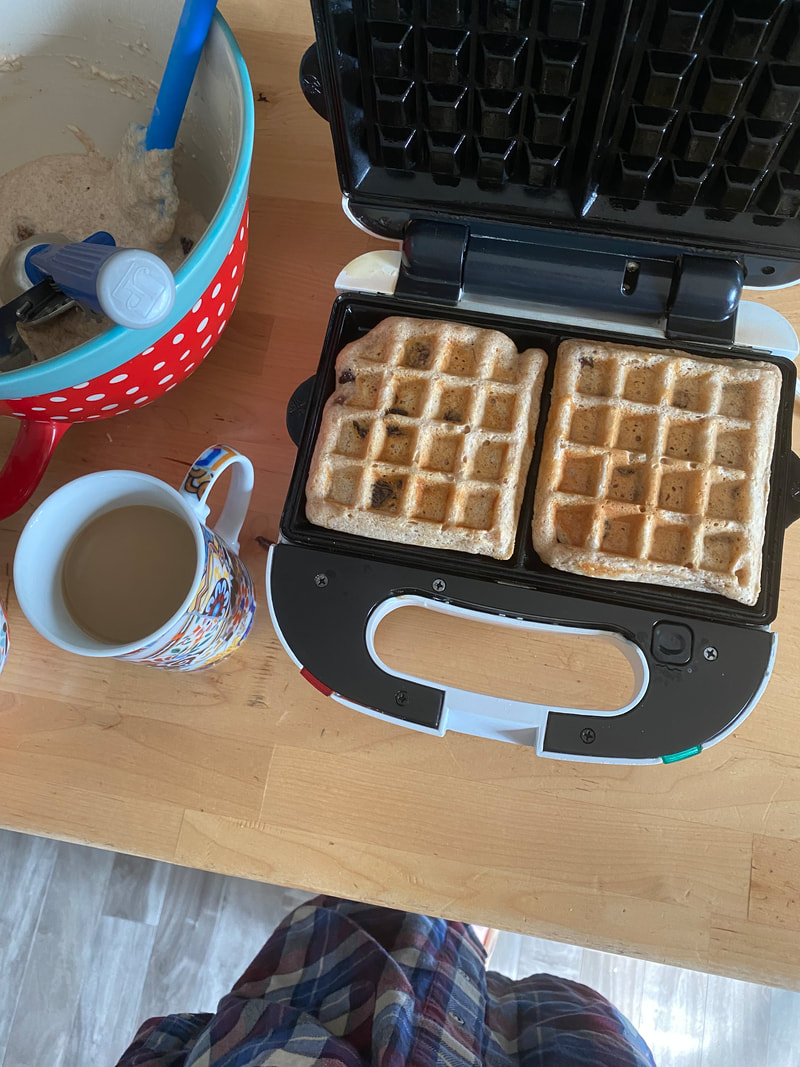 Temporary owner because my Aunt is currently on some strange diet in which she will not be making waffles for herself... I'm not sure I approove of this form of living however I do approve of me having a waffle iron in my life. So... I will not say anything and be here in my kitchen whipping up batters of various flavours and seeing just what wonders I can waffle. Cinnamon raisin bread is a fan favourite so why not cinnamon raisin waffles?! Add some whole wheat flour not because we righteous, but because we like FLAVOUR. Highly recommend indulging with peanut butter and syrup... breakfast comfort supreme. Smells amazing! Whole Wheat Cinnamon Raisin Wafflesrecipe from Dorie Greenspan
April showers bring May cupcakes with flowers! 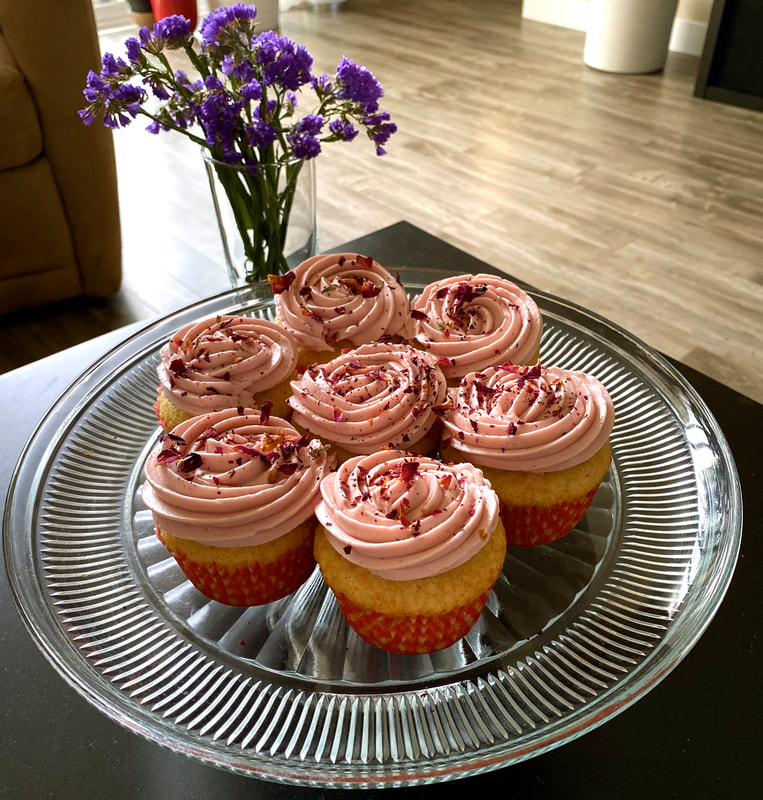 Signs of spring are in the air and the trees and plants in the neighbourhood are starting to flower and the world needs a good dose of pretty!! I'm pretty sure these cupcakes were designed to be "Mother's Day" appropriate... but not for my mama. She would 100% go for chocolate or coffee over roses and pink... but these are still fun to make. Also I've never used rosewater before so that was something new and fun. The cupcakes are not overly rose-y flavoured... and to be honest I wish they had more raspberry-rose flavour to them! They are pretty mild. But very nice. I even added a little bit more rosewater than the recipe requires... Which I would recommend BUT IF YOU DO... flavour with caution! As you don't want cupcakes that taste like soap. We're going for floral-garden vibes... not grandma's powder room. Finished off with a dusting of rose petals because they are one of my new favourite garnishes! Not only does it make the cupcakes look pretty, but it lightly perfumes them with a pleasant floral-y scent. Super girly... but sometimes that is just fun, okay?! 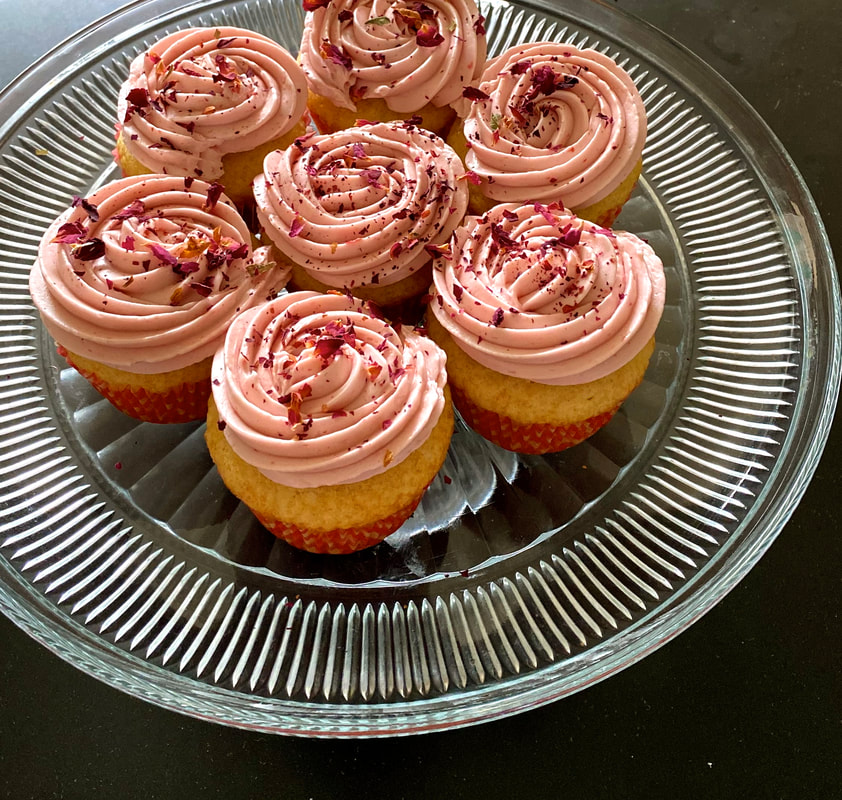 Raspberry Rose CupcakesRecipe from Food Network Magazine CUPCAKES
BUTTERCREAM
TIS THE SEASON!!! The BBQ SEASON! And I couldn't be more excited... because I am now the proud owner of the littlest, cutest camping bbq. Little Red. The Baby-Q. My shiny new toy! Let the grilling begin! 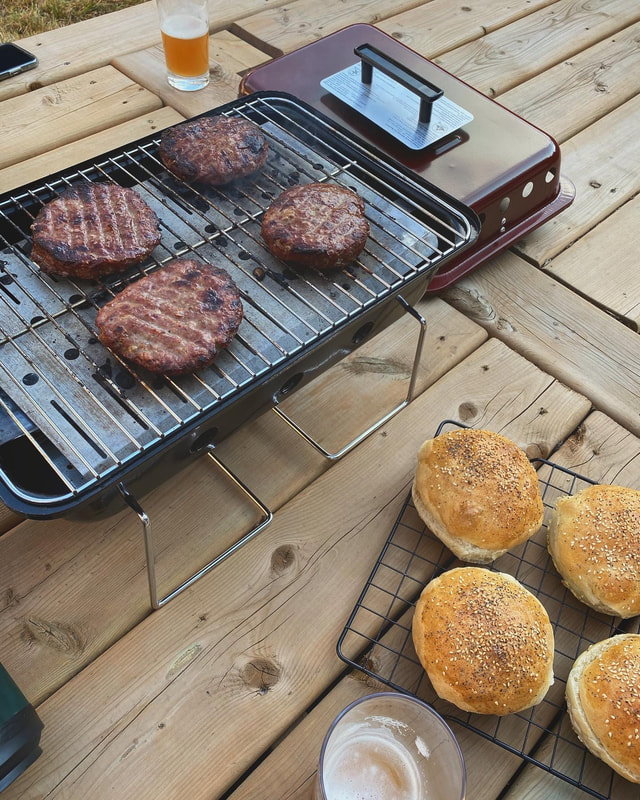 And what better time to get the party started than the kick-off of the May long weekend. It just feels right, you know? Also, I've had some burgers taking up valuable space in my freezer for quite some time now, but I've been holding off cooking them until I could get my hands on a BBQ... Because that is the truly the best and perhaps only way I want to cook burgers. Thanks to my awesome brother, he made this gal's grill-dreams come true! I was originally going to BBQ-sit his "big-boy" real BBQ... however it turns out he doesn't require those services anymore and wants his BBQ for himself. Which is entirely fair and understandable. However I was left thinking... "But how will I survive the summer sans-grill?" When I grow up I know I will buy a Big-Girl BBQ... but in the meantime he came up with a brilliant compromise to suit my urgent and immediate needs by gifting me a brand new tiny red camping BBQ that he had no use for! He even dropped it off at my house, with propane to boot! (I thanked him with some Sidewalk Citizen pizza dough). What a guy. I love my bro. And I love my new BBQ! HAPPY DAYS! 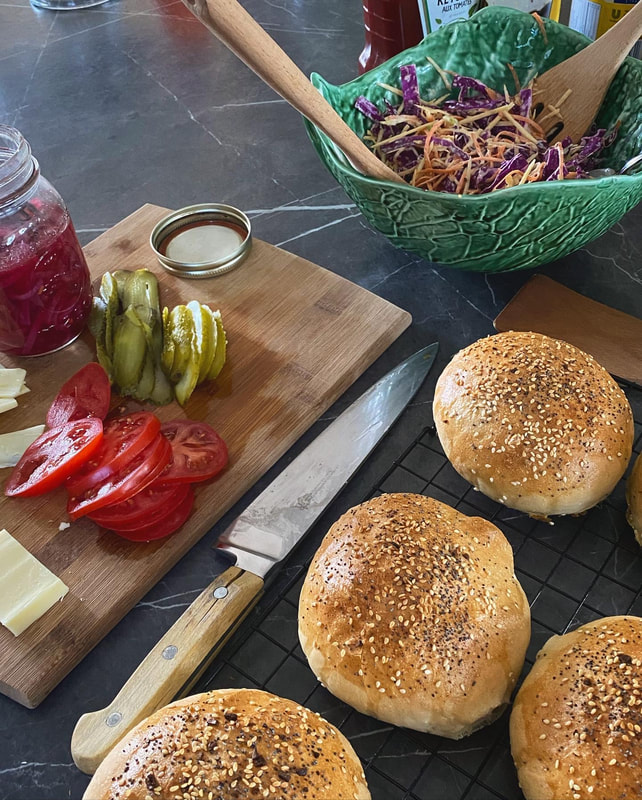 Naturally I had to make my own burger buns... which I sprinkled with the last little bit of my homemade "Everything" spice blend. But you could sprinkle these buns with just about anything your heart desires or your pantry inspires... herbs, spices, seeds, etc. I also whipped up some of my new favourite ingredient/condiment that I want to put on everything: Pickled red onions!!! They are the bees knees I tell ya! And soooo easy to make. A great use for the rather large half of a red onion that was begging to be utilized in my fridge... A jar of jewel toned magic I tell you! 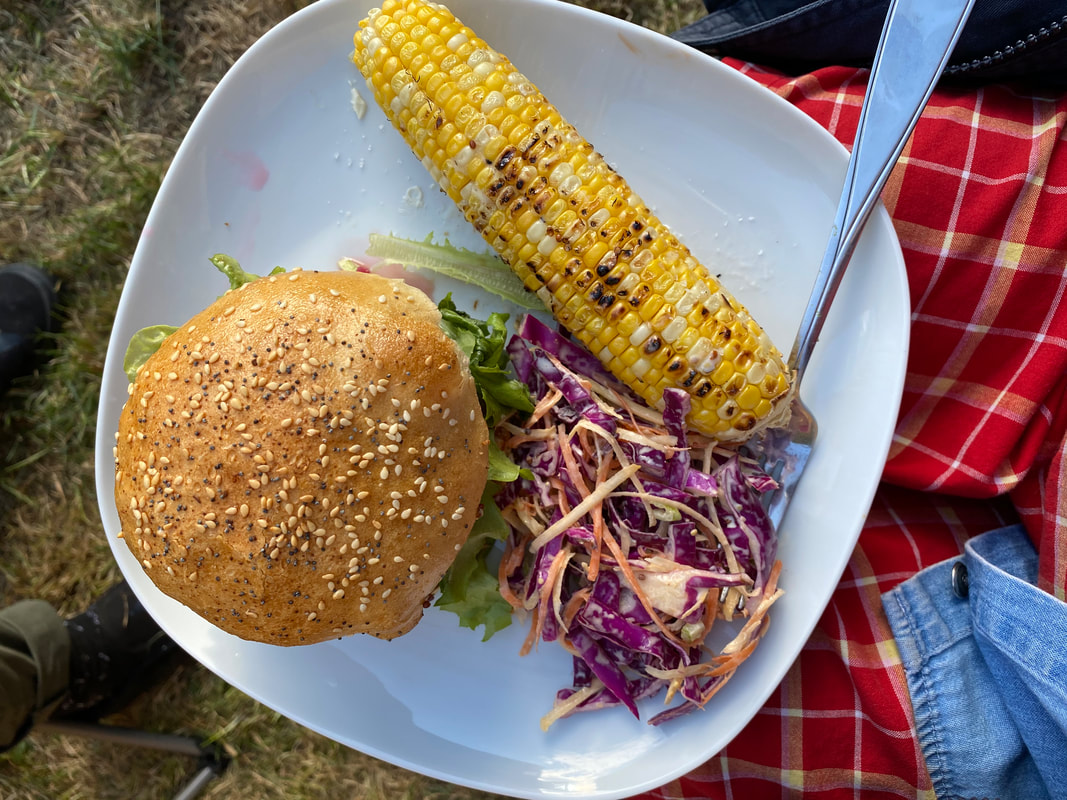 Burger Bunsrecipe slightly adapted from Noel Richardson makes 6 buns
Pickled Red onionsrecipe slightly adapted from Michael Smith
|
Tiny Tea PartyIt's about celebrating the tiny things. Categories
All
© 2015 Larissa Costella
All Rights Reserved (All images and content are my own unless otherwise noted) |
 RSS Feed
