
|
It's like a portable rhubarb crisp!  I imagine that most folks can get down with a rhubarb crisp/ rhubarb crumble bar... but perhaps I lost some of you at BASIL. But wait! Don't go! Ya gotta try it before you judge. I too was skeptical at first because upon first think, basil = pesto = pizza = savoury... BUT Basil has a place in the land of sweet things too! Quite a lovely place I might add. 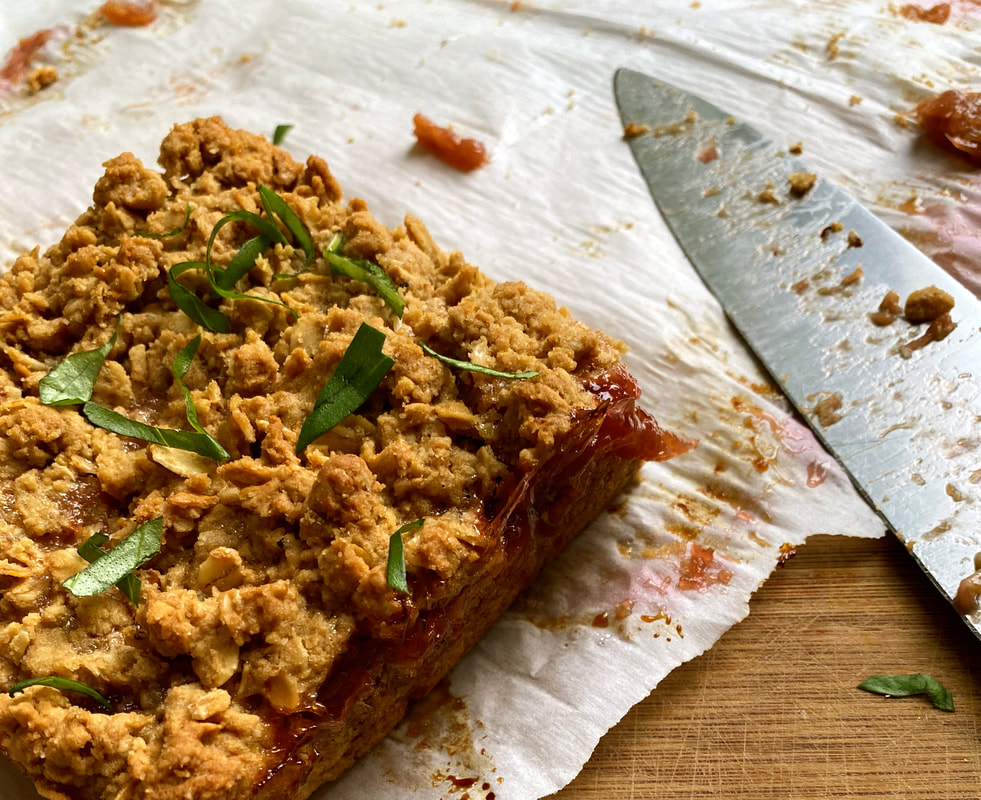 Basil has a lovely brightness and floral note... and it has kind of a sweetness of it's own... When paired with the right things, basil is a lovely addition to sweet treats! The basil in these bars does not remind me of pesto or pizza whatsoever. It is more like a lovely fruity complement to the rhubarb, not overpowering, just subtly adding it's flair. The cookie base of this is extra delish because I like to toast the oats, making them taste rich and nutty. The rhubarb filling is not too sweet, in fact it's pretty tart. But I think it balances everything out nicely. If it's too sour for you, stir in a couple extra spoonfuls of strawberry jam or sugar to taste. 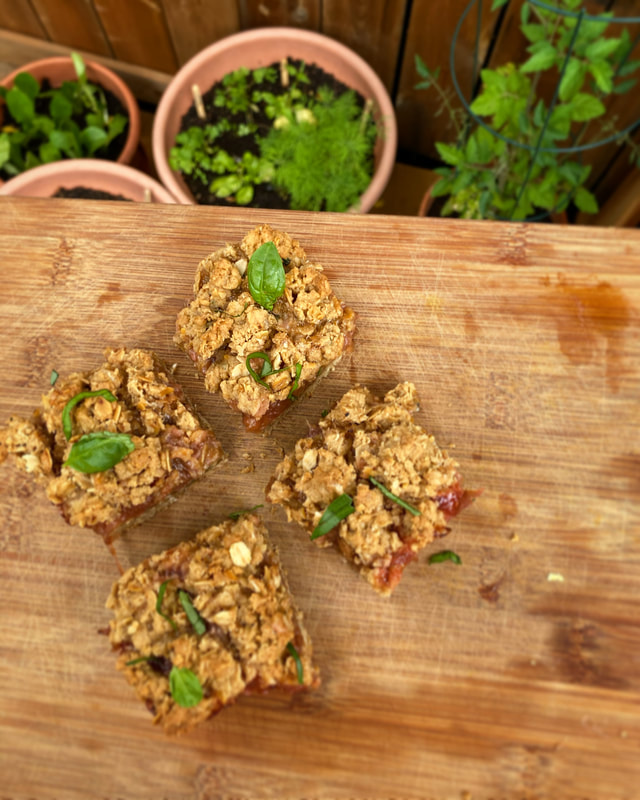 Rhubarb-Basil Oatmeal Crumble BarsRecipe adapted from Sticky Fingers Green Thumb for the rhubarb compote:
0 Comments
When your old boss, the Japanese pastry chef of a fine dining restaurant who is known for making very unconventional desserts with strange ingredients, invites you over for dinner and asks you to bring dessert, maybe you will consider making these strange but deliciously indulgent brownies? I knew I wanted to try an experiment and make something kind of strange, because this was exactly the appropriate audience with which to do. I forgot however, how analytical he is because before tucking into the brownie he was examining it and smelling it far more intensely than one would like, making me fear what could he possibly be thinking about my weird, simple and, let's be honest, quite rustic dessert. (He is not exactly the simple and rustic type.) I suddenly had second thoughts about sharing such a frumpy treat to this pastry guru whom holds far higher standards than I could ever aspire to. Nasu Dengaku is a Japanese side dish. It is eggplant that has been sliced in half, shmeared with a mixture of miso and mirin and roasted in the oven. I've never tried it. But when I saw a recipe for miso-eggplant-brownies that used this technique (and the accompanying photo looked dangerously fudgey and decadent) I had to give it a try. Miso is one of my favourite cooking ingredients, and I am sure intrigued by baking with it. It adds saltiness, but also such a depth of flavour that makes you go, "Dang what makes this taste sooo GOOOOOD?" It's satisfyingly savoury. So, can we add it to a dark and dense brownie batter? Stir in some roasted eggplant? Share it with some highly acclaimed chefs? (What the heck am I doing) To my relief, he claimed it was good! Now, whether or not he was just saying that to be polite we'll never know. However I do know that he is the type to say it like it is, and regardless, I liked the brownie very much if I do say so myself. And if I needed more consolation, everyone else who I shared it with gave me wide-eyed praise. All in all I'd say it was a success! And so continues the experiments and the usage of unconventional ingredients in baked goods! 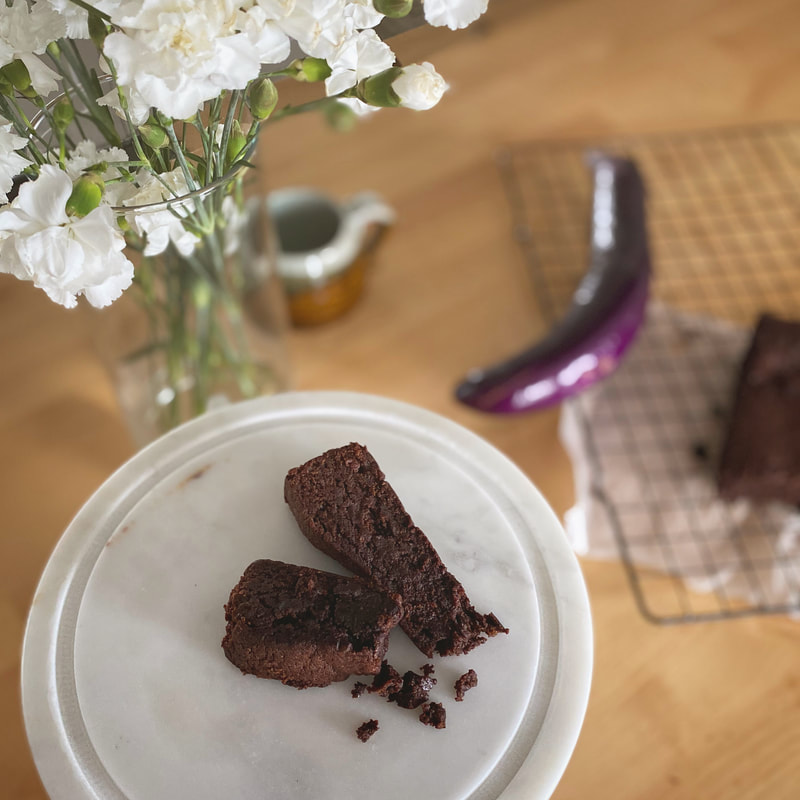 Nasu Dengaku BrowniesRecipe from "Sticky Fingers Green Thumb" by Hayley McKee 1- 2 long thin japanese eggplants (you will need about 1/3 cup of mashed roasted eggplant for the brownie batter)
2 Tbsp vegetable oil 1/4 cup white miso paste 4 tsp honey 4 tsp mirin 1/2 cup brown sugar 1 cup flour 1 tsp baking powder 1/4 cup cocoa powder 4 eggs 200g (7oz) butter 200g (7oz) dark chocolate, chopped 1 cup granulated sugar Heat your oven to 350˚F. Grease and line a 8X8" baking dish with parchment. Half the eggplants lengthwise and score the flesh deeply in a criss cross pattern. Soak the eggplant halves in cold salty water for 15 minutes. This step helps to remove any bitterness in the eggplant. Drain the eggplant halves and pat dry. Place cut side up (skin side down) on a parchment lined tray and brush with oil. Roast in the oven for about 45 minutes or until they begin to brown. Stir 4 tsp of the miso with the honey and mirin together in a small bowl to form a paste. Spread the paste evenly over the cut side of the eggplant. Return to the oven for 10-20 minutes, or until the mixture starts to bubble and brown on top. Remove from the oven and let cool before scooping out the flesh, discarding any seeds which can be bitter tasting. Measure out 1/3 cup of eggplant flesh and mash it well. Any leftover eggplant is a treat for you, the chef. Reduce the oven temp to 325˚F Whisk the flour, baking powder and cocoa powder in a bowl and set aside. In another bowl, whisk the eggs with the remaining miso paste until smooth. Gently melt the butter and chocolate together over a water bath, or very carefully in the microwave, stirring often. Pour the melted chocolate-butter mixture into a large bowl and stir in the brown sugar and white sugar. Gradually stir in the egg and miso mixture, then stir in the dry ingredients followed by the mashed eggplant. It's gonna be thick. It's gonna be delicious. Pour the batter into the prepared 8X8 tin and bake for 30-35 minutes... it will appear not quite set in the middle, but this is good if you like a fudgey brownie (all hands raised). If you are one of those sad people who prefers cakey brownies, you can go ahead and bake it longer, maybe 45 minutes and it wont be jiggly in the centre. But I want nothing to do with that brownie. Fudgey all the way. Let cool completely before removing from tin and slicing. This is especially important if your brownie is fudgey. Trying to cut a warm fudgey brownie can cause frustration. It also makes for a mighty tasty snack though, if your not concerned about clean cut edges :) Enjoy! And share with as many people as possible, because it's fun to watch reactions when you tell them what's inside. I promise most people will be stoked. And if they're not, they're wrong. (More for us!) Every year when the grocery stores suddenly stack their shelves high with tiny bite size versions of everyone's favourite chocolates and candies in preparation for spooky season I get STOKED. What a wonderful time to be alive! It seems that public establishments everywhere suddenly have not only a reason but perhaps an obligation to stick out bowls of free candy. And the public has not only a reason but an obligation to do their part by taking and indulging in such free tiny delicacies. I set all self control and logic on the shelf when it comes to halloween time. I normally wouldn't be eating candy bars everyday, but TIS THE SEASON and they are so small so just one can't hurt right? But just one never really seems to be thing. Oh well. THIS IS MY CHANCE.  This time of year is also terribly inspiring for me as a baker because I've had a looooong time dream of making my own homemade versions of halloween candy. Yet year after year passes and I somehow never set aside the time to do this. Well this year I changed that and I MADE the time. Twix bars were never my favourite halloween candy as a kid, but as an adult they have snuck right up there and I've realized that they are like tiny versions of "millionaire's shortbread"... which is one of my favourite treats to bake/eat!!! So I knew I had to make homemade Twix bars a reality! But once I get the ball rolling it's hard to stop and suddenly I'm thinking, what if we somehow incorporated PUMPKIN into this candy classic... and soon with a bit of research and recipe mish-mashing and kitchen tinkering I have successfully created the "Pumpkin Twix Bar" that I am proud to share with you today!! Don't let your dreams be dreams! I quite like these little guys. They feature a shortbread-cookie base that is spiced with the all familiar "pumpkin pie spice" (use a blend of cinnamon, nutmeg and ginger if you don't have a pumpkin pie spice blend kicking around). The filling is just as I was hoping for... a chewy caramel that is not rock hard and impossible to bite, but not too soft so that it oozes everywhere and looks messy. No, this caramel holds its shape but gives way when your teeth sink into it. For best results though, serve this at room temperature. I especially love to sprinkle the top with toasted pumpkin seeds and flaky sea salt... to show that these ain't your ordinary twix bar... and also to balance out the sweetness from the caramel. Enjoy!! 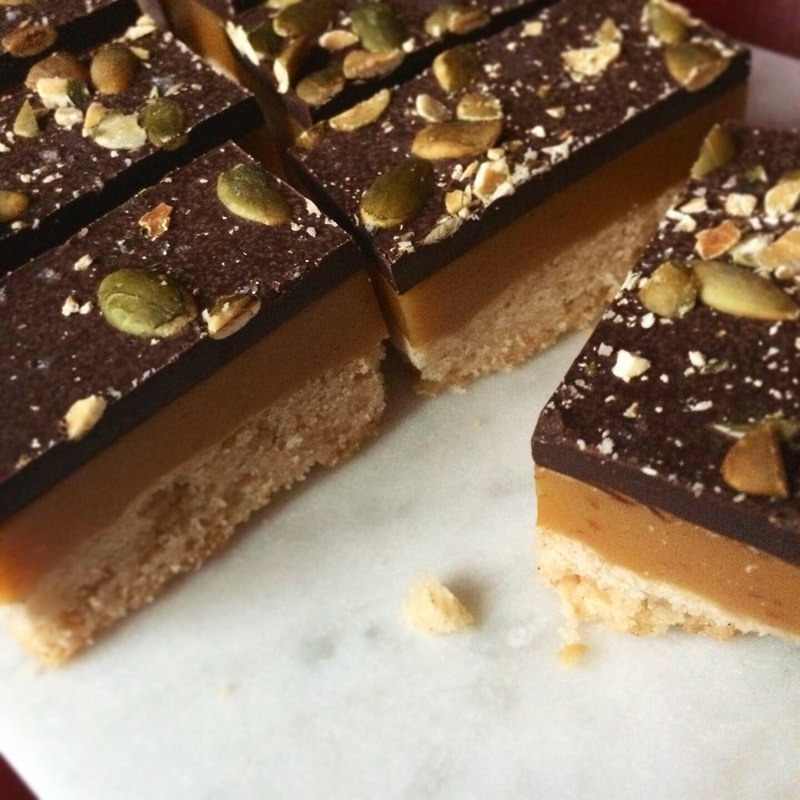 Pumpkin Twix BarsRecipes adapted from "Tastes Better from Scratch" and "Challenge Dairy" Shortbread Base:
Here in Cow Town it's been averaging at about -25˚C for the last week or so... it's time for some TROPICAL TREATS I say!!! ENOUGH OF THIS COLD.  These zesty bars will trick you into thinking you are on a beach in Mexico, sipping a paloma, with your bare feet tucked into soft warm sand... when in reality I have spent too many minutes waiting for the bus outside and despite my desperate attempts to keep my feet warm by wearing my (ugly but warm) clompy snow boots, I still managed to get frostbitten toes for which I have lost all feeling... where was I? Oh yes, eating our feelings through the power of citrus! (and tequila, that helps too) 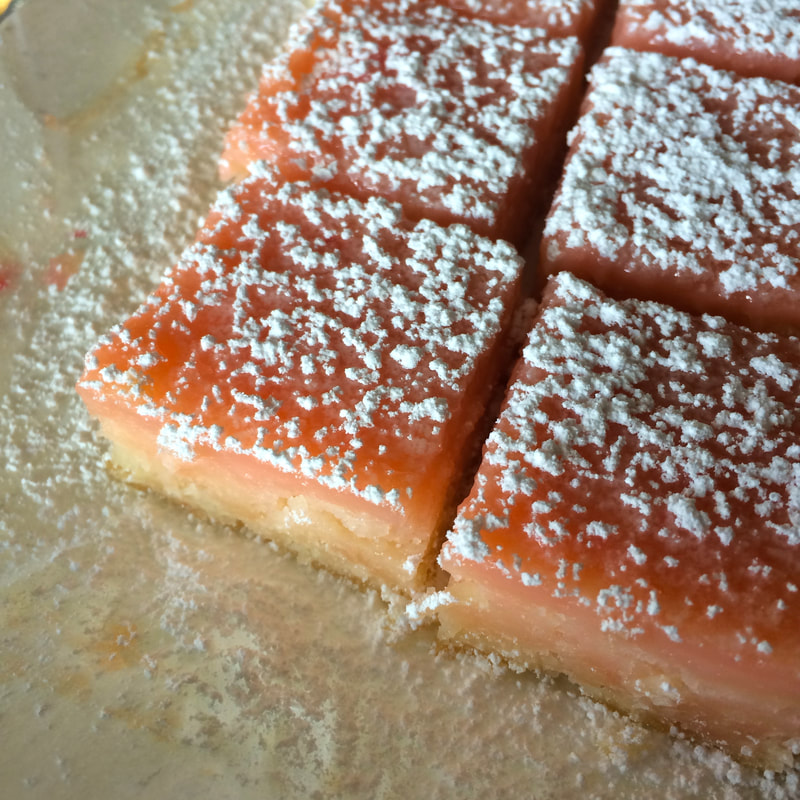 This recipe was born out of a desire to make lemon bars... However, not having any lemons, nor the desire to venture out to the grocery store for only them specifically. What I did have sitting around in my fridge needing to be utilized was grapefruit and lime, leftover from the recent grand Paloma Cake adventure. If one can make lemon bars out of lemons, then surely one can make Paloma bars out of grapefruit lime and tequila!!! Right? Throw in some coconut because YUM! and we have ourselves a tropical treat to make us forget about winter for juuuuuust a second. It's slightly more affordable than actually going to Mexico, which is what my parents did for this month, smart people, I tell ya. This is as close as I'll get. 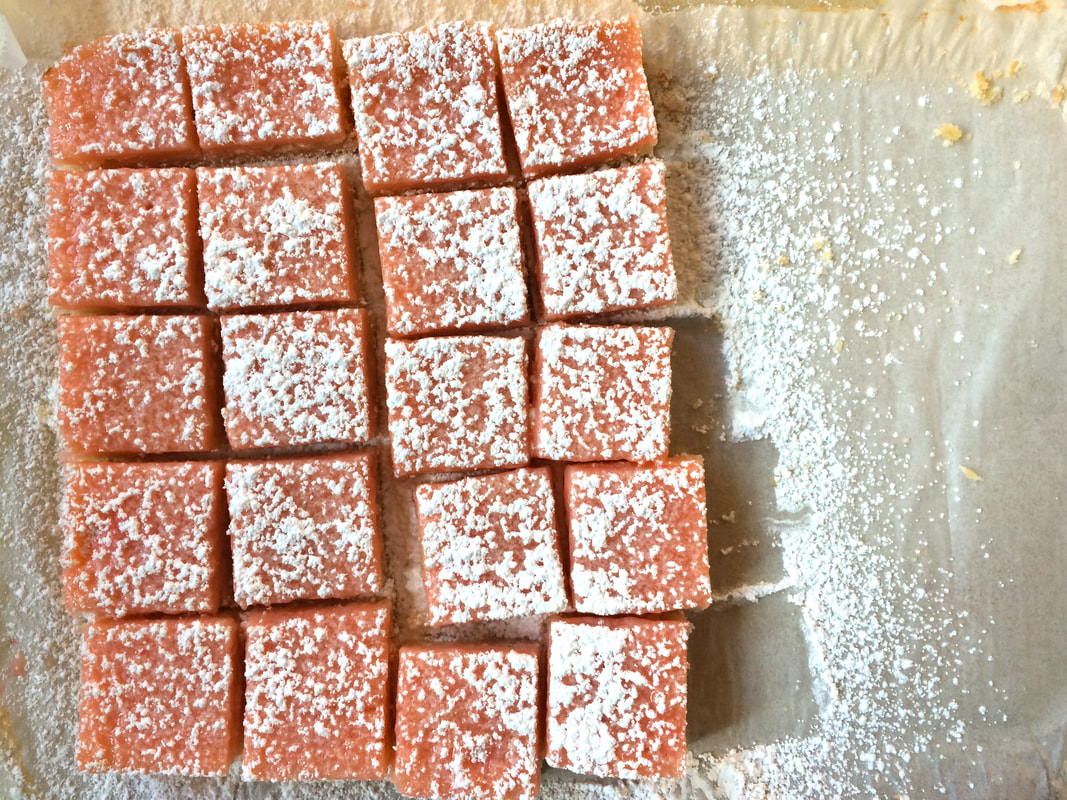 Paloma Coconut SquaresRecipe adapted from Martha Stewart for the base:
And now, the only kind of date square I ever want to make ever. It will take much convincing for me NOT to put chocolate into all my date squares now. 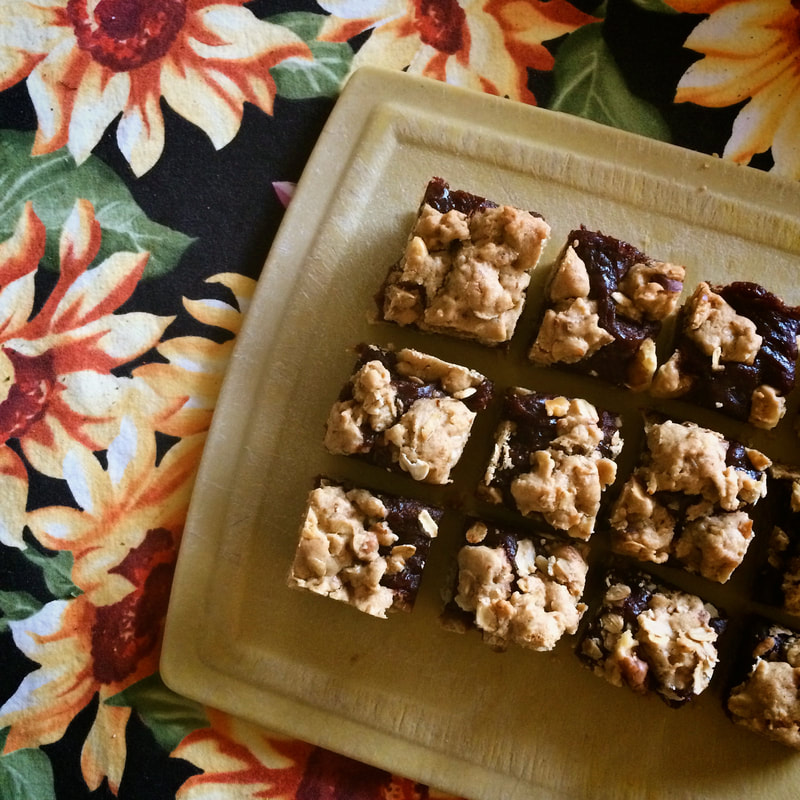 Let's talk about one of my favourite things to do in life: House sitting. It's the best. I get to pretend I live somewhere new, with all these new and wonderful things, I have space all to myself, but best of all I get to use somebody else's kitchen and discover all their wonderful dishes and snoop through the pantry to see what ingredients lurk within. This might sound (okay it does sound very) creepy. BUT I only do so with permission from the home owner... and they know full well that I will only use their kitchen for good. They can also rest assured that when they come home they better believe that there will be fresh baking awaiting them upon their (clean) countertop. My kind and gracious Aunt let me live in her cozy home for a week, and these next-level date squares are what I created in her cute little tidy kitchen. It is so clean and organized it's inspirational. I brought some of the ingredients from my home but had a time using her measuring spoons and little hand mixer... which felt strange and foreign to me. (I am spoiled with my fancy stand mixer). Her oven is amazing, which is all the more encouragement for me to bake. I mean, it's so clean! The front glass you can ACTUALLY SEE THROUGH. I don't think I've ever had that in an oven. I could just sit on the kitchen floor and watch things bake. 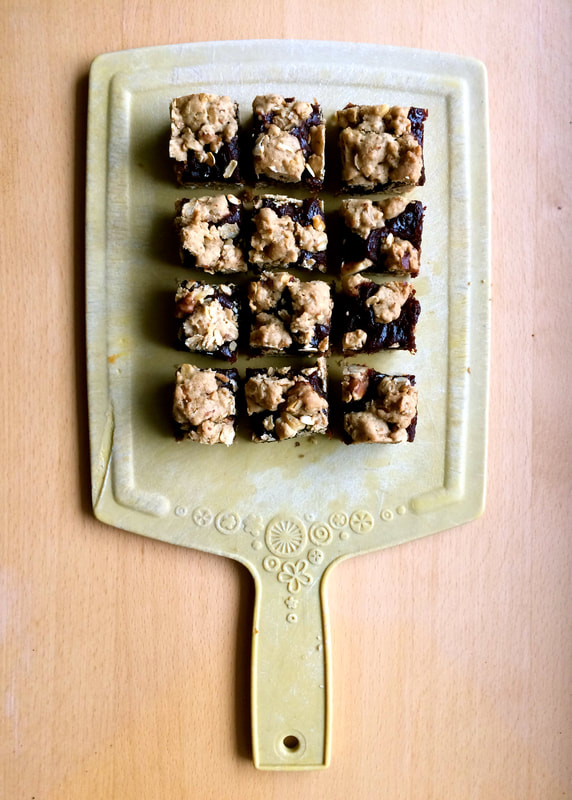 Dates are great! I love how they are naturally sweet and taste like brown sugar. When you cook them down until they are soft and jam-like, then add chocolate, and orange zest (!) you have my ultimate attention. (I saved some of this filling back just so I could eat it with a spoon later. No shame. Just smart.) I wish I could take credit for this recipe idea but this is another great and fabulous recipe from the brilliant Renee Kohlman AKA SweetSugarBean. Be prepared for lots of her to show up on this lil site... Her tastes, cravings and ideas are freakishly similar to my own and sometimes I feel like she has taken things out of my own head and published them in a book. I love it. **Said book was given to me by said Aunt as a baking-school-graduation gift, and therefore an appropriate thing to bake from whilst taking care of her home. 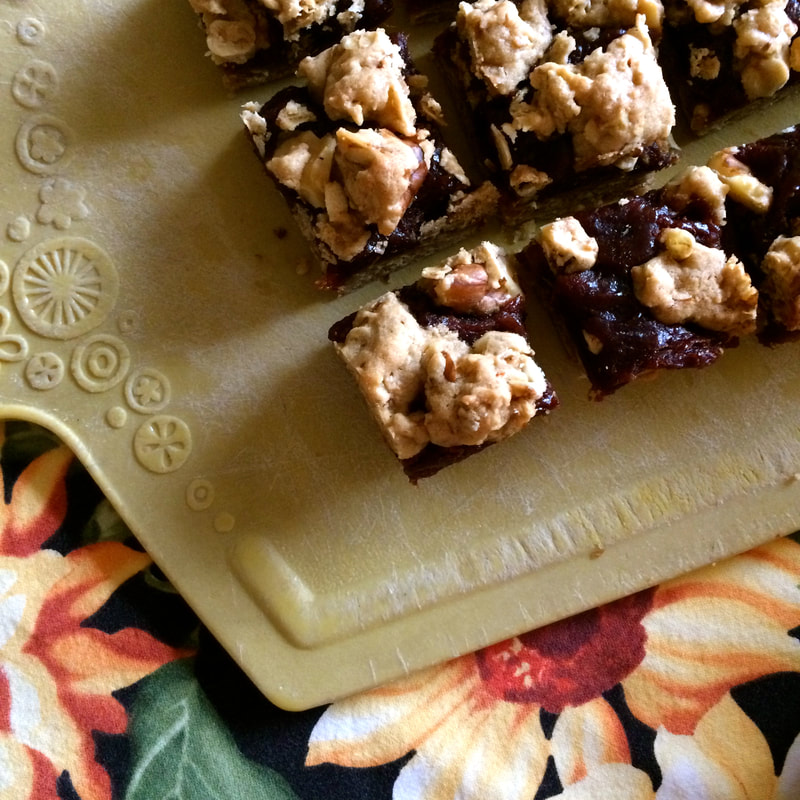 I can take credit for one thing in this recipe, I decided to toast both the oats and the walnuts before I mixed them into the crumb, just to ooompf up the flavour a bit more. Once you learn the wonders of toasted oats, it's hard to go back to life as it once was. I love and adore how oats taste and smell nutty when you toast them to a dark amber; it helps balance the sweetness of the filling nicely I think. I love these date squares!! They are so good please try them!! Make tonight date night. Chocolate Date Square with Toasted Oat and Walnut CrumbleRecipe from SweetSugarBean (Renee Kohlman) All The Sweet Things cookbook Chocolate Date Filling:
Toasted Oat & Walnut Crumble:
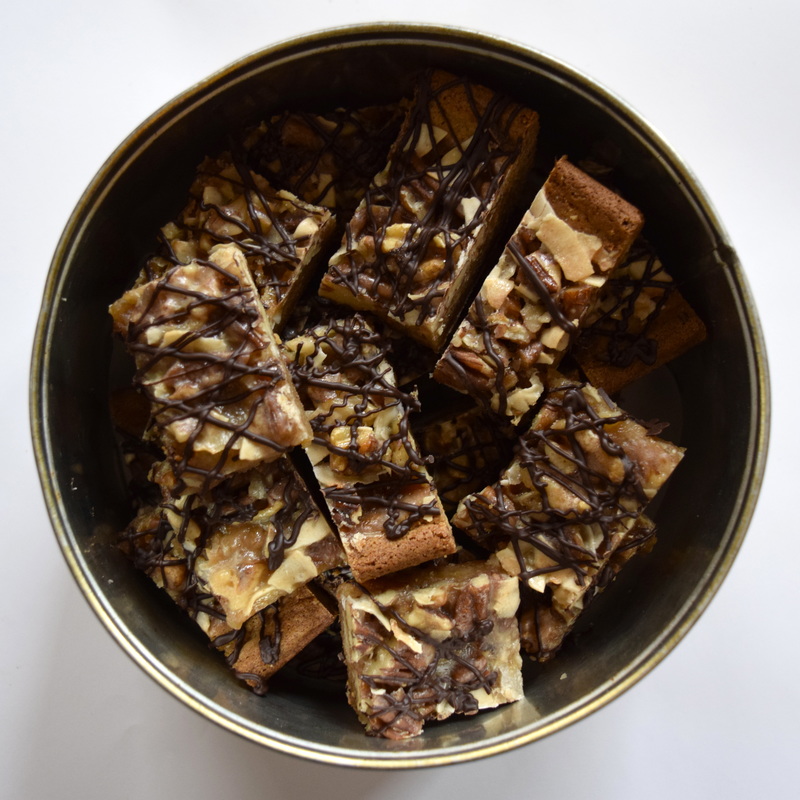 At least once I day I get a craving for something like chewy chocolate chip cookies, or a nutty chocolate bar. I think everyone does though really. If they say they don't, they are obviously lying. Something chewy, chunky, sweet but a little bit salty, don't forget the chocolate please. Enter these crowd pleasers. A cross between a cookie and a chewy caramel-y nut loaded chocolate bar, these are AMAZING! And addictive. I have to seriously practice my self control. HOLD ME BACK, BRO, HOLD ME BACK! 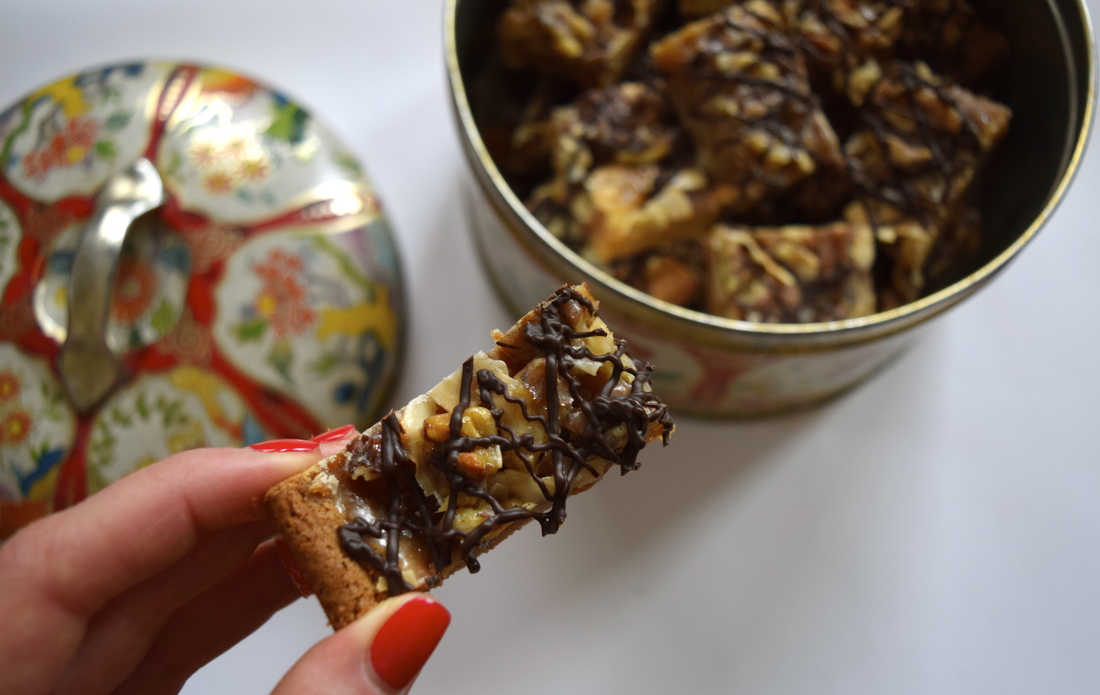 Caramel Nut BarsRecipe adapted from Georgia Annis For the Cookie Base:
|
Tiny Tea PartyIt's about celebrating the tiny things. Categories
All
© 2015 Larissa Costella
All Rights Reserved (All images and content are my own unless otherwise noted) |
 RSS Feed
