
|
When your old boss, the Japanese pastry chef of a fine dining restaurant who is known for making very unconventional desserts with strange ingredients, invites you over for dinner and asks you to bring dessert, maybe you will consider making these strange but deliciously indulgent brownies? I knew I wanted to try an experiment and make something kind of strange, because this was exactly the appropriate audience with which to do. I forgot however, how analytical he is because before tucking into the brownie he was examining it and smelling it far more intensely than one would like, making me fear what could he possibly be thinking about my weird, simple and, let's be honest, quite rustic dessert. (He is not exactly the simple and rustic type.) I suddenly had second thoughts about sharing such a frumpy treat to this pastry guru whom holds far higher standards than I could ever aspire to. Nasu Dengaku is a Japanese side dish. It is eggplant that has been sliced in half, shmeared with a mixture of miso and mirin and roasted in the oven. I've never tried it. But when I saw a recipe for miso-eggplant-brownies that used this technique (and the accompanying photo looked dangerously fudgey and decadent) I had to give it a try. Miso is one of my favourite cooking ingredients, and I am sure intrigued by baking with it. It adds saltiness, but also such a depth of flavour that makes you go, "Dang what makes this taste sooo GOOOOOD?" It's satisfyingly savoury. So, can we add it to a dark and dense brownie batter? Stir in some roasted eggplant? Share it with some highly acclaimed chefs? (What the heck am I doing) To my relief, he claimed it was good! Now, whether or not he was just saying that to be polite we'll never know. However I do know that he is the type to say it like it is, and regardless, I liked the brownie very much if I do say so myself. And if I needed more consolation, everyone else who I shared it with gave me wide-eyed praise. All in all I'd say it was a success! And so continues the experiments and the usage of unconventional ingredients in baked goods! 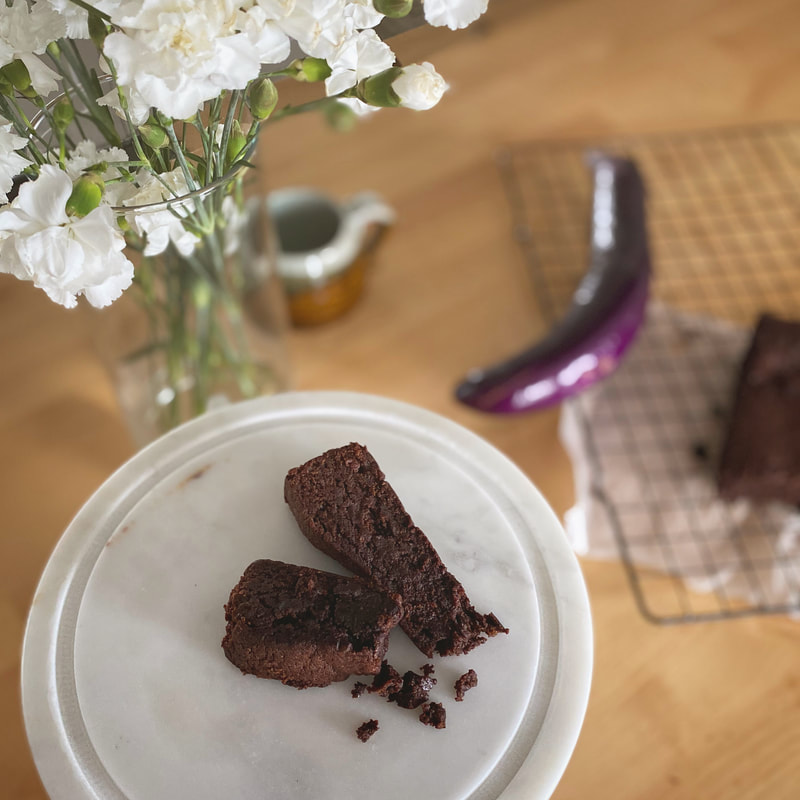 Nasu Dengaku BrowniesRecipe from "Sticky Fingers Green Thumb" by Hayley McKee 1- 2 long thin japanese eggplants (you will need about 1/3 cup of mashed roasted eggplant for the brownie batter)
2 Tbsp vegetable oil 1/4 cup white miso paste 4 tsp honey 4 tsp mirin 1/2 cup brown sugar 1 cup flour 1 tsp baking powder 1/4 cup cocoa powder 4 eggs 200g (7oz) butter 200g (7oz) dark chocolate, chopped 1 cup granulated sugar Heat your oven to 350˚F. Grease and line a 8X8" baking dish with parchment. Half the eggplants lengthwise and score the flesh deeply in a criss cross pattern. Soak the eggplant halves in cold salty water for 15 minutes. This step helps to remove any bitterness in the eggplant. Drain the eggplant halves and pat dry. Place cut side up (skin side down) on a parchment lined tray and brush with oil. Roast in the oven for about 45 minutes or until they begin to brown. Stir 4 tsp of the miso with the honey and mirin together in a small bowl to form a paste. Spread the paste evenly over the cut side of the eggplant. Return to the oven for 10-20 minutes, or until the mixture starts to bubble and brown on top. Remove from the oven and let cool before scooping out the flesh, discarding any seeds which can be bitter tasting. Measure out 1/3 cup of eggplant flesh and mash it well. Any leftover eggplant is a treat for you, the chef. Reduce the oven temp to 325˚F Whisk the flour, baking powder and cocoa powder in a bowl and set aside. In another bowl, whisk the eggs with the remaining miso paste until smooth. Gently melt the butter and chocolate together over a water bath, or very carefully in the microwave, stirring often. Pour the melted chocolate-butter mixture into a large bowl and stir in the brown sugar and white sugar. Gradually stir in the egg and miso mixture, then stir in the dry ingredients followed by the mashed eggplant. It's gonna be thick. It's gonna be delicious. Pour the batter into the prepared 8X8 tin and bake for 30-35 minutes... it will appear not quite set in the middle, but this is good if you like a fudgey brownie (all hands raised). If you are one of those sad people who prefers cakey brownies, you can go ahead and bake it longer, maybe 45 minutes and it wont be jiggly in the centre. But I want nothing to do with that brownie. Fudgey all the way. Let cool completely before removing from tin and slicing. This is especially important if your brownie is fudgey. Trying to cut a warm fudgey brownie can cause frustration. It also makes for a mighty tasty snack though, if your not concerned about clean cut edges :) Enjoy! And share with as many people as possible, because it's fun to watch reactions when you tell them what's inside. I promise most people will be stoked. And if they're not, they're wrong. (More for us!)
17 Comments
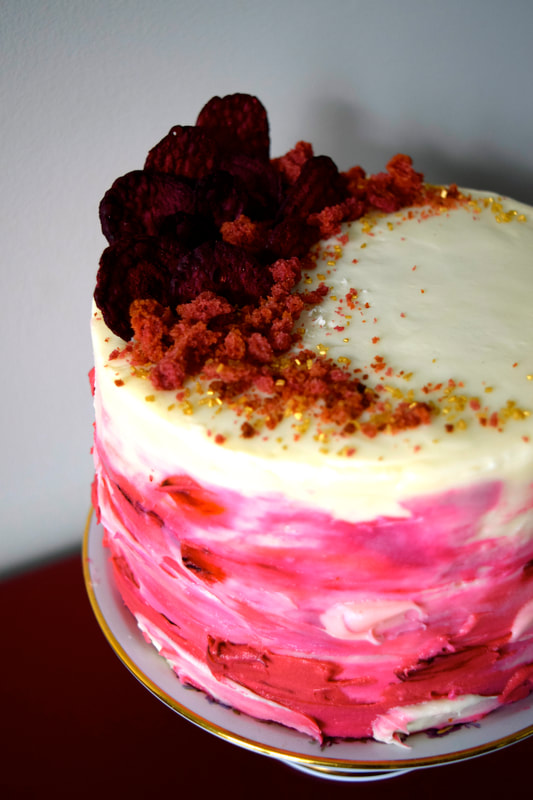
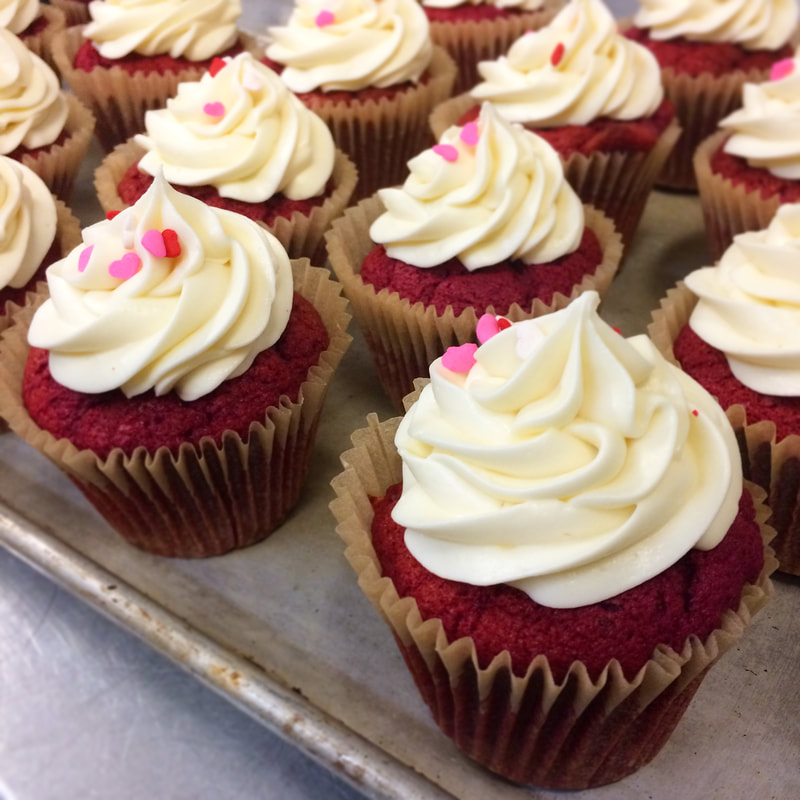
Roses are red, Velvet is too, This cake is made with beets, So it must be good for you. We all know that a cake for February, AKA Valentines MONTH (not sorry) was gonna be a red/pink deal. For me, that means whipping up one of my favourite recipes: BEET red velvet. 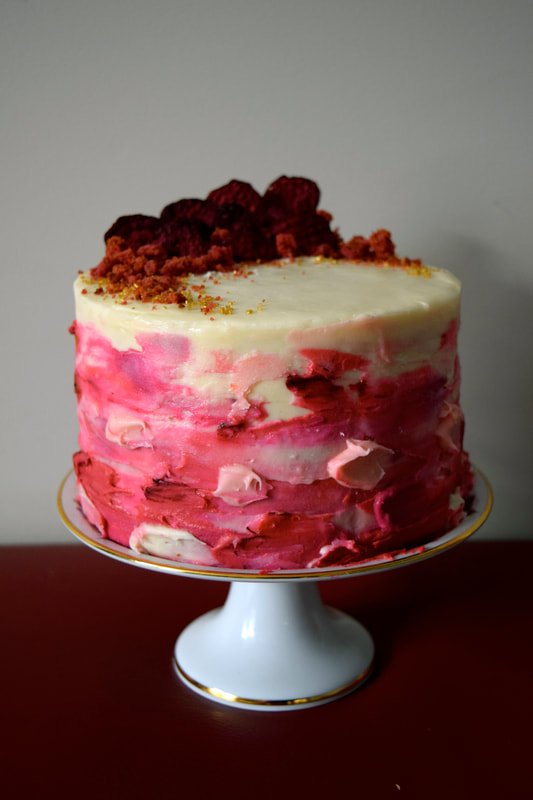 That's right, BEET! This is a historically correct red velvet cake, in that the colour comes entirely from the magical power of beets, not a trace of food colouring. ALTHOUGH I confess that food colouring was used in the frosting. But I'm in charge here, so, it's okay. Did you know that back in the day Red Velvet was named thusly due to the velvety texture imparted by beets? It's true. If you're like, "for real, beets in cake?" then I say hey, if carrot cake is so common then why not beet cake! You've gotta try it, I've converted a lot of non beet-lievers. (Yikes that was bad) But seriously even the skeptics loved the flavour of this cake! Even a friend who says he "doesn't like beets". The beets add flavour, colour, texture, and a little drama. Nice and tangy, especially good with cream cheese frosting...
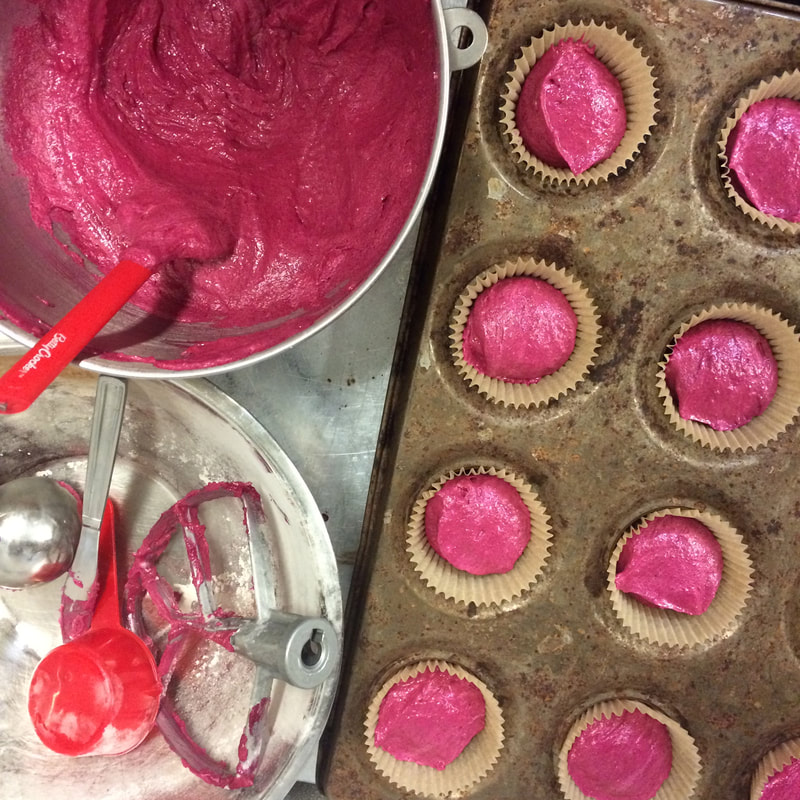
I made this recipe in cupcake form for Higher Ground Cafe for some valentine-themed treats. I always get so stoked to see how vibrant the colour is! I called these "Heart-Beet Cupcakes" heh heh  As this is part of my monthly cake challenge, I needed to try something new. This month I attempted the technique of painting with frosting! It turned out not exactly as I envisioned in my mind... to be honest my first thought was "WOW epic fail" like when you see something on pinterest and then in reality it just is laughably awful? But after walking away and coming back with fresh eyes, I actually liked what I created! Like so many of my art experiments, really! This one really felt like painting. FUN. Perhaps painting with buttercream might yield better results as opposed to cream cheese frosting... But this cake really requires cream cheese frosting. It's just non-negotiable. 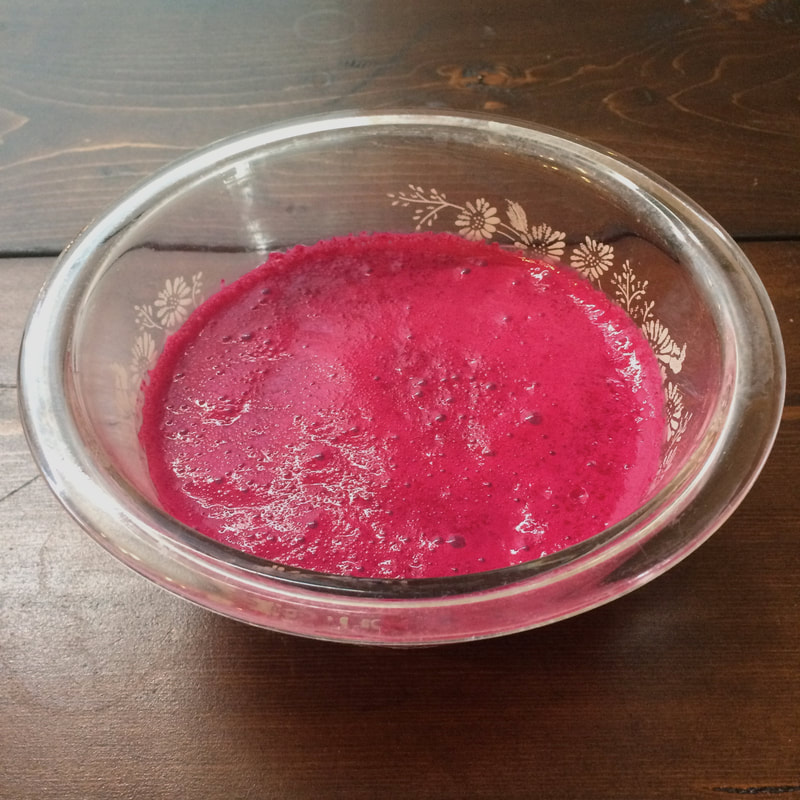 This bowl here contains the liquid ingredients for our beet-cake-batter. WOW amiright? I swear I didn't edit this! Life is this magical! I love veggies. 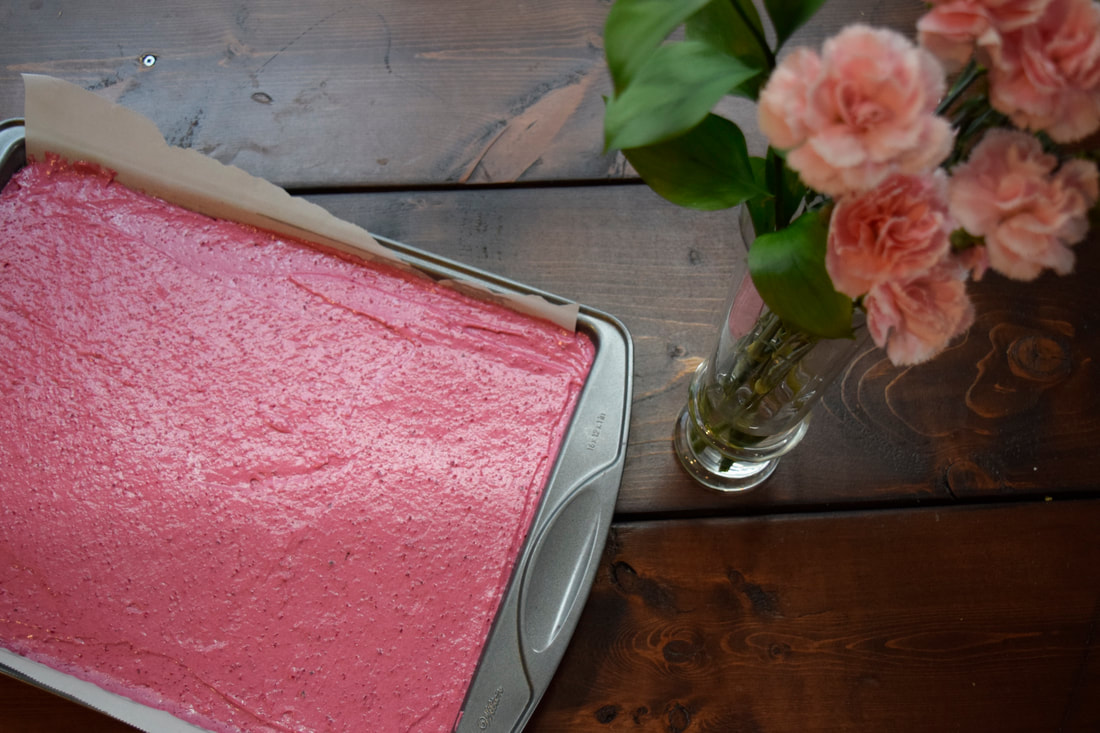 And here is our cake batter, all trayed up and ready for the oven. But first, a glamour shot. This batter deserves it. You may notice that I often bake cakes as a flat sheet tray, and then cut them into circles for stacking. This way the layers bake flat and evenly, the baking time shortens, you can cut them into any size you want, and it gives you lots of scraps for snacking :) Also, if you just moved and don't currently own a round cake pan, this technique really comes in handy... 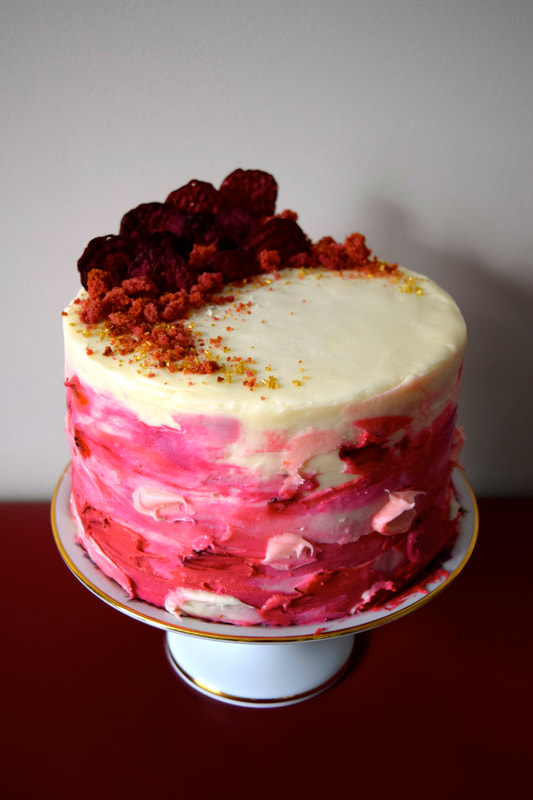 Garnished with toasted red-velvet crumbs (good use of those cake scraps!), beet chips (store bought from costco!), and gold sprinkles because oooh lala. To February! The short but sweet month of love, cold weather, and chocolate that goes on sale. What a grand time of year. Time to sneak some veggies into dessert! It's practically health food! Right? All-Natural Red Velvet CakeRecipe barely adapted from Yossy Arefi
Cream Cheese Frosting
 |
Tiny Tea PartyIt's about celebrating the tiny things. Categories
All
© 2015 Larissa Costella
All Rights Reserved (All images and content are my own unless otherwise noted) |
 RSS Feed
