Tiny tea party
  • Blog
  • About
  • Contact
  • Catering

Salty-Caramel Ice Cream

8/1/2016

0 Comments

 
Consider this the Ice Cream of the Month for JUNE! And forgive me for the lack of photos of my own ice cream, I will instead spam this recipe with photos of the inspiration​ of this ice cream. Enter, Village Ice Cream. My favourite local ice cream establishment.
Picture
The Salted Caramel ice cream at Village is famous, almost everybody knows about it, and I would like to assume that nearly everybody says it's their favourite flavour on the menu! It is definitely mine at least... All of their flavours are kind of mind blowingly delicious, however there is just something about that salty-caramel that I can just not ignore, ever. It's ridiculously rich, creamy and sweet, with just enough salty tang to make you want more more more! I always think about trying a different flavour, but after a few samples, I head straight back to Salted Caramel. If I have to pay $5 for only one flavour, it better be the best.
Picture
After learning how to make ice cream at home and having some decent results, the thought suddenly occurred to me that I could try to replicate this winning flavour AT HOME and have a (almost) never ending supply! Then I would be doing life right. This recipe that I found from none other than Jeni's Splendid Ice Creams (of course) is pretty darn close. It absolutely fills the gaps for when I can't get down to Village to treat myself. Also, it means I can do whatever I want with it, such as turn it into ice cream pie, and sandwich it between slices of banana bread, and eat it straight out of the bin from the freezer in my pyjamas late at night. Let the record show that I have done all three of these things, with outrageous success.
Picture
My mother and I, post bike ride, enjoying our scoops of creamy ethereal goodness. Let the Salty-Sweet combo reign queen of the flavour world FOREVER!

Salty-Caramel Ice Cream

Recipe from Jeni's Splendid Ice Cream
  • 2 2/3 cups whole milk
  • 1 tbsp + 2 tsp cornstarch
  • 2 ounces (4 tbsp) cream cheese, softened
  • 1/2 tsp fine sea salt
  • 1 1/2 cups heavy cream
  • 1/4 cup corn syrup
  • 3/4 cup sugar
  • 2 tsp vanilla extract
***The "Dry-Burn" Caramel technique:
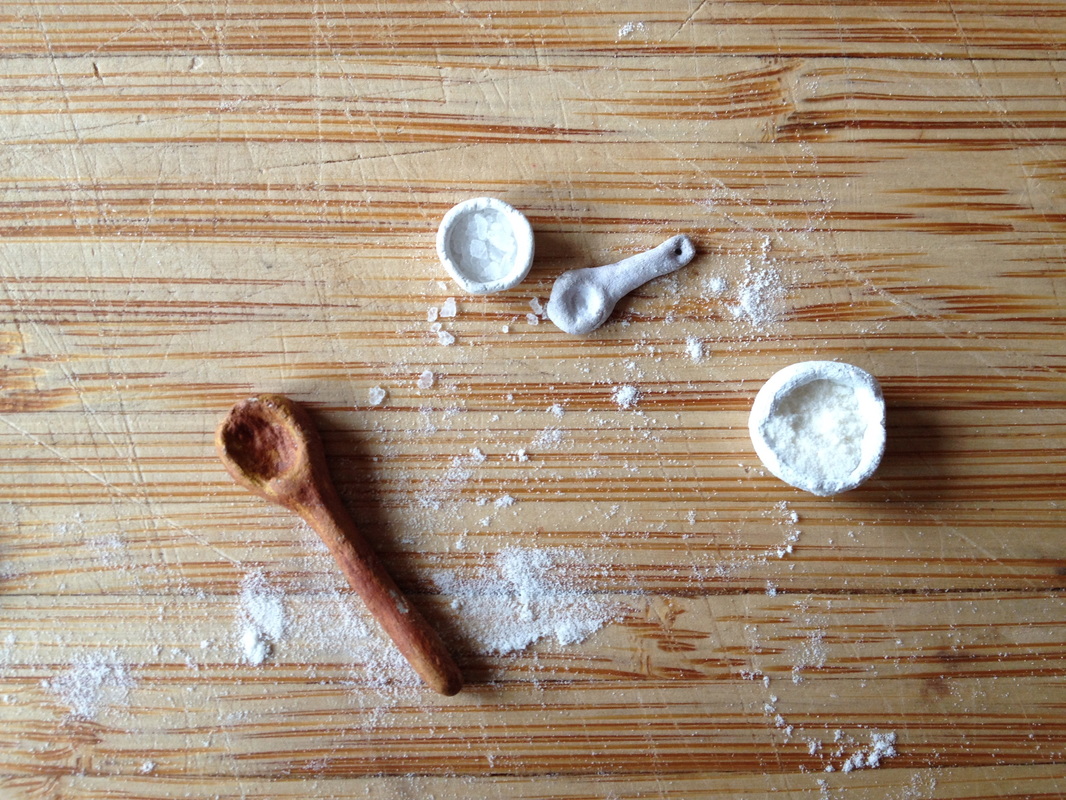
Many recipes will instruct you to add water to the sugar before putting it on the heat, but here we skip the water. This method means that the sugar will caramelize more quickly and speed up the whole process, however it also burns much more easily. You must keep a careful eye on the sugar and be ready with your cream. The sugar can go from white to BURNT in a second. But do not fear! As long as you are careful and pay attention, you can totally do this! And you will feel like a wizard when you do.

Prep:
  1. Mix about 2 tbsp of the milk with the cornstarch in a small bowl, stir to make a smooth slurry.
  2. Beat the cream cheese with the salt in a medium bowl until smooth.
  3. Mix the cream with the corn syrup in a measuring cup with a spout. Set aside (you will pour this mixture into your caramelizing sugar to stop it from cooking further).
Make the Caramel:
  1. Heat the sugar in a 4-quart saucepan over medium heat. Stand over the sugar with a heatproof spatula in hand, but do not touch the sugar until there is a full layer of melted and browning liquid sugar on the bottom with a small layer of unmelted white sugar on the top.
  2. When the edges of the melted sugar begin to darken, use the spatula to bring them into the centre of the unmelted sugar to help it melt. Continue pushing the darker sugar around until it is all melted and a completely even golden-amber colour, like an old penny.
  3. When little bubbles begin to explode with dark smoke, give it one last stir then remove from the heat. Immediately, but carefully, pour about 1/4 cup of the cream and corn syrup mixture into the burning hot sugar. Caution! It will bubble and pop rather furiously but keep stirring! Add a little bit more at a time, stirring all the while to make sure it is evenly incorporated and smooth. If you have solid chunks of sugar, don't worry, just keep heating and stirring the mixture until the melt away.
Make the Ice Cream Base:
  1. Return the pan to a medium-high heat and add the milk. Bring to a roiling boil for 4 minutes. Remove from the heat and gradually whisk in the cornstarch slurry.
  2. Bring back to a boil over medium-high heat and cook, stirring with a heatproof spatula until slightly thickened, about 1 minute. Remove from the heat. If any caramel flecks remain, pour the mixture through a sieve.
  3. Add a ladleful of the hot milk base to the cream cheese and mix until completely smooth, then add in the rest of the hot milk and mix to combine. Whisk in the vanilla. Cover the base with plastic wrap and chill in the fridge until completely cold, preferably overnight.
  4. Once the base is completely chilled, churn in your ice cream maker according to the machine instructions. Spin until thick and creamy. Transfer to a storage container, press a sheet of parchment directly on the surface and seal with an airtight lid. Keep in the freezer for at least 4 hours until the ice cream is firm enough to serve.
enjoy!
​xxx
Picture
0 Comments


Leave a Reply.

    Picture

    Tiny Tea Party

    It's about celebrating the tiny things.

    Categories

    All
    Bars
    Biscuits
    Bread
    Butter
    Cake
    Caramel
    Chocolate
    Cookies
    Fruity
    How To
    Ice Cream
    Nutty
    Sorbet
    Spring

    RSS Feed

    © 2015 Larissa Costella 
    ​All Rights Reserved 
    (All images and content are my own unless otherwise noted)
Powered by
  • Blog
  • About
  • Contact
  • Catering
✕