
|
Every cake deserves a glamour shot...  The world is very unfamiliar at the moment and at times can feel a bit dark. Dark times call for a dark cake... at the same time, something to bring us comfort in place of uncertainty. I experiment and like to try new recipes quite a lot but every so often I make something that is just so good that I crave making it again. Either because it is seasonal, fun to make, or other beg me to do so. For this particular cake, it just patiently yearns to be made for a true St Patrick's day celebration, it's fun to make because you need BEER for it (also you don't use the full can so you're pretty much encouraged to drink whilst baking), and in this case it was me who was begging myself to make one... And sometimes one must follow their heart. Especially if it involves chocolate cake. And beer. And nobody was going to complain about it. This cake was made this year during the initial brink of a literal pandemic in which shelves in grocery stores had been more or less wiped clean. I made a special effort to get out of my house and collect THE LAST* pathetic tiny carton of 6 eggs (who only buys 6 eggs at a time normally?!) and THE LAST tiny tub of sour cream. It was worth it. *I lied, there was one other tiny carton of 6 eggs, but a good half of them were broken. What a strange time it is out there. Good thing we can make cake to comfort us. My roommates particularly liked this one too... it's a wonderful snacking cake to just leave on a cake stand in your kitchen with a small knife sitting next to it, so that one may saw off a nibble here or there anytime of day or night.  Chocolate Guinness CakeRecipe from Nigella Lawson
For the cream cheese glaze, all I did was take some cream cheese frosting that I had stashed in my freezer. I melted it down with a splash of cream and a splash of Bailey's irish cream liqueur. If you need a recipe for cream cheese frosting... Martha Stewart is always my go-to gal. However, I will also include the frosting recipe that Nigella suggests for her cake... the only reason I didn't use this one is because as mentioned above I already had some very suitable frosting. And better to waist it than waste it, ya know?
0 Comments
Isn't it just the best when old classics get re-imagined into a different form? It's like when you hear a really good cover song by a band that makes you hear a familiar song in a whole new way! Presenting Sticky-Toffee-Pudding in the form of cookies!! Now one of my favourite sit-down restaurant style desserts is portable. We have a winner folks. 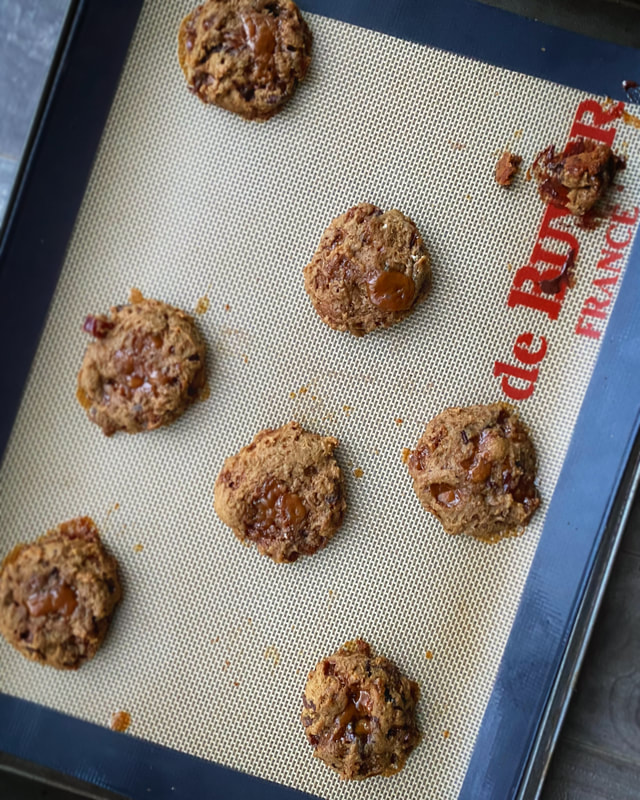 Also... this recipe has a super secret weapon! And it's weird. Which is what attracted me to try it other than the fact that sticky-toffee-cookies sounded delicious. What (I'm assuming) adds to the texture of these sort of cakey sort of chewy cookies is... wait for it... Lentil Puree!!! What the heck? I promise you truly don't taste it at all in the actual cookie. And you get a bonus hit of protein in your sweet snack. Happy days! **The next time I make these though, I'd like to experiment further... the lentil puree reminds me so much of the texture of pumpkin puree... and I feel like pumpkin and sticky toffee would make excellent friends... so next time I'm thinking I'll play match maker and swap the lentil puree for pumpkin and see where that takes us. Stay tuned. Sticky Toffee CookiesRecipe from the wonderful SweetSugarBean also known as Renée Kohlman
First begin by making the Lentil Puree. Here's how to go about that:
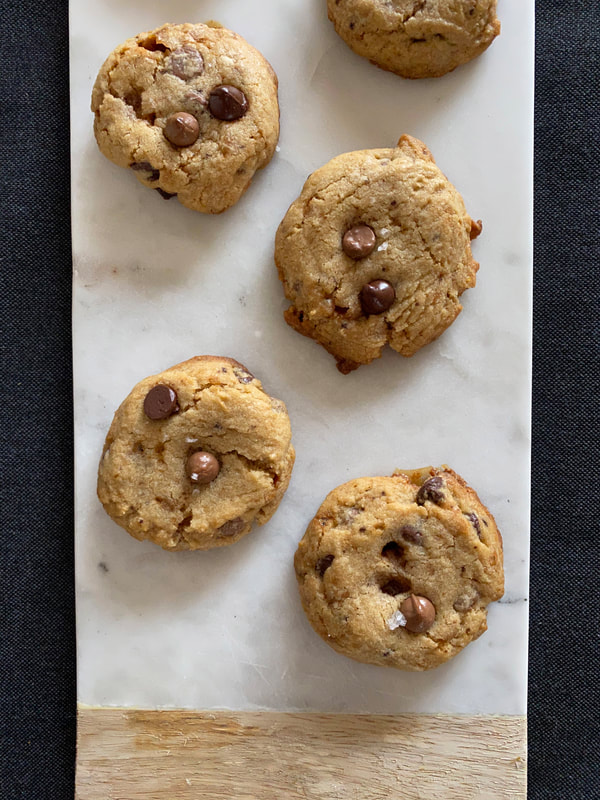 A bit of a mouthful to say... but these cookies are definitely something you want your mouth full of. OH GOSH that was weird and I know it, I'm sorry #notsorry but please do make these cookies because they are soft and chewy, sweet and salty and there is something for everyone in them!! Kids will like them because they are chocolate chip cookies and all kids like chocolate chip cookies (if they don't take extreme caution, because they will likely grow up to be psychopaths... these are the ones to watch out for) Also toffee bits!! Fun!!! Adults will like them because there is a bit of coffee in the dough itself, which balances the sweetness of everything else. Sophisticates will enjoy these because there is browned butter and Maldon sea salt flakes on top. Prime combination of my abilities and knowledge as an adult, with my inner desires to remain a kid who just wants to bake cookies. These were real winners in my book... would make again. I used homemade toffee bits in these bad boys, but you can easily buy them at a store. I learned this past fall just how easy it is to make homemade toffee bits! So perhaps one day in future I will write about that. Until then... COOKIE TIME! 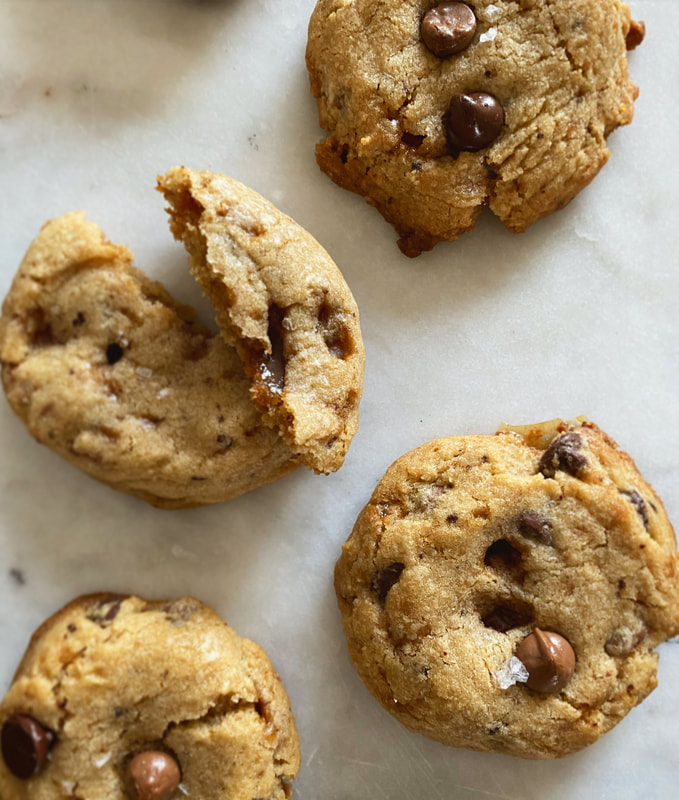 Salty-Toffee-Coffee-Chocolate-Chip CookiesRecipe slightly adapted from "The Baker in Me" by Daphna Rabinovitch *Yields about 2 dozen cookies (this is the original recipe, halved)
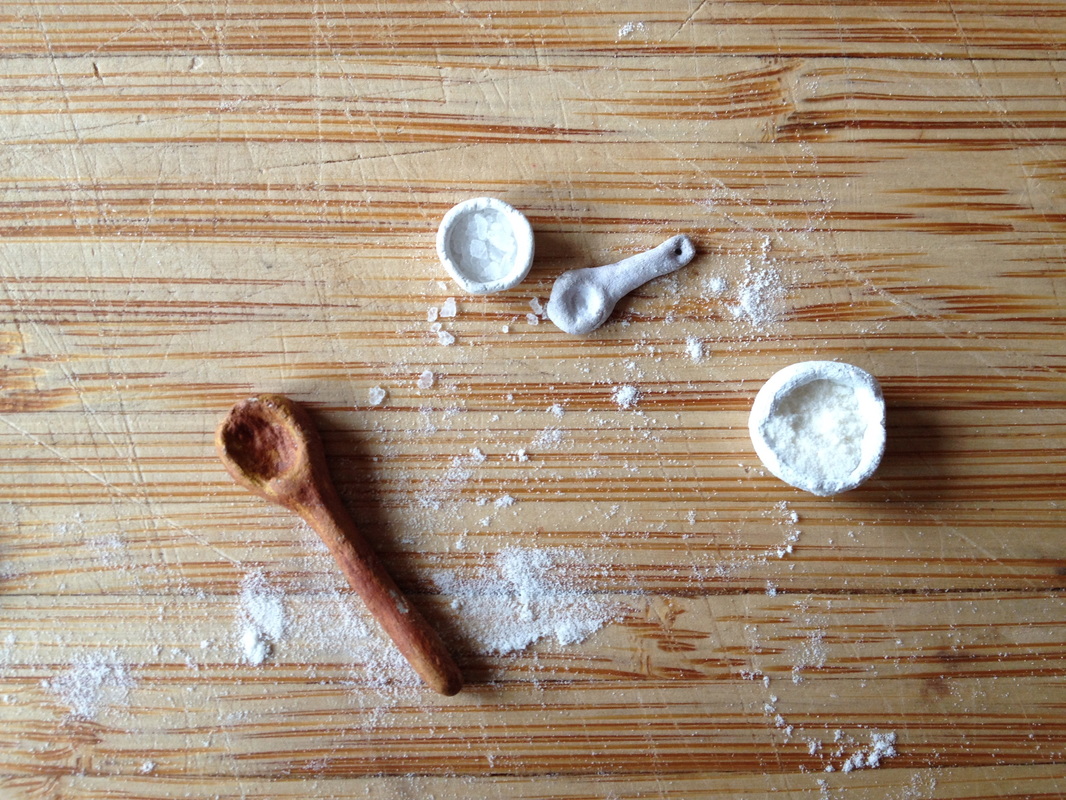
** I thouroughly imagine that you could easily use just all purpose flour instead of the blend... I just happened to have some cake/pastry flour kicking around and so I thought I would use it. But a fun trick to know is that you can make your own cake/pastry flour at home in a pinch if you have regular flour and cornstarch. Take one cup of all-purpose flour minus one tablespoon... mix it in a bowl with 1 tbsp of cornstarch. Give it a sift, or at the very least a good whisk. BOOM, now you have 1 cup of homemade cake and pastry flour. ***You can absolutely use all regular butter in this recipe, just use 4 ounces (or 1/2 cup). The browned butter just adds extra flav that I love. Make sure when using browned butter for baking that you brown the sh*t out of your butter, like almost burnt (but not actually burnt) butter. Otherwise you won't taste it amidst all the sugar.
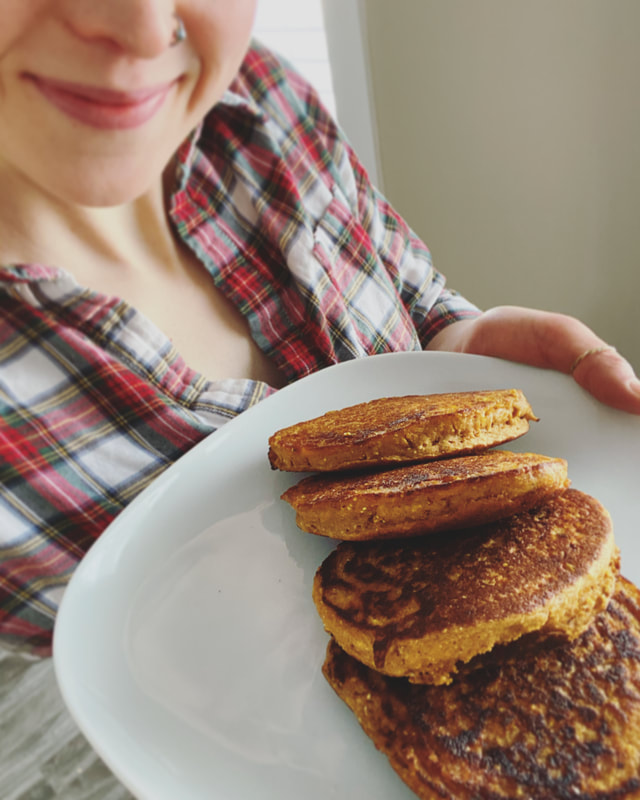 Ah it's Pancake Tuesday! What a wonderful holiday, I simply cannot let it go by without celebrating it. This year, I wanted to try something different so I scoured my recipe books and found so so many pancake recipes. One stuck out to me, not only because it sounded incredibly different from regular pancakes, but also because it required a few weirdo ingredients that somehow I had on hand?? Including 1/2 cup of canned pumpkin of which I had almost that EXACT amount just chilling (heh heh) in my freezer waiting to be made into something... So I like to think the universe chose these pancakes for me to make. I got up early, went for a swim, picked up some milk on my way home from the pool. Made some coffee, and got to work making these pancakes. The best part is that one of my roommates was working from home today, so I had a brunch buddy to help me eat up! My other roomie will be home later, and there are plenty of leftovers for her... which I think she will enjoy because A) she loves pancakes and B) she is trying to eat more gluten-free things. I am not bothered one bit by gluten but I sure love experimenting with different flours... 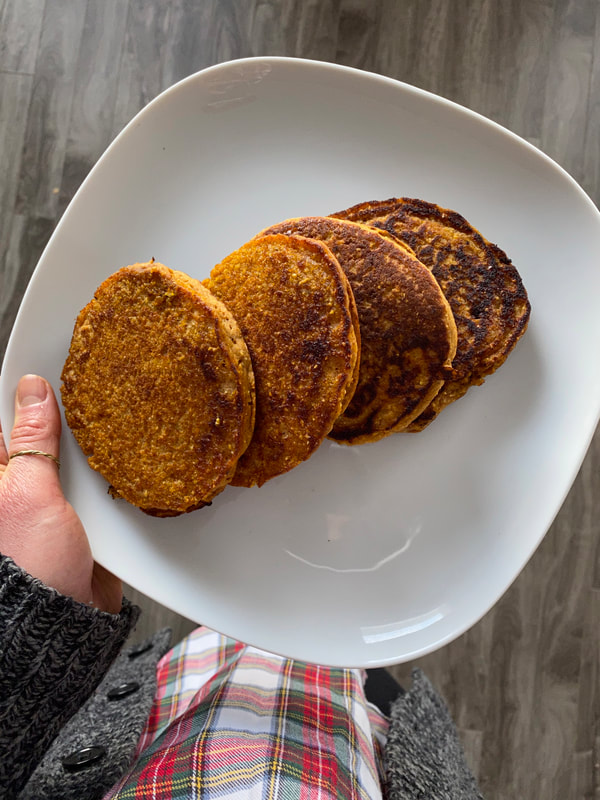 This recipe calls for "whole-grain medium grind cornmeal". This is important to note that not all cornmeal is created equal! Just like whole grain flour, you can buy whole grain cornmeal. This means that it includes the entire grain: bran, germ and endosperm. (Regular white flour and cornmeal only contain the endosperm.) I'm sure you could make these with regular cornmeal, but the whole grain stuff is sure nice and adds more flavour. It requires a bit more searching in the grocery store, but I found it with all the "Bob's Red Mill" brand flours and grains, often in the health-food section if your grocery store has one. Good old bob, he's done it again. This is also where you will find brown rice flour and quinoa flour, if you don't already have those in your house like this weirdo... **If you buy strange flours like these and don't use them super often, I recommend storing them in the freezer! This way they will last a long time and not go rancid, which is indeed something you must be concerned about especially with these high-protein flours. Right now in my freezer I have: brown rice flour, white rice flour, quinoa flour, buckwheat flour, whole wheat flour, pastry flour, rye flour, almond flour... Yup, I told you I like to experiment! 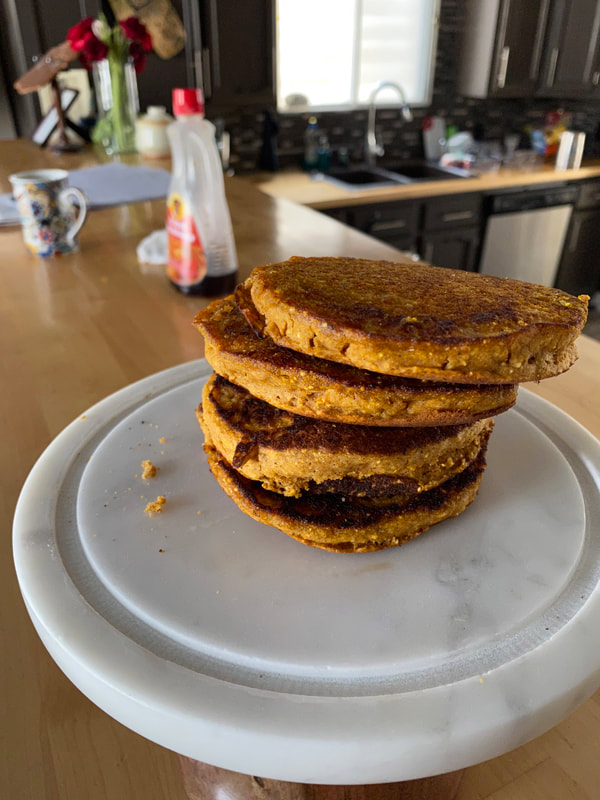 Gluten Free Pumpkin Cornmeal PancakesRecipe barely adapted from The Vegetarians Complete Quinoa Cookbook
Never have I ever actually celebrated valentines with one significant romantically inclined other... The valentines that I have known and loved all my life involves baking cute things and sharing them with my mother, my friends, and my coworkers. This year was no different. However this year for the first time I hosted a bunch of my grand old pals for a "Pal-entines" party. There was a LOT of snacks and wine, lots of laughs, and lots of valentines themed stuff... including these festive cupcakes! 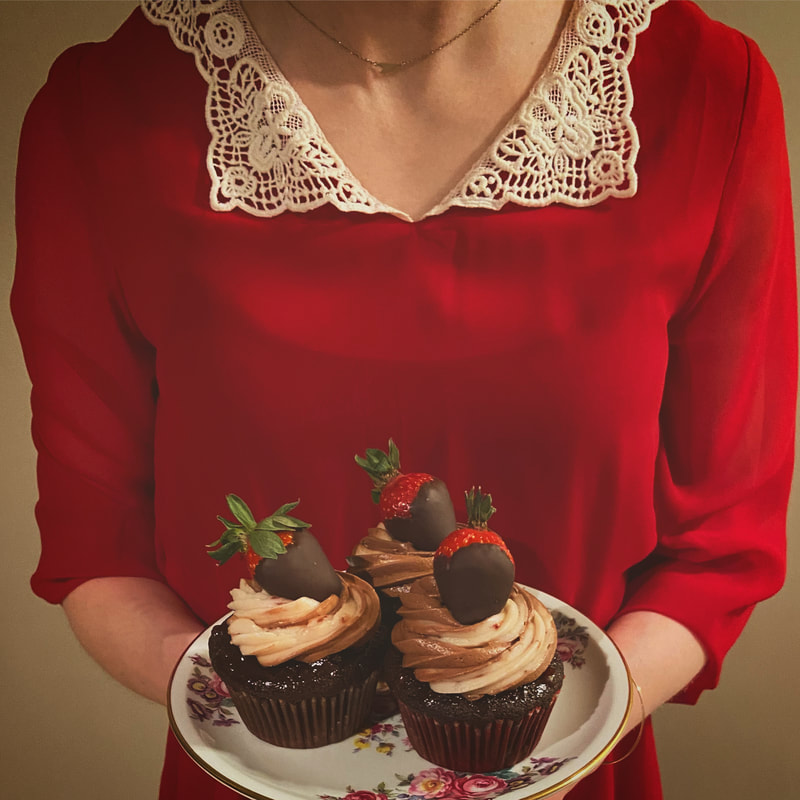 What a fabulous treat to make for your pal's during this wonderful month of love! I used these cupcakes as an excuse to eat chocolate covered strawberries... one of my favourite little delicacies that I never ever seem to have, despite them being so incredibly simple! I suppose they take a little bit of effort... but there is something wonderfully festive about setting yourself up to dip a whole basket of bright red berries into a bowl of velvety chocolate. It's like making cookies at christmas. It helps to set the mood if you play some old-school love songs. Gosh I love Valentines!!! 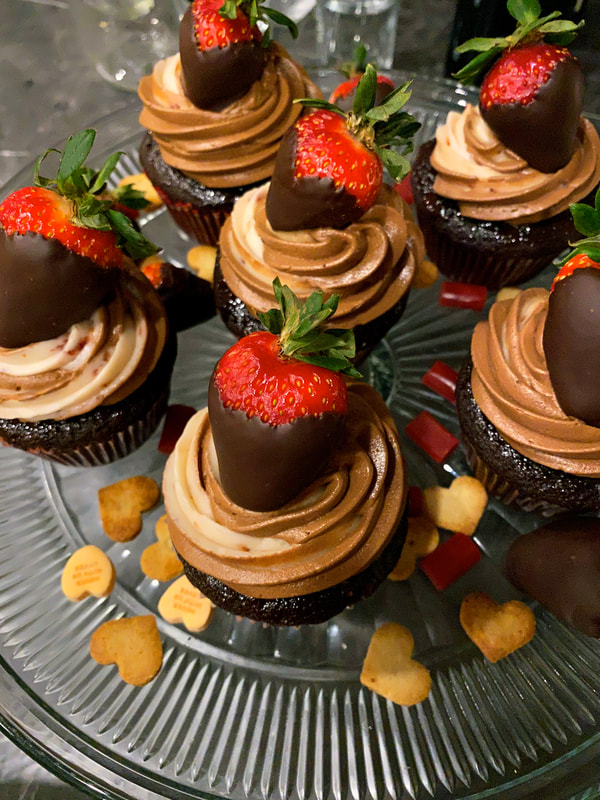 Chocolate Strawberry CupcakesRecipe slightly adapted from Food Network Magazine Chocolate Cupcakes
Do I really need to provide you with instructions for chocolate dipped strawberries? Probably not. But here you go.
**for the cupcakes pictured above, I used my favourite chocolate swiss buttercream recipe which you can find in this recipe post... just swap the white chocolate for dark chocolate as necessary. I did this because I had it on hand, so much of it, and it begs to be used, and how silly it would be to not use it! However if you do not have your favourite frosting kicking around in your freezer... maybe try the recipe below. It is the one that comes from Food Network Magazine, though I have not made it. If you do, let me know how it goes!
Happy February! This sounds like a problem that no one has, ever... but have you ever found yourself with half a bottle of champagne that needs to be used? Perhaps it was from the night before, it was opened and tragically never finished, never realizing it's full destiny? Perhaps you worked as a bartender for your community's annual wine night and they let you take home the opened half-full bottle of sparkling wine that was on offer? This would be exactly the predicament I was in recently, and although this kind of issue is probably not a frequent one, if you ever find yourself in such a predicament, I do have a possible solution. CAKE! Yup, this is a bottle half-full situation my friends, bottle half-full. 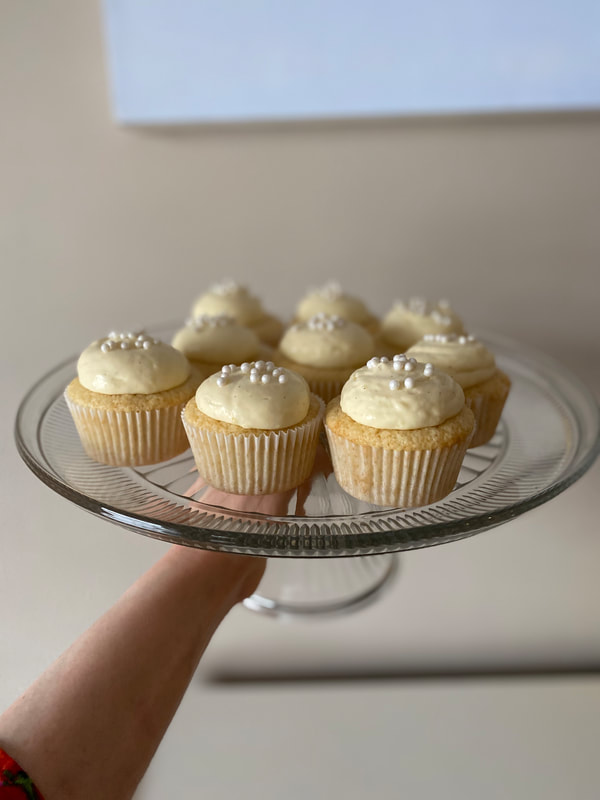 I could envision these pale cuties at your next gals-night-in party, or a dessert offering at a cocktail party, or just to adorn your mid-winter kitchen counter with some much needed cuteness. These came about because my aunt sent me an article that gives a different cupcake for every month of the year, and this one of course is for January! And wouldn't you know it I was blessed with a (FREE) open bottle of champagne. So, it was meant to be, Wouldn't it be fun if I followed along all year? I'm really awful at following through with these sorts of things however... so the chances are low and certainly no promises. BUT, for now, a toast to January! The month of cold cold weather and leftover alcohol. In the form of tiny cakes.  Champagne-Vanilla CupcakesRecipe from Food Network Magazine Cupcakes:
1/2 cups leftover champagne or other sparkling wine 1 tsp vanilla extract 1 cup all-purpose flour 1 1/2 tsp baking powder 1/2 tsp kosher salt 6 tbsp butter (3 ounces) at room temp 3/4 cup sugar 1 vanilla bean split lengthwise and seeds scraped out (reserve the pod for the frosting) (OR splash of vanilla extract or paste cuz times are tough and beans be expensive) 1 egg, separated. Preheat your oven to 350˚F Line a 12 cup muffin pan with paper liners. If your champagne is still bubbly, pour it into a bowl and whisk until the bubbles dissapate. Although I might suggest that if it is still bubbly, it would be much more enjoyable to drink, and you should make these cupcakes with the flat-and-forgotten leftover wine. combine 1/2 cup of the champagne with the vanilla extract in a small bowl and set aside. Reserve the remaining champagne for the frosting. Whisk the flour, baking powder and salt in a medium bowl, set aside. Cream the butter and sugar and vanilla seeds until light and fluffy, about 5 minutes. Add the egg yolk and beat until smooth. Reduce mixer speed to low and add in the dry ingredients in two batches, alternating with the champagne-vanilla mixture, beating until just combined, and no more. In a separate bowl, whisk the egg white to stiff peaks, then fold into the batter. Divide the batter among the prepared tin, filling each paper about 2/3 full. Bake until the tops of the cupcakes spring back when gently pressed., about 20-25 minutes. Let cool for 5 minutes in the pan, then remove to a wire rack to cool completely. Champagne Custard Frosting 1 cup champagne 2 tsp gelatin powder 1/2 cup sugar 1/4 tsp kosher salt 4 egg yolks 1/2 cup heavy cream Put about 1 1/2 tbsp of the champagne in a small bowl and sprinkle the gelatin over the top and leave to sit for 5 minutes to allow the gelatin to soften. Whisk the sugar, salt and yolks in a small saucepan until smooth. Whisk in the remaining champagne (and add the remaining vanilla bean pod if used from the cupcakes) Cook over medium heat, stirring until the custard is thick enough to coat the back of a spoon, 3-4 minutes. Pour the hot custard through a fine mesh sieve into a large metal bowl. Discard the vanilla pod if it was used. Add the softened gelatin and stir until dissolved. Refrigerate the custard, stirring every 5 minutes until it is the consistency of soft whipped cream. Whip the cream in a separate bowl until firm peaks form. Fold half of the whipped cream into the custard to lighten, then fold in the remaining whipped cream until fully combined. Chill again if it is too loose, stirring frequently until it is pipeable. (I didn't have to chill it any further) The custard will begin to set at this stage, so get it into a piping bag fitted with a large round tip. Pipe big dollops of frosting onto each cupcake, and decorate with pearl sprinkles if desired. Allow the frosting to set on the cupcakes in the fridge. Share and enjoy these classy cupcakes. CHEERS! When your old boss, the Japanese pastry chef of a fine dining restaurant who is known for making very unconventional desserts with strange ingredients, invites you over for dinner and asks you to bring dessert, maybe you will consider making these strange but deliciously indulgent brownies? I knew I wanted to try an experiment and make something kind of strange, because this was exactly the appropriate audience with which to do. I forgot however, how analytical he is because before tucking into the brownie he was examining it and smelling it far more intensely than one would like, making me fear what could he possibly be thinking about my weird, simple and, let's be honest, quite rustic dessert. (He is not exactly the simple and rustic type.) I suddenly had second thoughts about sharing such a frumpy treat to this pastry guru whom holds far higher standards than I could ever aspire to. Nasu Dengaku is a Japanese side dish. It is eggplant that has been sliced in half, shmeared with a mixture of miso and mirin and roasted in the oven. I've never tried it. But when I saw a recipe for miso-eggplant-brownies that used this technique (and the accompanying photo looked dangerously fudgey and decadent) I had to give it a try. Miso is one of my favourite cooking ingredients, and I am sure intrigued by baking with it. It adds saltiness, but also such a depth of flavour that makes you go, "Dang what makes this taste sooo GOOOOOD?" It's satisfyingly savoury. So, can we add it to a dark and dense brownie batter? Stir in some roasted eggplant? Share it with some highly acclaimed chefs? (What the heck am I doing) To my relief, he claimed it was good! Now, whether or not he was just saying that to be polite we'll never know. However I do know that he is the type to say it like it is, and regardless, I liked the brownie very much if I do say so myself. And if I needed more consolation, everyone else who I shared it with gave me wide-eyed praise. All in all I'd say it was a success! And so continues the experiments and the usage of unconventional ingredients in baked goods! 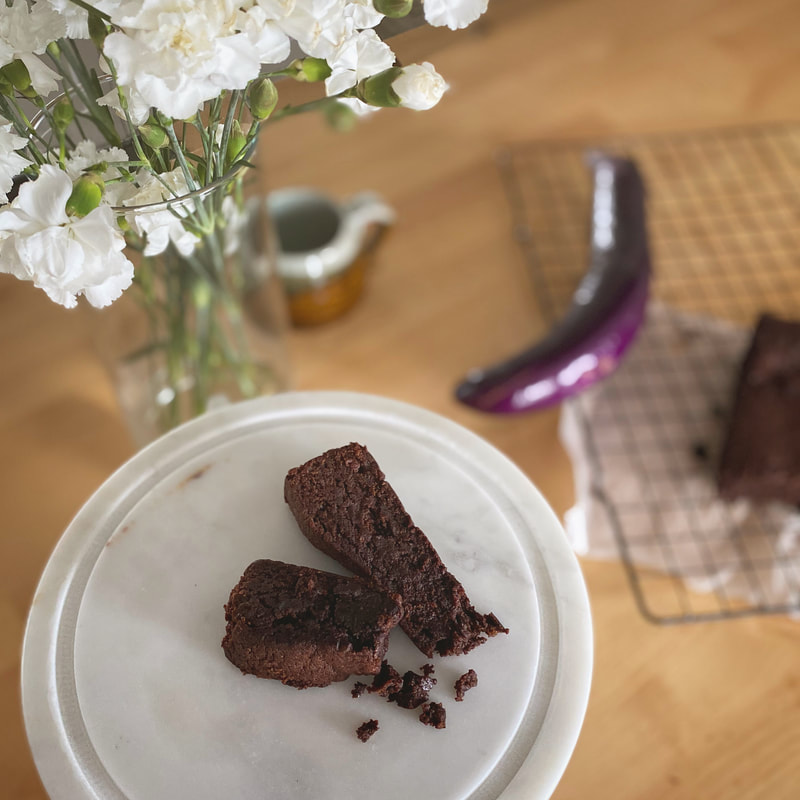 Nasu Dengaku BrowniesRecipe from "Sticky Fingers Green Thumb" by Hayley McKee 1- 2 long thin japanese eggplants (you will need about 1/3 cup of mashed roasted eggplant for the brownie batter)
2 Tbsp vegetable oil 1/4 cup white miso paste 4 tsp honey 4 tsp mirin 1/2 cup brown sugar 1 cup flour 1 tsp baking powder 1/4 cup cocoa powder 4 eggs 200g (7oz) butter 200g (7oz) dark chocolate, chopped 1 cup granulated sugar Heat your oven to 350˚F. Grease and line a 8X8" baking dish with parchment. Half the eggplants lengthwise and score the flesh deeply in a criss cross pattern. Soak the eggplant halves in cold salty water for 15 minutes. This step helps to remove any bitterness in the eggplant. Drain the eggplant halves and pat dry. Place cut side up (skin side down) on a parchment lined tray and brush with oil. Roast in the oven for about 45 minutes or until they begin to brown. Stir 4 tsp of the miso with the honey and mirin together in a small bowl to form a paste. Spread the paste evenly over the cut side of the eggplant. Return to the oven for 10-20 minutes, or until the mixture starts to bubble and brown on top. Remove from the oven and let cool before scooping out the flesh, discarding any seeds which can be bitter tasting. Measure out 1/3 cup of eggplant flesh and mash it well. Any leftover eggplant is a treat for you, the chef. Reduce the oven temp to 325˚F Whisk the flour, baking powder and cocoa powder in a bowl and set aside. In another bowl, whisk the eggs with the remaining miso paste until smooth. Gently melt the butter and chocolate together over a water bath, or very carefully in the microwave, stirring often. Pour the melted chocolate-butter mixture into a large bowl and stir in the brown sugar and white sugar. Gradually stir in the egg and miso mixture, then stir in the dry ingredients followed by the mashed eggplant. It's gonna be thick. It's gonna be delicious. Pour the batter into the prepared 8X8 tin and bake for 30-35 minutes... it will appear not quite set in the middle, but this is good if you like a fudgey brownie (all hands raised). If you are one of those sad people who prefers cakey brownies, you can go ahead and bake it longer, maybe 45 minutes and it wont be jiggly in the centre. But I want nothing to do with that brownie. Fudgey all the way. Let cool completely before removing from tin and slicing. This is especially important if your brownie is fudgey. Trying to cut a warm fudgey brownie can cause frustration. It also makes for a mighty tasty snack though, if your not concerned about clean cut edges :) Enjoy! And share with as many people as possible, because it's fun to watch reactions when you tell them what's inside. I promise most people will be stoked. And if they're not, they're wrong. (More for us!) |
Tiny Tea PartyIt's about celebrating the tiny things. Categories
All
© 2015 Larissa Costella
All Rights Reserved (All images and content are my own unless otherwise noted) |
 RSS Feed
