
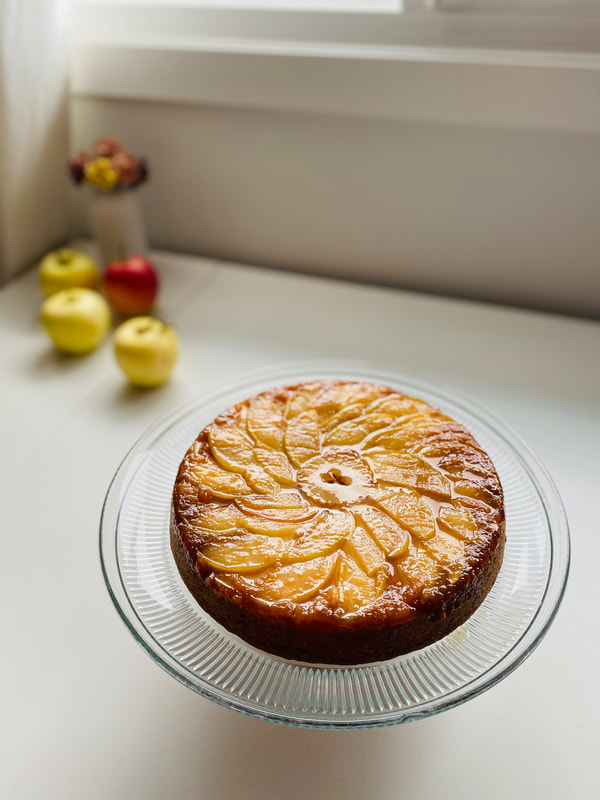
 My offering for the 2023 Friendsgiving Extravaganza! I love my pals, This cake got devoured! I served it with Bourbon Butterscotch Ice Cream which was a real crowd pleaser. Daniel Roberts (aka deep sea dan) hosted us and his house (his mom's house) is the coolest. It was a wonderful evening of awesome friends, awesome food, and a whole lot to be grateful for. As always! Apple Upside-Down CakeRecipe slightly adapted from Rose Levy Beranbaum Caramelized Apple Top:
Meanwhile, prepare you cake pan! Spray a 9" pan with cooking spray and line the bottom with a parchment round. In a small heavy saucepan, melt the butter. Use about 1 tbsp to coat the parchment lined bottom and sides of the cake pan. To the remaining melted butter in the pan, add the reserved liquid and remaining brown sugar. Bring to a boil, stirring constantly with a spatula. Once boiling, stop stirring and leave to bubble and cook for about 3 minutes until thick and deep amber in colour. Pour this mixture (Rose says "do not scrape") into the prepared cake pan, tilting the pan to coat the entire bottom. The mixture will probably harden, don't worry. It will melt back during baking and become all lovely and soft and hug the apples in a nice caramel coat. Place the apple slices in a decorative pattern, slightly overlapping, over the bottom of the pan. I like to start in the middle and work outwards. Whatever you place first will be what you see on top of the cake. Keep this in mind when arranging the apples. Set the pan aside. Cake Batter:
Cream the butter with the granulated sugar. Beat in the yolks and the vanilla. In a separate bowl, whisk together the dry ingredients (flour, powder, soda, salt). Add half of the dry ingredients to the mixer and blend until barely combined, then add the sour cream, blend until barely combined, then add the remaining dry ingredients and gently mix/fold until everything is mixed but do not over-work the batter. Spoon the batter over the apples and gently spread with an offset spatula, ensuring the apples stay in place. Bake for 35-40 minutes or until the top springs back when gently pressed, and a skewer inserted into the cake comes out clean. Run an offset spatula around the outsides of the cake pan and invert the pan onto a cake stand or other serving platter. Allow the pan to sit on top for a minute or two before lifting off. If any apple slices remain in the pan, just gently remove them and place them back on the cake where they are missing. Serve warm or at room temperature, with toasted walnuts (Spread 2/3 cup (66g) walnuts onto a tray and bake for about 7-9 minutes, stirring once to ensure even toasting) and Bourbon Whipped cream:
Happy Thanksgiving :) ~Lari 2023
0 Comments
One day I will go to New York. Until then, I will make cookies. 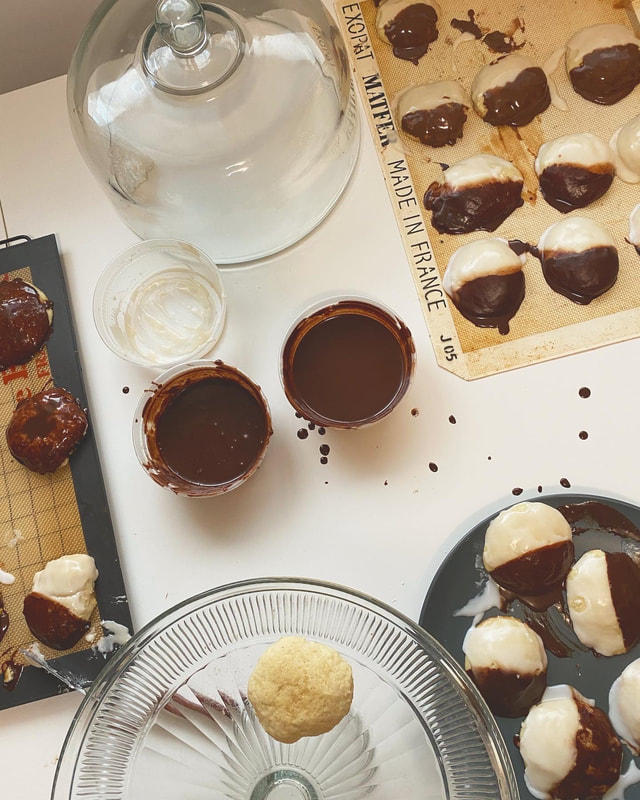 For a while I have been curious about these two-toned cookies named after a very famous city that I have yet to (but am terribly excited to one day) visit. What exactly is a Black and White cookie? Are they really famous in New York? I had never heard about them until I came across the recipe in one of my cherished Martha Stewart books. The recipe has been in my possession for over a decade, yet I had not made any further steps to discovering more. My final prompt or push to create these for myself came after watching an episode of Seinfeld, maybe you know the one! 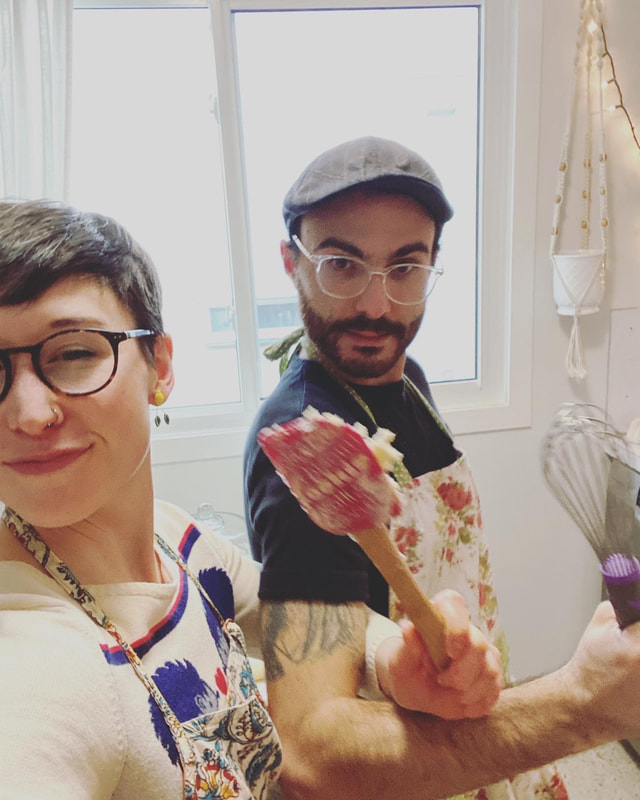 Jerry and Elaine are in a bakery and are having a hilariously frustrating time and during this time Jerry buys himself a Black and White cookie on which to snack. OH MY GOODNESS I am finally seeing this cookie "out in the wild" or at least beyond the confines of my Martha Stewart book and I am reminded of it's existence! It is with the assistance and encouragement from my cookie partner (and fellow Seinfeld fan) pictured above that today we bring to you my first attempt at Black and White cookies. I say attempt because I have never actually eaten one before and don't really know what is to be expected. 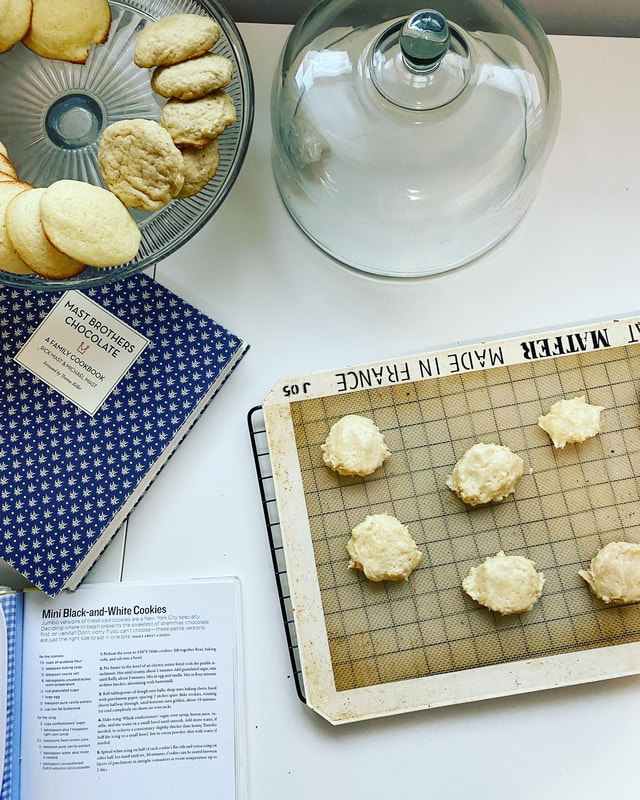 Further research into my bookshelf revealed that I have not one, but TWO recipes for these cookies. Further proof that they are indeed a "thing" out there. I have my tried and true Martha Stewart, and also a rather fancy and trendy book from the homies of Mast Brothers Chocolate. So OBVIOUSLY we had to try both recipes to see which one comes out on top! Martha knows a thing or 2000 about cookies, but also the Mast Brothers are indeed from New York and know a thing about chocolate, so there's got to be some legit business happening here. 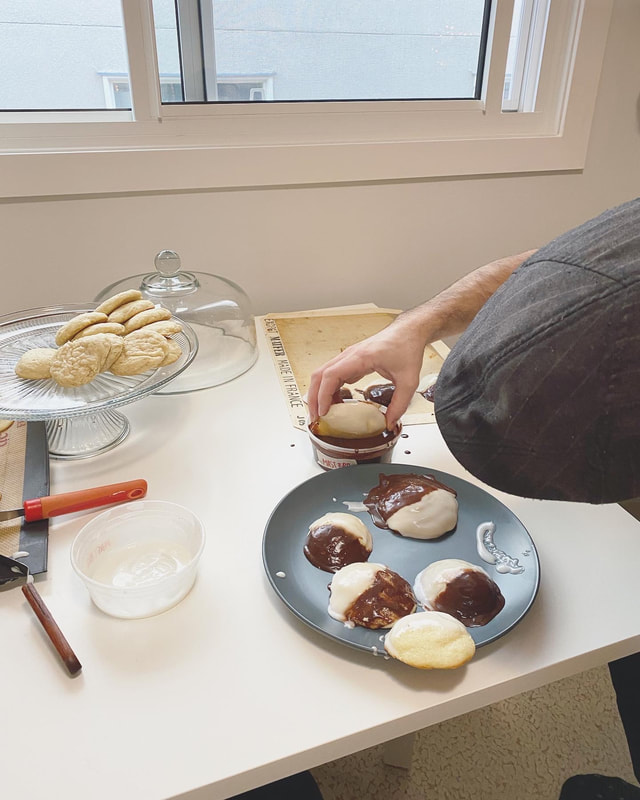 It is a very fun project to try two very similar but not quite identical recipes for the same thing... My kind of science experiment! Highly recommended way to spend a January afternoon. Then you eat the cookies of your labour while watching Seinfeld, of course. The cookies themselves are more like little cakes, half frosted with vanilla or just plain glaze, and the other half with a chocolate glaze. Glazing the cookies was a messy task, and we realized after doing them all how we could have done it better. But as I always say, it's always good to leave room for improvement... and, learn by doing, am I right?! Because I KNOW you are curious...I will reveal to you... our favourite was from... drumroll please... MAST BROS! Their cake-like cookie was lighter (and Anthony appreciated the bit of lemon zest in there) while I found Martha's to be a bit denser, though still delicious. Also taking the win for the Bros was their chocolate glaze... which makes sense seeing as they are in the chocolate biz. It was made with lots of real actual dark chocolate, whereas Martha's was a bit too-sweet-with-only-a-bit-of-cocoa-powder version (don't worry Martha, you will still forever be my go-to-gal). Next step is to go to New York to find the real thing I suppose. Meanwhile, if anyone can tell me where to find these in Calgary... holla at yo girl! New York Black & White CookiesRecipe from Martha Stewart COOKIES:
Whisk together the flour, baking soda and salt in a large bowl. Set aside. Cream the butter in a standing mixer fitted with the paddle attachment for about 2 minutes. Add the granulated sugar and mix for about 3 minutes until light and fluffy. Mix in the egg and vanilla. Mix in the flour mixture in three additions, alternating with two additions of buttermilk. (dry, wet, dry, wet, dry) Mix until just combined but do not overman or the dough will get tough. Use a small cookie scoop (or use two spoons) to scoop portions of dough into balls. Place on a lined baking sheet placing 2 inches apart. Bake, rotating halfway through until bottoms of cookies are golden, about 10 minutes. Let cool completely on a wire rack. GLAZE:
Spread white icing on half of each cookie's flat side and cocoa icing on the other half. Let stand until set (30 minutes). Cookies can be stored in airtight containers for up to 3 days. New York Black & White CookiesRecipe from Mast Brothers Chocolate COOKIES:
WHITE ICING:
CHOCOLATE ICING:
Add the butter and vanilla, mix until the mixture is smooth. Spread the chocolate icing on the other half of each cookie. ***What we realized after making a giant mess and glazing all the cookies... is that it would be much cleaner looking to glaze half of all of them... then let the glaze set! THEN glaze the second half... Next time. You can learn from my mistakes. You are welcome. April showers bring May cupcakes with flowers! 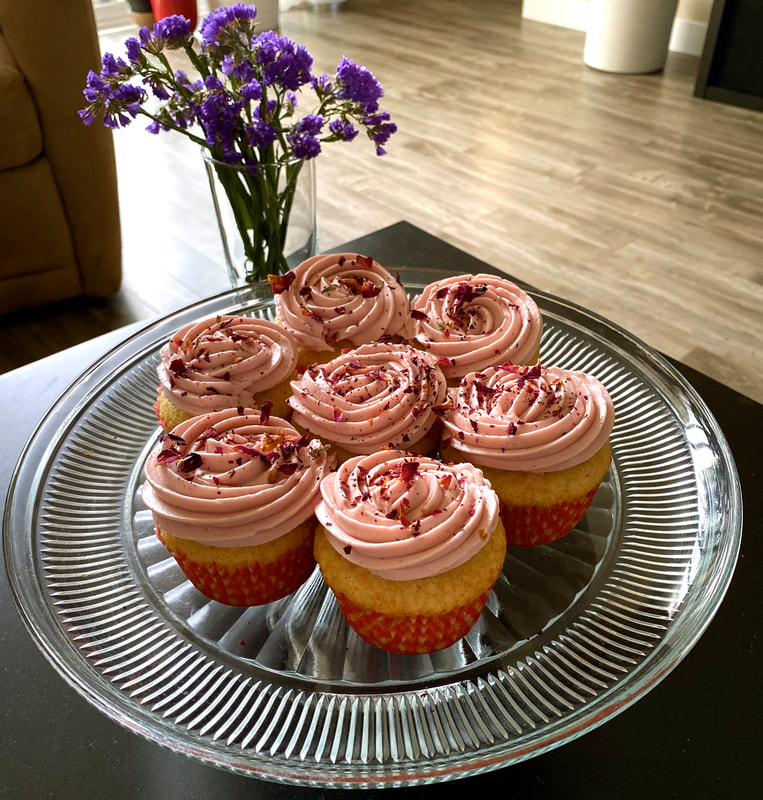 Signs of spring are in the air and the trees and plants in the neighbourhood are starting to flower and the world needs a good dose of pretty!! I'm pretty sure these cupcakes were designed to be "Mother's Day" appropriate... but not for my mama. She would 100% go for chocolate or coffee over roses and pink... but these are still fun to make. Also I've never used rosewater before so that was something new and fun. The cupcakes are not overly rose-y flavoured... and to be honest I wish they had more raspberry-rose flavour to them! They are pretty mild. But very nice. I even added a little bit more rosewater than the recipe requires... Which I would recommend BUT IF YOU DO... flavour with caution! As you don't want cupcakes that taste like soap. We're going for floral-garden vibes... not grandma's powder room. Finished off with a dusting of rose petals because they are one of my new favourite garnishes! Not only does it make the cupcakes look pretty, but it lightly perfumes them with a pleasant floral-y scent. Super girly... but sometimes that is just fun, okay?! 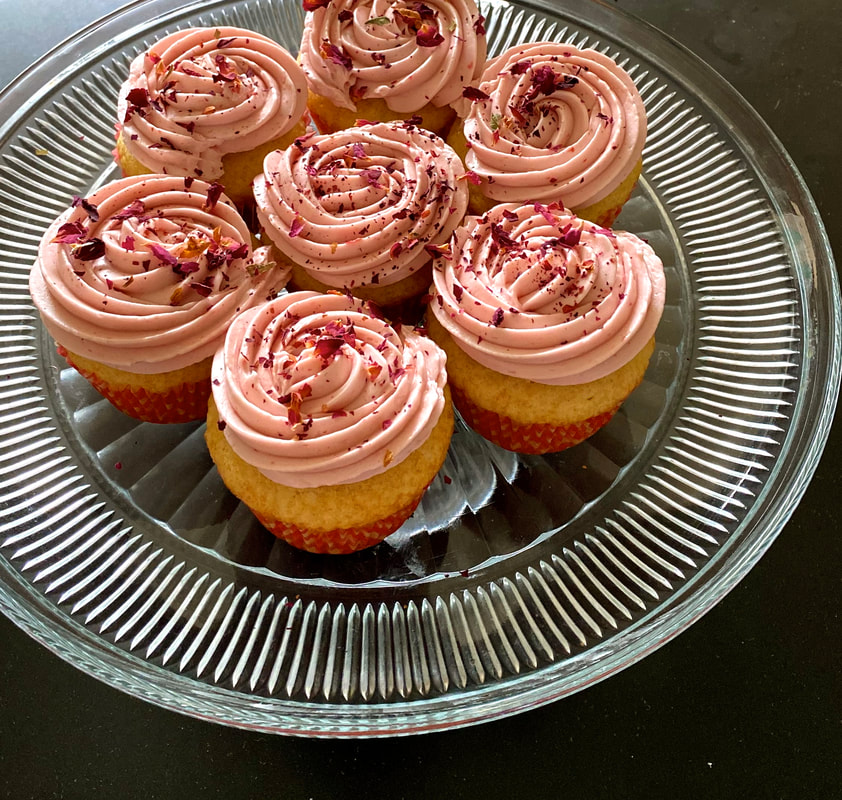 Raspberry Rose CupcakesRecipe from Food Network Magazine CUPCAKES
BUTTERCREAM
Cupcakes for April!! Of course April, the month of easter, gets a carrot-cake-themed cupcake to celebrate this lovely month. April this year has been unlike any other month the world has ever seen due to COVID-19. We can't have all the big easter family gatherings in quite the same way we are used to. But I sure as heck can make a dozen cupcakes at home and deliver them to my family the next day. My ma and pa loved them... Ma's favourite kind of cake is a carrot cake. I'm partial to this recipe because the cake part contains toasted walnuts and candied ginger folded into the batter! SOLD. The topping is a candied carrot ribbon and a candied walnut. Which is just fun and cute. Rather than a dramatic swirl of frosting, we're keeping it simple with a smooth and elegant blob. I like it. She's a keeper. 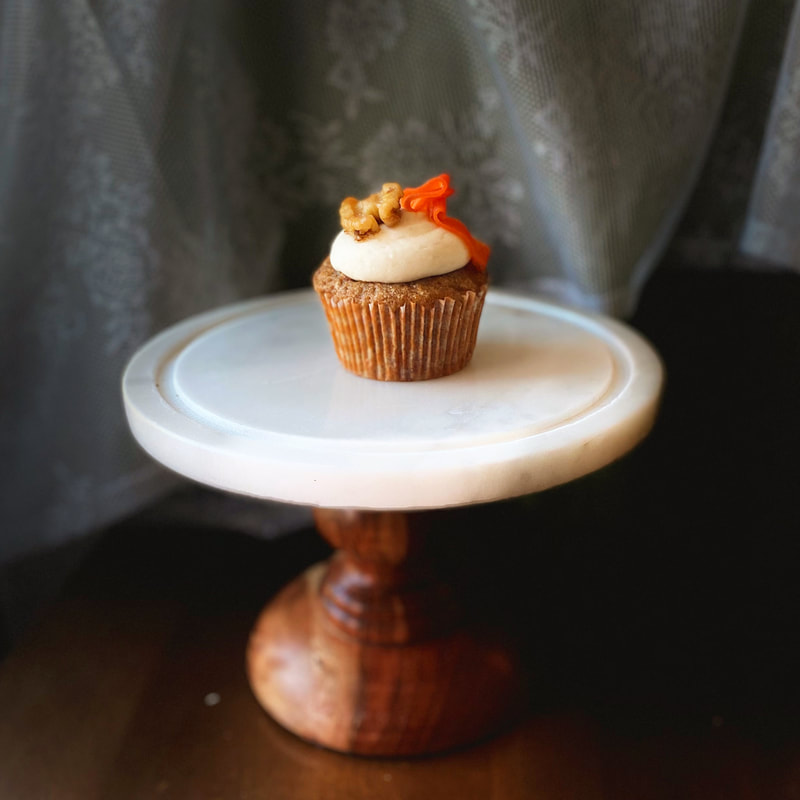 Carrot-Walnut CupcakesRecipe from Food Network Magazine Cupcakes:
I made these little tea-time-treats to celebrate the last day of Passover this year... now full confession I am not even a little bit Jewish, I do not normally celebrate passover. But I simply love celebrating and any excuse to bake and try a new recipe. And so, voila, thanks to owning a Nigella Lawson cookbook that has an entire chapter dedicated to Passover, I present these tiny flourless pretties. They are soft and sweet and spongey and happen to be gluten free... not that I even intended to make them for that reason either, more for the fact that I have some ground almonds kicking around that need to be loved. I JUST LIKE BAKING OKAY. So... here is a Passover-friendly-gluten-free dessert coming from a gal who is decidedly not Jewish and unassailably loves flour. Whoopsies! They are here because they are dainty and tasty and certainly pretty little things. 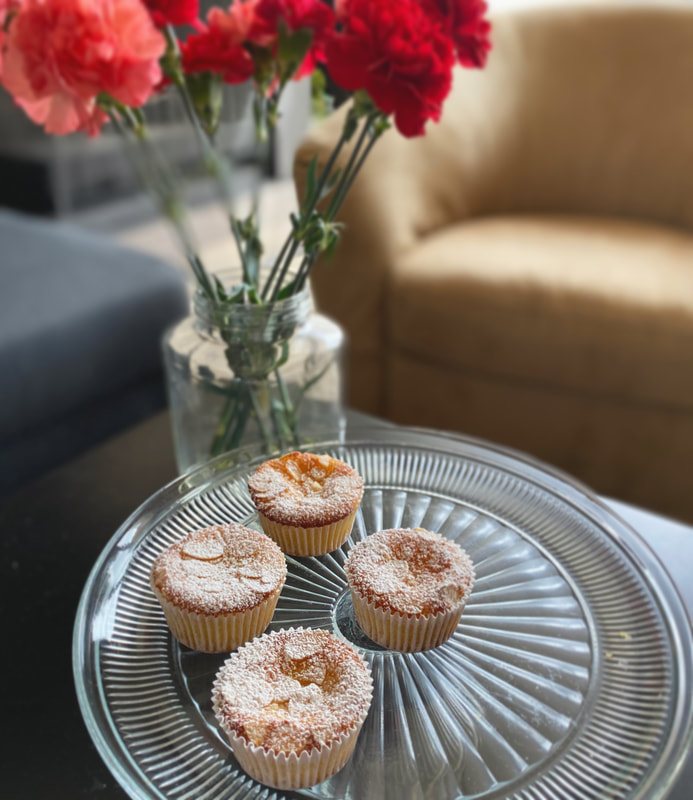 Flourless Apple-Almond Tea CakesRecipe slightly adapted from Nigella Lawson
The world feels very serious and very scary right now so it's more important than ever to remember the value in being FUN and being SILLY and being SWEET. Presenting: The wonky-whimsical-rainbow-loaf-cake! It hits all of those buttons. 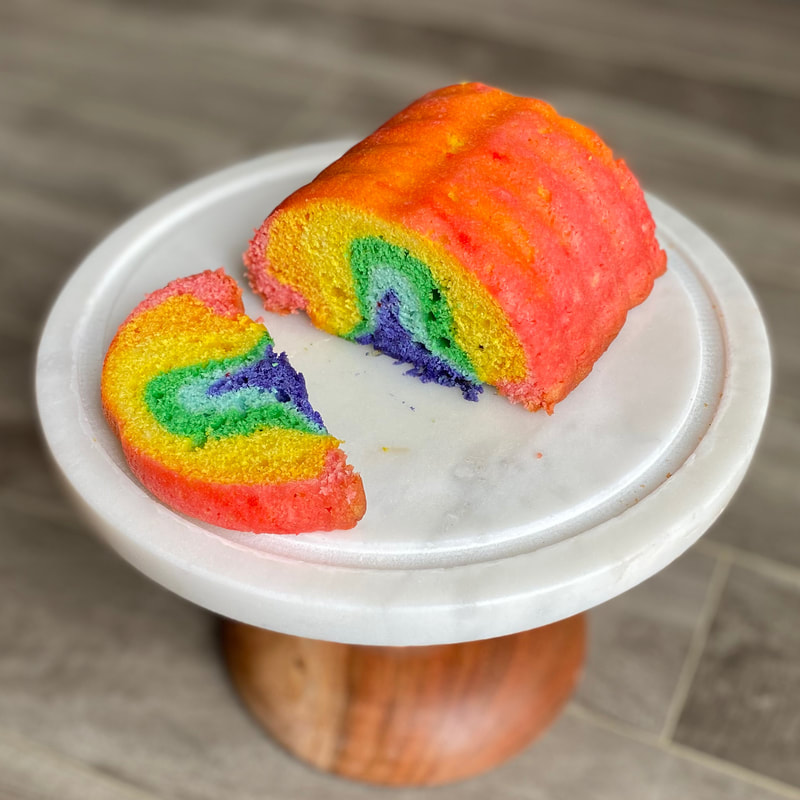 Ya'll are probably definitely thinking, but how did you get it shaped like a rainbow!? Well I have been fortunate enough to inherit many a random vintage baking supply from various family members and friends. I'm always so stoked when people want to give me their old or vintage baking supplies... a lot of the time they have something that they inherited and they have no idea what it should be used for! I love the fun challenge in figuring out what it was for, but also how I can use it, and maybe even use it in a different or creative way. I have a thing for strange shaped cake pans and so I am proud to be the owner of a ridged, u-shaped loaf pan. After a recent and unrelated google image search I have also seen this shape of pan being used as a mould for jell-o! So perhaps that is what it's original purpose is! But I love using it to bake loaf cakes in... especially because it's got those little ridges which make excellent markings for where to slice :) Of course, if you don't have a rainbow shaped pan, you can and should still bake this sweet little cake! Because not only does it look fun, it tastes lovely. It's a slightly but not overly sweet lemony-vanilla loaf that makes a great little snacking cake. You could layer the colours into a regular loaf pan, or into muffin tins, or make a cake... you get the idea just use whatever pan you fancy! And if rainbow is a few too many colours, just pick a few of your favourite colours and gently swirl them in the pan to make a whimsical marbled cake. The main point here is to get baking and have FUN. Rainbow Loafrecipe adapted from Food Network Magazine
Every cake deserves a glamour shot...  The world is very unfamiliar at the moment and at times can feel a bit dark. Dark times call for a dark cake... at the same time, something to bring us comfort in place of uncertainty. I experiment and like to try new recipes quite a lot but every so often I make something that is just so good that I crave making it again. Either because it is seasonal, fun to make, or other beg me to do so. For this particular cake, it just patiently yearns to be made for a true St Patrick's day celebration, it's fun to make because you need BEER for it (also you don't use the full can so you're pretty much encouraged to drink whilst baking), and in this case it was me who was begging myself to make one... And sometimes one must follow their heart. Especially if it involves chocolate cake. And beer. And nobody was going to complain about it. This cake was made this year during the initial brink of a literal pandemic in which shelves in grocery stores had been more or less wiped clean. I made a special effort to get out of my house and collect THE LAST* pathetic tiny carton of 6 eggs (who only buys 6 eggs at a time normally?!) and THE LAST tiny tub of sour cream. It was worth it. *I lied, there was one other tiny carton of 6 eggs, but a good half of them were broken. What a strange time it is out there. Good thing we can make cake to comfort us. My roommates particularly liked this one too... it's a wonderful snacking cake to just leave on a cake stand in your kitchen with a small knife sitting next to it, so that one may saw off a nibble here or there anytime of day or night. 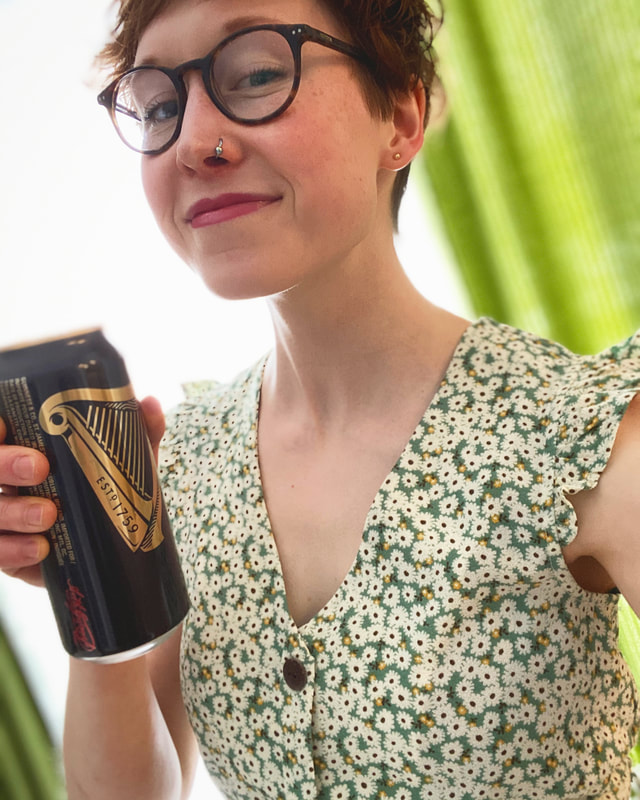 Chocolate Guinness CakeRecipe from Nigella Lawson
For the cream cheese glaze, all I did was take some cream cheese frosting that I had stashed in my freezer. I melted it down with a splash of cream and a splash of Bailey's irish cream liqueur. If you need a recipe for cream cheese frosting... Martha Stewart is always my go-to gal. However, I will also include the frosting recipe that Nigella suggests for her cake... the only reason I didn't use this one is because as mentioned above I already had some very suitable frosting. And better to waist it than waste it, ya know?
Never have I ever actually celebrated valentines with one significant romantically inclined other... The valentines that I have known and loved all my life involves baking cute things and sharing them with my mother, my friends, and my coworkers. This year was no different. However this year for the first time I hosted a bunch of my grand old pals for a "Pal-entines" party. There was a LOT of snacks and wine, lots of laughs, and lots of valentines themed stuff... including these festive cupcakes! 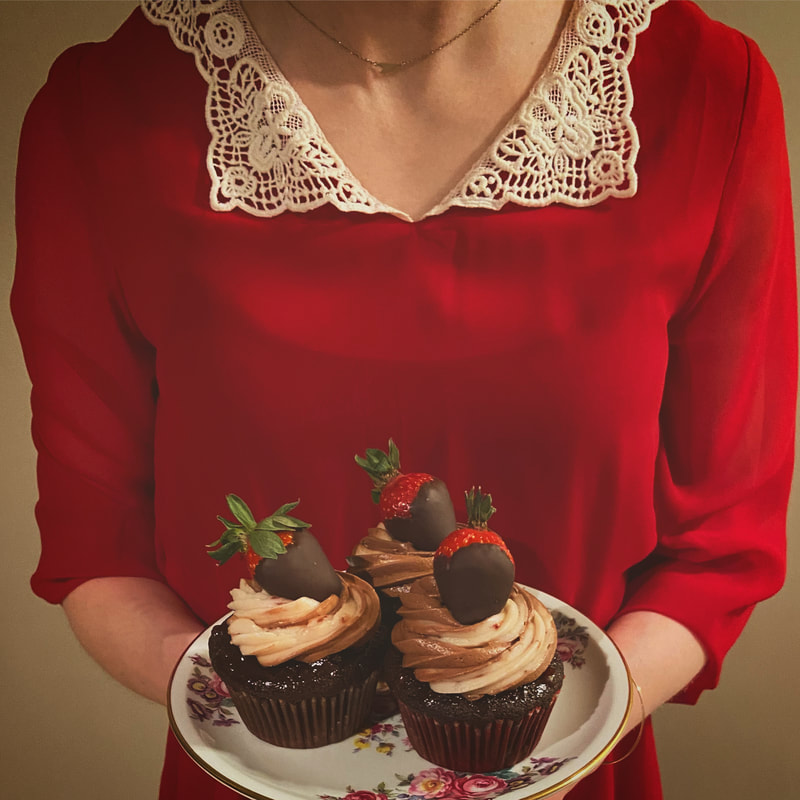 What a fabulous treat to make for your pal's during this wonderful month of love! I used these cupcakes as an excuse to eat chocolate covered strawberries... one of my favourite little delicacies that I never ever seem to have, despite them being so incredibly simple! I suppose they take a little bit of effort... but there is something wonderfully festive about setting yourself up to dip a whole basket of bright red berries into a bowl of velvety chocolate. It's like making cookies at christmas. It helps to set the mood if you play some old-school love songs. Gosh I love Valentines!!! 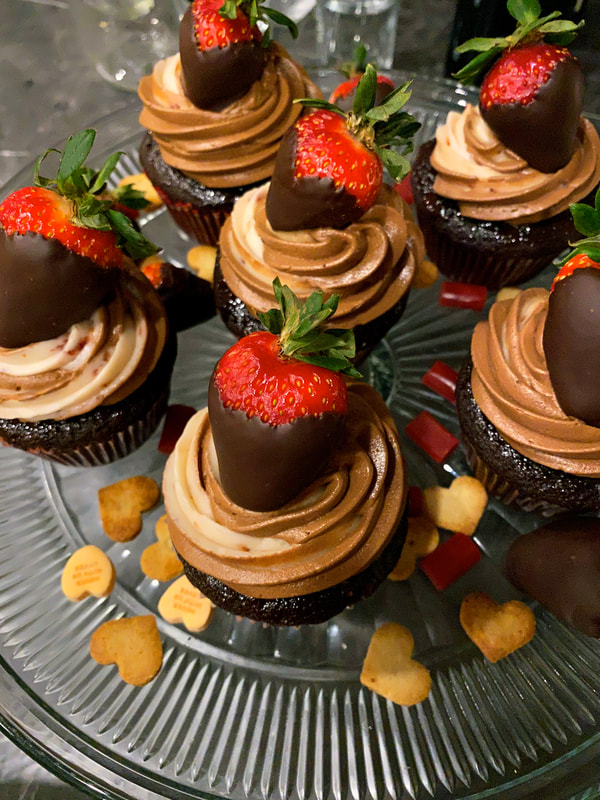 Chocolate Strawberry CupcakesRecipe slightly adapted from Food Network Magazine Chocolate Cupcakes
Do I really need to provide you with instructions for chocolate dipped strawberries? Probably not. But here you go.
**for the cupcakes pictured above, I used my favourite chocolate swiss buttercream recipe which you can find in this recipe post... just swap the white chocolate for dark chocolate as necessary. I did this because I had it on hand, so much of it, and it begs to be used, and how silly it would be to not use it! However if you do not have your favourite frosting kicking around in your freezer... maybe try the recipe below. It is the one that comes from Food Network Magazine, though I have not made it. If you do, let me know how it goes!
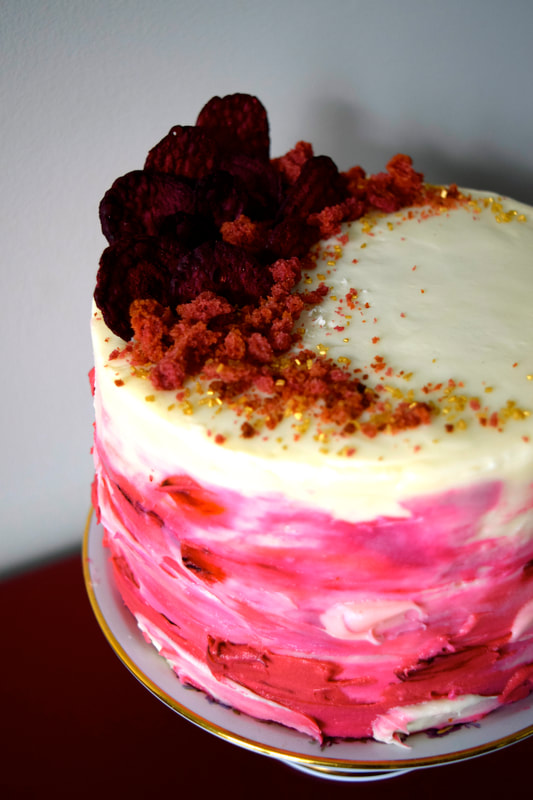
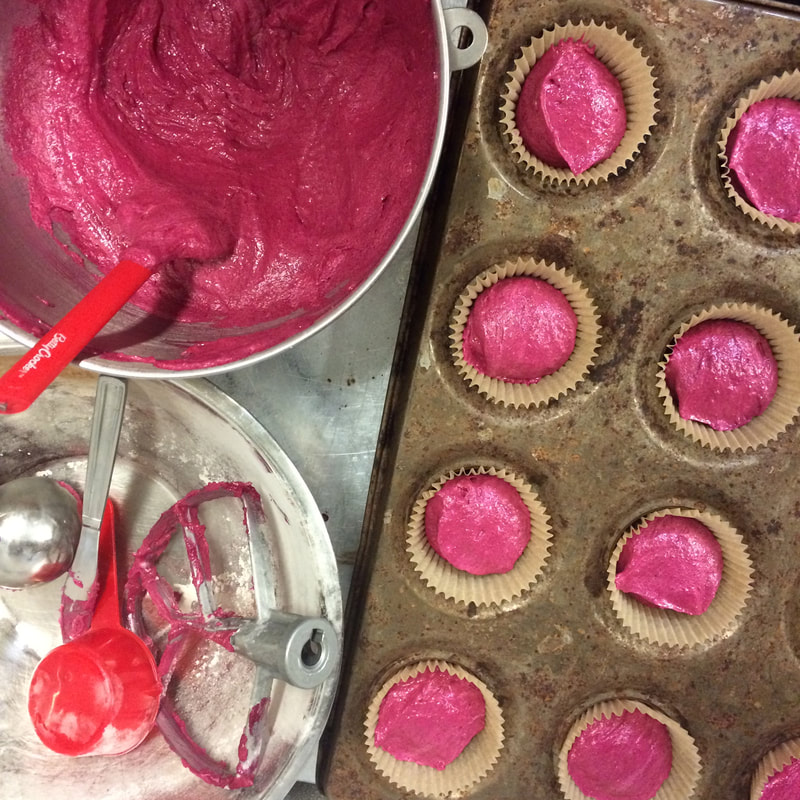
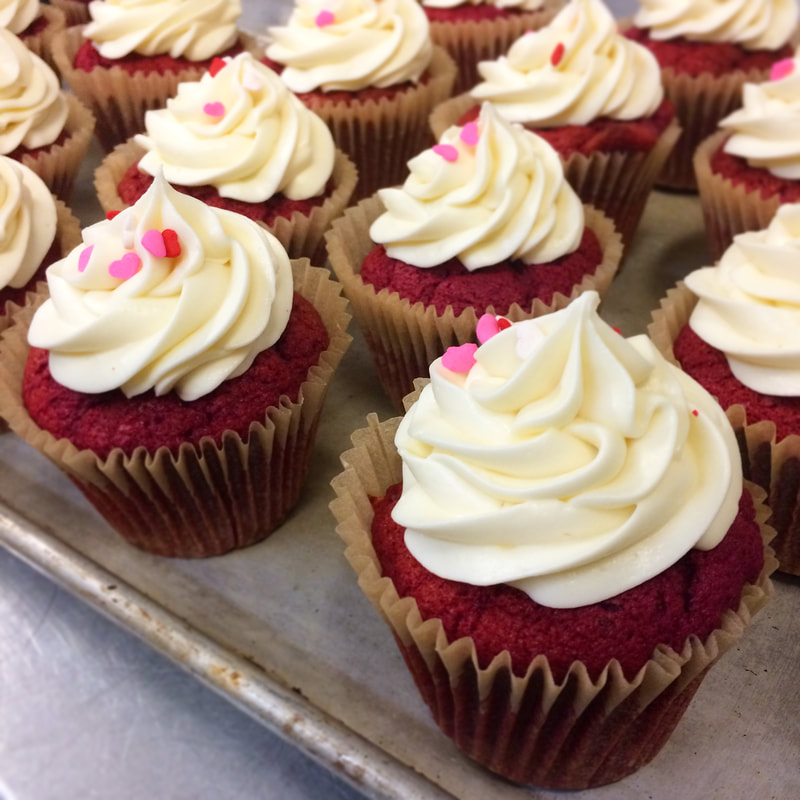
Happy February! Roses are red, Velvet is too, This cake is made with beets, So it must be good for you. We all know that a cake for February, AKA Valentines MONTH (not sorry) was gonna be a red/pink deal. For me, that means whipping up one of my favourite recipes: BEET red velvet. 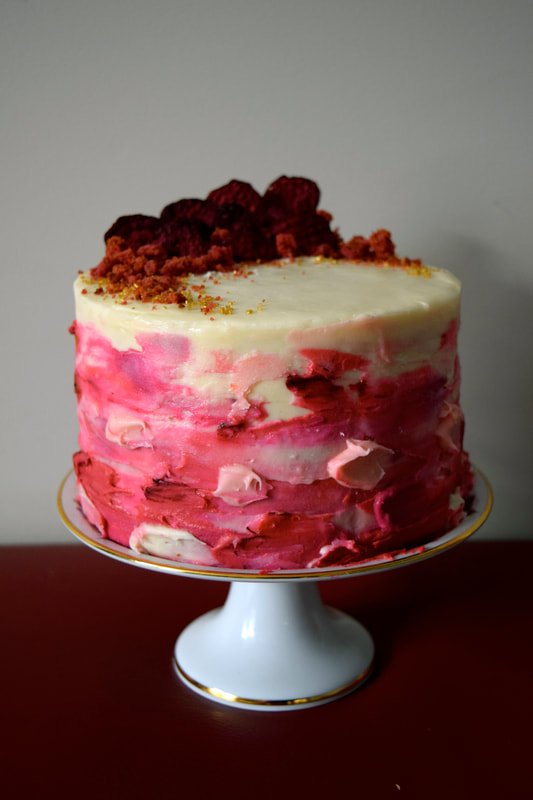 That's right, BEET! This is a historically correct red velvet cake, in that the colour comes entirely from the magical power of beets, not a trace of food colouring. ALTHOUGH I confess that food colouring was used in the frosting. But I'm in charge here, so, it's okay. Did you know that back in the day Red Velvet was named thusly due to the velvety texture imparted by beets? It's true. If you're like, "for real, beets in cake?" then I say hey, if carrot cake is so common then why not beet cake! You've gotta try it, I've converted a lot of non beet-lievers. (Yikes that was bad) But seriously even the skeptics loved the flavour of this cake! Even a friend who says he "doesn't like beets". The beets add flavour, colour, texture, and a little drama. Nice and tangy, especially good with cream cheese frosting...
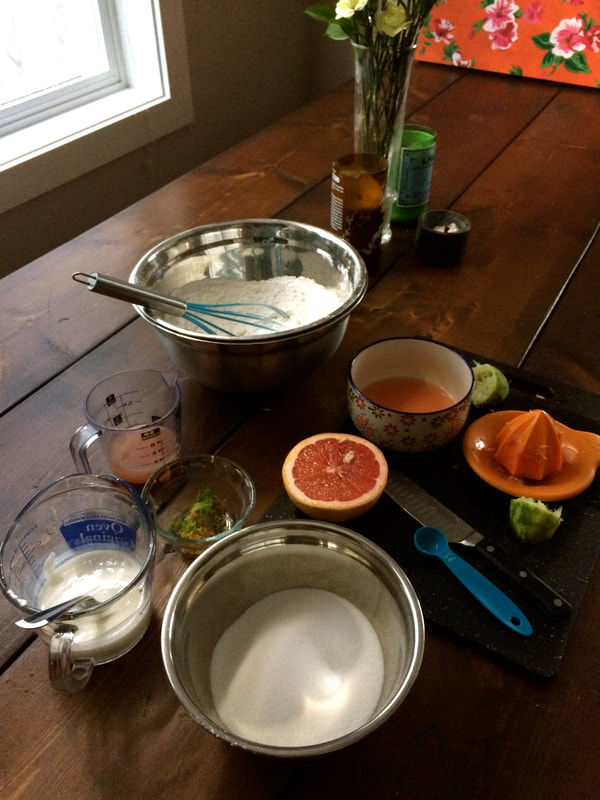
I made this recipe in cupcake form for Higher Ground Cafe for some valentine-themed treats. I always get so stoked to see how vibrant the colour is! I called these "Heart-Beet Cupcakes" heh heh  As this is part of my monthly cake challenge, I needed to try something new. This month I attempted the technique of painting with frosting! It turned out not exactly as I envisioned in my mind... to be honest my first thought was "WOW epic fail" like when you see something on pinterest and then in reality it just is laughably awful? But after walking away and coming back with fresh eyes, I actually liked what I created! Like so many of my art experiments, really! This one really felt like painting. FUN. Perhaps painting with buttercream might yield better results as opposed to cream cheese frosting... But this cake really requires cream cheese frosting. It's just non-negotiable. 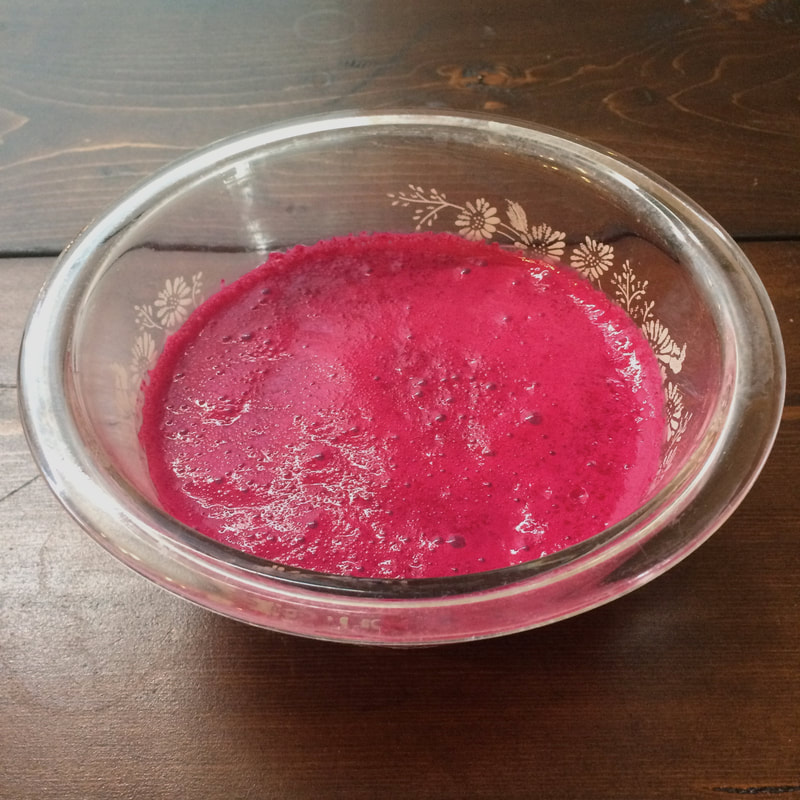 This bowl here contains the liquid ingredients for our beet-cake-batter. WOW amiright? I swear I didn't edit this! Life is this magical! I love veggies. 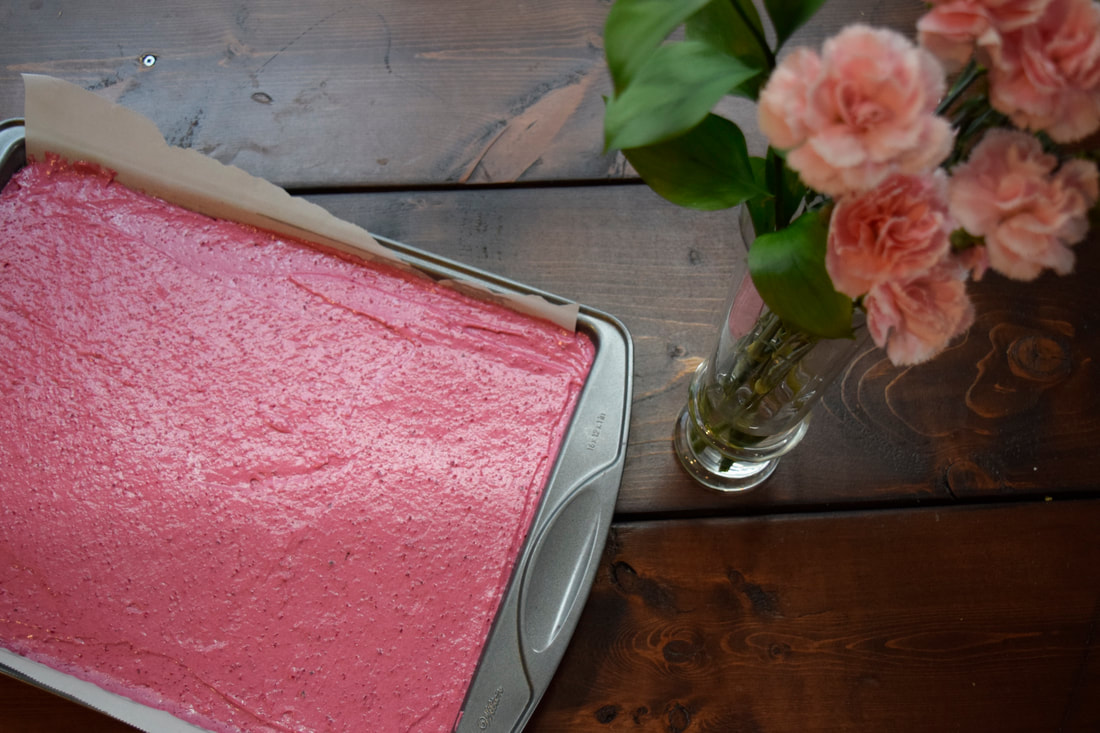 And here is our cake batter, all trayed up and ready for the oven. But first, a glamour shot. This batter deserves it. You may notice that I often bake cakes as a flat sheet tray, and then cut them into circles for stacking. This way the layers bake flat and evenly, the baking time shortens, you can cut them into any size you want, and it gives you lots of scraps for snacking :) Also, if you just moved and don't currently own a round cake pan, this technique really comes in handy... 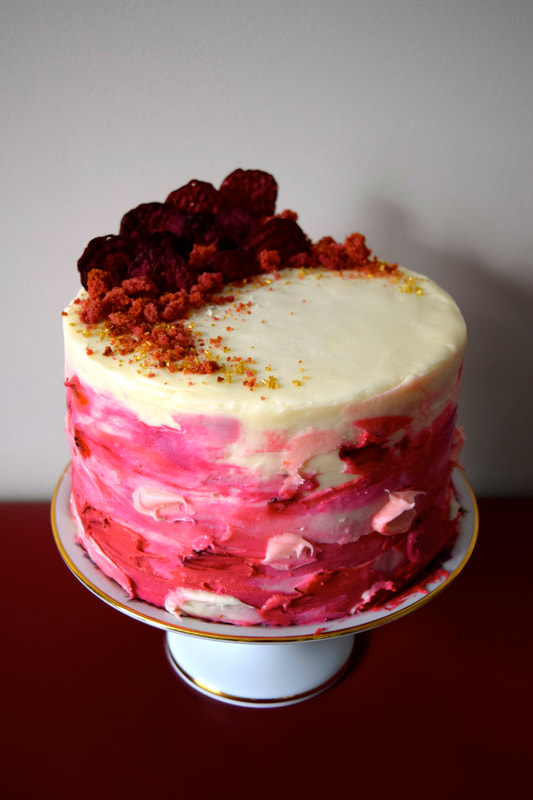 Garnished with toasted red-velvet crumbs (good use of those cake scraps!), beet chips (store bought from costco!), and gold sprinkles because oooh lala. To February! The short but sweet month of love, cold weather, and chocolate that goes on sale. What a grand time of year. Time to sneak some veggies into dessert! It's practically health food! Right? All-Natural Red Velvet CakeRecipe barely adapted from Yossy Arefi
Cream Cheese Frosting
 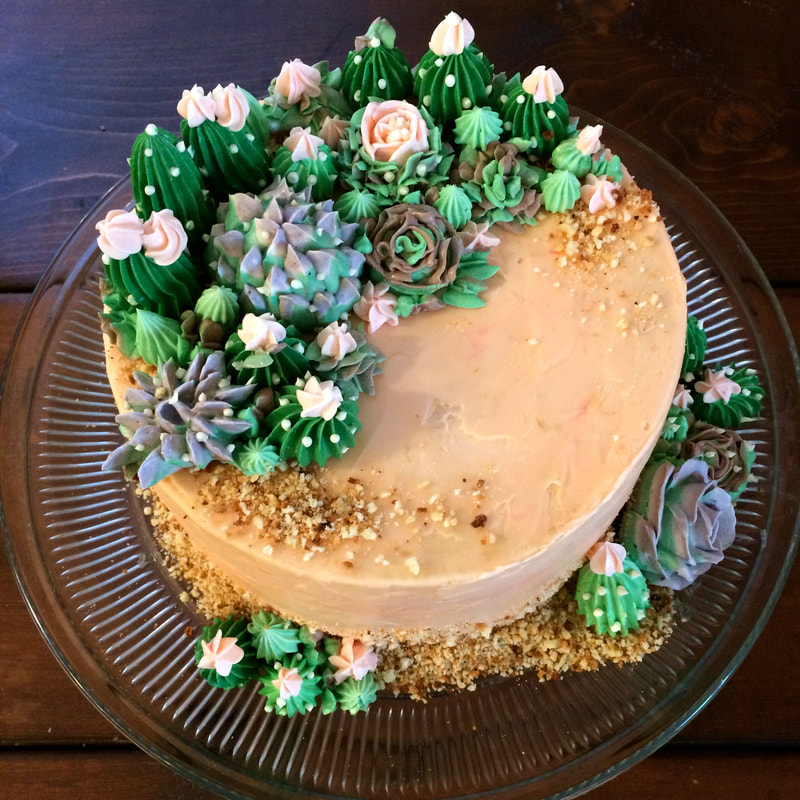 For the sake of cakeI love cake! The strange part about me saying this is that I think eating cake is all good and fine, however I would probably rather eat cookies, cuz I am a COOKIE MONSTER and that's just me. Give me a choice between a chunky cookie or a slice of elegance and I will pick the cookie nearly every time. I could instead re-phrase "I LOVE CAKE" to a more specific "I love the concept of cake!" I love the way cakes look, how they are symbols for PARTY and CELEBRATION. They are food of happy times and meant to bring joy. I could also say "I love the act of making cakes", as it is an art form all on it's own!!! Cake decorating is one of those areas in life where the worlds of pastry and fine art collide... and it's a weird and wonderful zone. I've realized however, that I spend a lot of time looking at pictures of cakes and thinking about making them, more than the actual act of making them. I have learned and read enough to know how certain cakes are produced and the various fascinating techniques that are used. But, I haven't had much practice in actually making them. It's time to stop being the naive viewer in the art gallery saying "I could do that" and to actually get out there (or stay at home) and actually JUST DO IT. My problem is that I seem to be always waiting for the right occasion for which to bake a cake, because I have this mental block that says: you need an occasion to bake a cake. What if we flipped this? What if the opposite became true? What if... the cake created an occasion for itself? The cake is the cause! (Tiny epiphany, cue tiny fireworks and explosions of inspiration). I need to make time for cake. Resolution: Stop waiting for an occasion and just bake a darn cake. For the sake of cake! Try new techniques! Make ugly messes! Because this is how we learn things. My goal for 2019 (this is dangerous, now that I am officially announcing it as a goal,) is to each month make one cake, using a baking or decorating technique that I have never tried before, or one that I need more practice with. I figure this will be fun, because cake is fun. It's like painting or any other hobby, only you can eat it. If I mess up, it's just cake. I will be learning and growing as a baker, and I will have delicious treats to share with family and friends. Please help me eat all this cake that's about to happen. 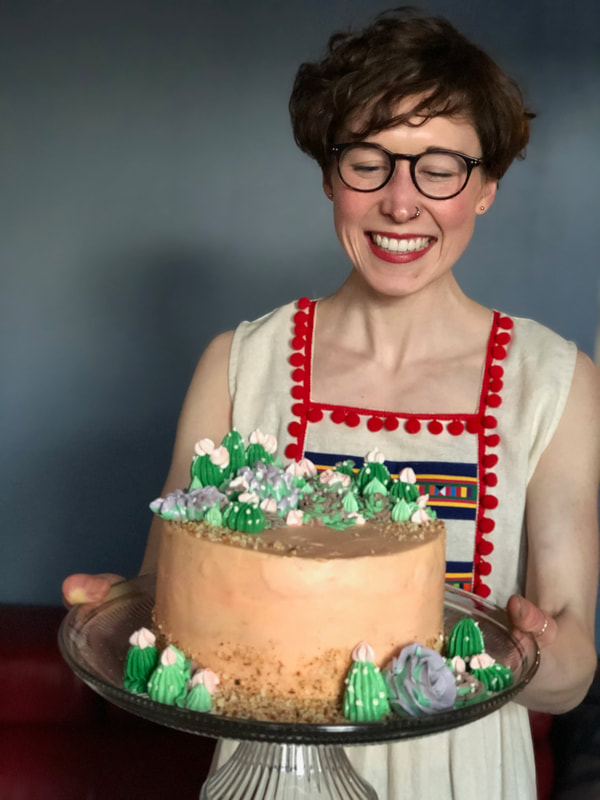 January: A cake for a FiestaIt's 2019, it's a new year, it's a new dawn, it's a new day! And... I have a new home! Naturally, my roomies and I wanted to throw a housewarming shindig to make things official, and to brag to our friends/show off our new digs. After rejecting my suggestion that the party be themed "House" or "Warm" (appropriate, yes! But also lame? kay fine) we very quickly agreed to having a fiesta themed housewarming party. My favorite theme. And so with this in mind, along with the long-time desire I've had for wanting to make succulents out of frosting... I designed the Paloma Cactus Cake! 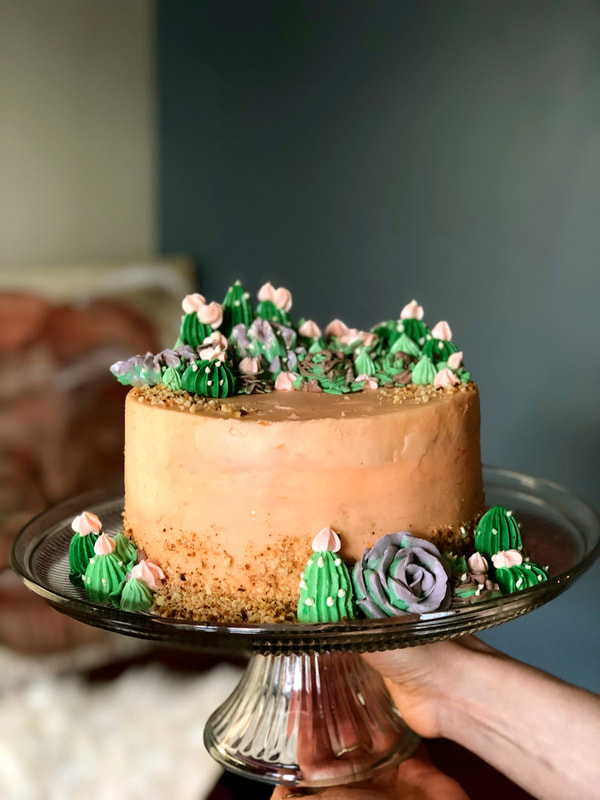 If you are thinking "What in tarnation is a Paloma?", let me tell you... Firstly, it is amazing. A Paloma is a cocktail with a fun name and even more fun ingredients: tequila (my spirit-spirit), grapefruit and lime. SO, I wanted to let these flavours set the stage for my fiesta-party-cactus-cake. This is a triple layer cake, using grapefruit and lime zest and juices AND TEQUILA to flavour the sponge and the frosting. To really bring it home, I (generously) soaked each cake layer with a dousing of tequila-grapefruit-syrup. This adds flaaaayyyyve and helps prevent the dreaded dry-cake-phenomena. Between the layers is a grapefruit curd, then the whole shebang is frosted with paloma frosting, and decorated with little buttercream succulents. I giggled a lot when making these tiny guys cuz they're just so darn cute! Buttercream decorating like this takes a decent amount of time and preparation and makes a decent sized mess. However, being able to pipe the succulents then keep them in freezer until you are ready to decorate makes life that much simpler and tidier. And remember the golden rule of kitchen: clean as you go. The "sand" crumbs that you see are made from leftover cake scraps that I toasted until crisp in the oven, snacked on a few, then blitzed them up in the food processor. Definitely room for improvement, but I'm pretty happy with how this first attempt worked out :) So glad I finally made the time to try this! If a grapefruit-lime-tequila cake speaks to your soul, then lucky you, here is the recipe! It tastes just as tropical without the tiny cacti, but they do make life fun. Happy Baking! Paloma Cakerecipe from Wilton
 Paloma Frostingrecipe from Wilton *note:when I made my cake, I only used half this recipe of frosting, and it worked, however I had absolutely none left over and probably could have used a little more to cover the sides of my cake better. If you want to be safer and have some frosting leftover, use the full recipe.
Grapefruit CurdRecipe adapted from Martha Stewart
CAKE ASSEMBLY!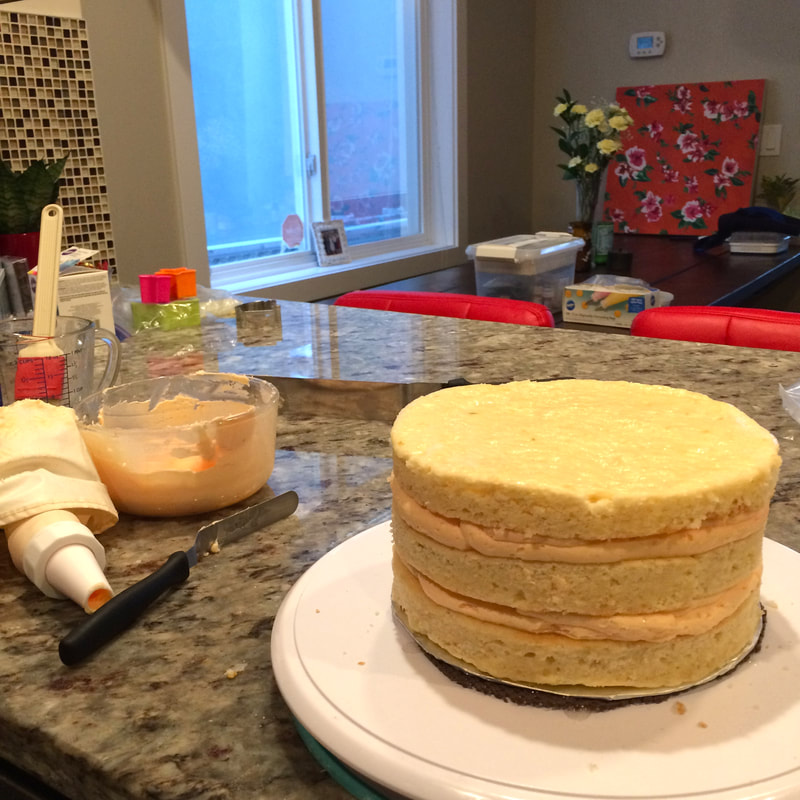
 Buttercream SucculentsSwiss meringue buttercream is my favourite for piping, because it is so silky smooth. Below is a favourite recipe of mine that has the addition of white chocolate, which I believe does two wonderful things: helps stabilize the buttercream, and also helps it taste delicious. You can use your own buttercream recipe if you have one you like, or you can even use the paloma frosting if that feels simpler, however you may have to adjust the consistency by adding milk or icing sugar as needed. I liked the contrast of the two frostings on this cake, for their different appearance, textures, and flavours! White Chocolate Buttercream
I would be silly to try and leave instructions here, for I am certainly no expert on this topic. Instead, here is a link to a video that helped me as I endeavoured on this time consuming but deeply satisfying procedure: https://www.youtube.com/watch?v=vRTNu-8026k High five to Wilton, thank you! 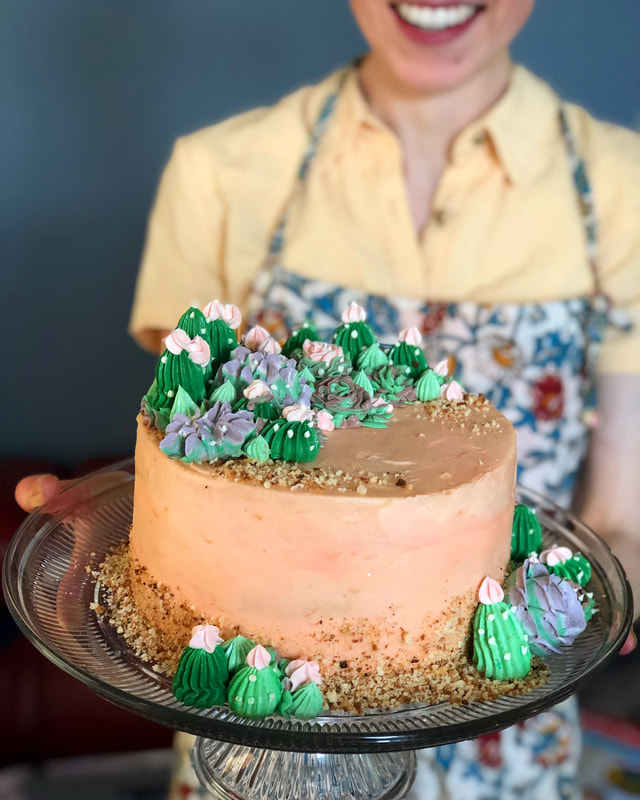 And there we are! Easy right? Get ready to make a mess :) Speaking of which, I can't help but include this beautifully grotesque image of the cake-eating-aftermath: 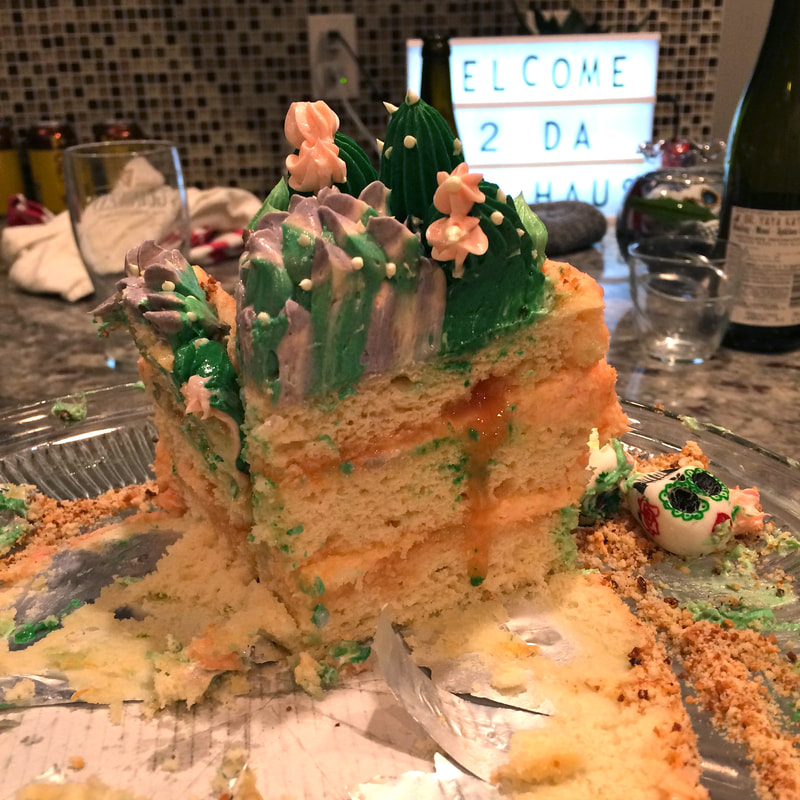 Nobody wanted me to cut into the cake, however I am happy to report that it was worth it as the cake itself was in fact delicious as it was pretty. Yay for cake! We are off to a grand start.
|
Tiny Tea PartyIt's about celebrating the tiny things. Categories
All
© 2015 Larissa Costella
All Rights Reserved (All images and content are my own unless otherwise noted) |
 RSS Feed
